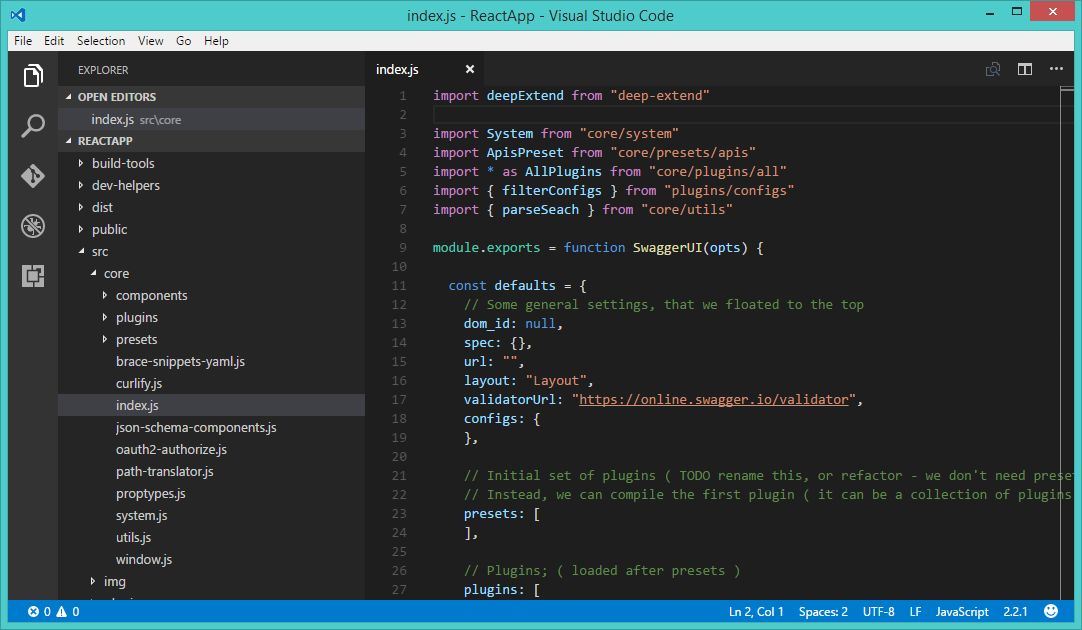
Visual Studio Code is a lightweight source code editor for JavaScript, TypeScript and Node.js Applications. It also has extensions for multiple other programming languages like C++, C#, Python, PHP, Go, etc. This tutorial will help you to install Visual Studio Code on OpenSUSE and SUSE Linux Enterprise operating system.
- How to Install Visual Studio Code Editor in Ubuntu & Debian
- How to Install Visual Studio Code Editor in Fedora & CentOS
Step #1. Enable Package Repository
Create a new file /etc/yum.repos.d/vscode.repo and edit in text editor.
sudo vim /etc/yum.repos.d/vscode.repo
Now add the following content to the file.
[vscode]
name=Visual Studio Code
baseurl=https://packages.microsoft.com/yumrepos/vscode
enabled=1
type=rpm-md
gpgcheck=1
gpgkey=https://packages.microsoft.com/keys/microsoft.asc
Step #2. Install Visual Studio Code
Now, Import the package signing gpg key on your system using the following command.
sudo rpm --import https://packages.microsoft.com/keys/microsoft.asc
After importing gpg key, Let’s use the below commands to install the Visual Studio Code on your openSUSE or SEL system.
sudo zypper refresh
sudo zypper install code
Step #3. Open Visual Studio Code
Now launch the Visual Studio Code editor on your system using the graphical menu. After that create a new file or open files and directories using the File menu.
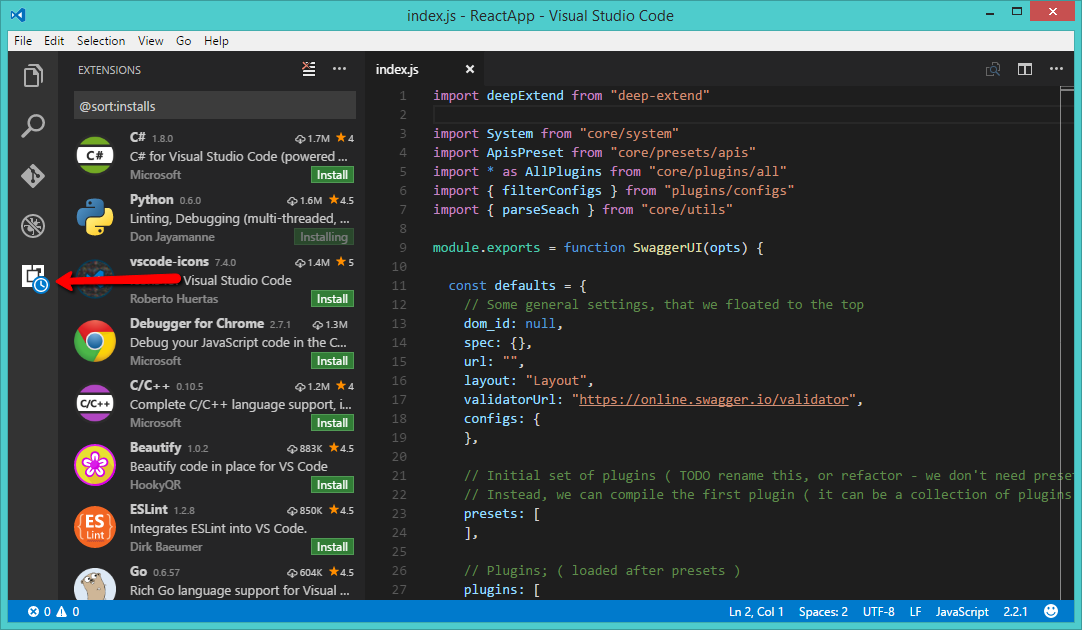
Step #4. Add Required Extensions
There are a large number of extensions available for Visual Studio Code like C#, Python, JavaScript, Google Chrome, etc. Install the required extensions to enhance your working experience with Visual Studio Code.


2 Comments
These are instalation steps for OpenSuse Leap 15
sudo rpm –import https://packages.microsoft.com/keys/microsoft.asc
sudo zypper ar https://packages.microsoft.com/yumrepos/vscode vscode
sudo zypper refresh
sudo zypper install code
doesnt work, in opensuse tumbleweed the repo file would created with:
sudo vi /etc/zypp/repos.d/vscode.repo