Sublime Text is a popular and versatile cross-platform text editor, known for its speed, ease of use, and powerful features. It is widely used by developers, writers, and system administrators due to its extensive customization options and support for various programming languages and markup formats. In this article, we will guide you through the process of installing Sublime Text on Fedora using the DNF package manager, ensuring a seamless and efficient installation experience.
- Sublime Text is a proprietary text editor that supports a wide range of programming languages, syntax highlighting, code completion, and numerous plugins. It is available on Windows, macOS, and Linux.
- Fedora is a popular Linux distribution sponsored by Red Hat, known for its focus on cutting-edge technology and innovative features. It uses the DNF package manager, which provides an efficient and reliable way to manage software packages on Fedora systems.
Step-by-Step Instruction for Installing Sublime
Step 1: Adding DNF Repository
Before installing Sublime Text, we need to add the official Sublime Text repository to our Fedora system. This will ensure that we can easily update the software in the future. Open a terminal and enter the following command to import the GPG key for the Sublime Text repository:
sudo rpm -v --import https://download.sublimetext.com/sublimehq-rpm-pub.gpg
Next, add the Sublime Text repository by creating a new repository configuration file:
sudo nano /etc/yum.repos.d/sublime-text.repo
Add the following content to the file:
[sublime-text]
name=Sublime Text - x86_64
baseurl=https://download.sublimetext.com/rpm/stable/x86_64
enabled=1
gpgcheck=1
gpgkey=https://download.sublimetext.com/sublimehq-rpm-pub.gpg
Save the file and exit the editor.
Step 2: Installing Sublime using DNF
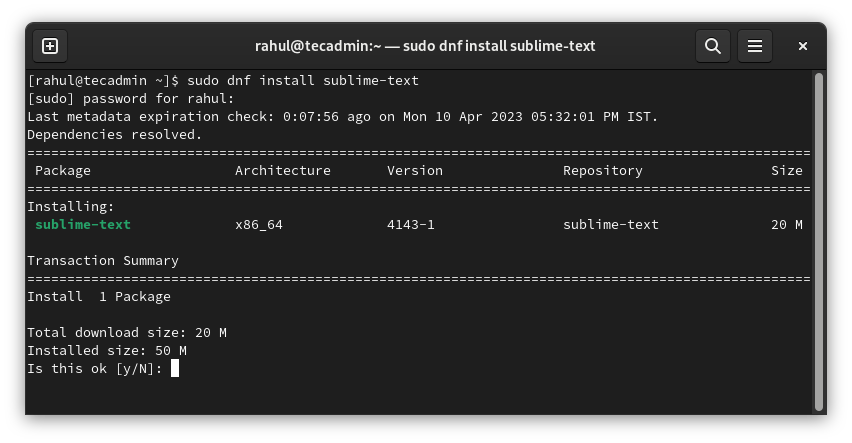
Now that the repository is added, we can install Sublime Text using the DNF package manager. Run the following command:
sudo dnf install sublime-text
DNF will calculate the dependencies and prompt you to confirm the installation. Type ‘y’ and press ‘Enter’ to proceed. The installation may take a few moments to complete.

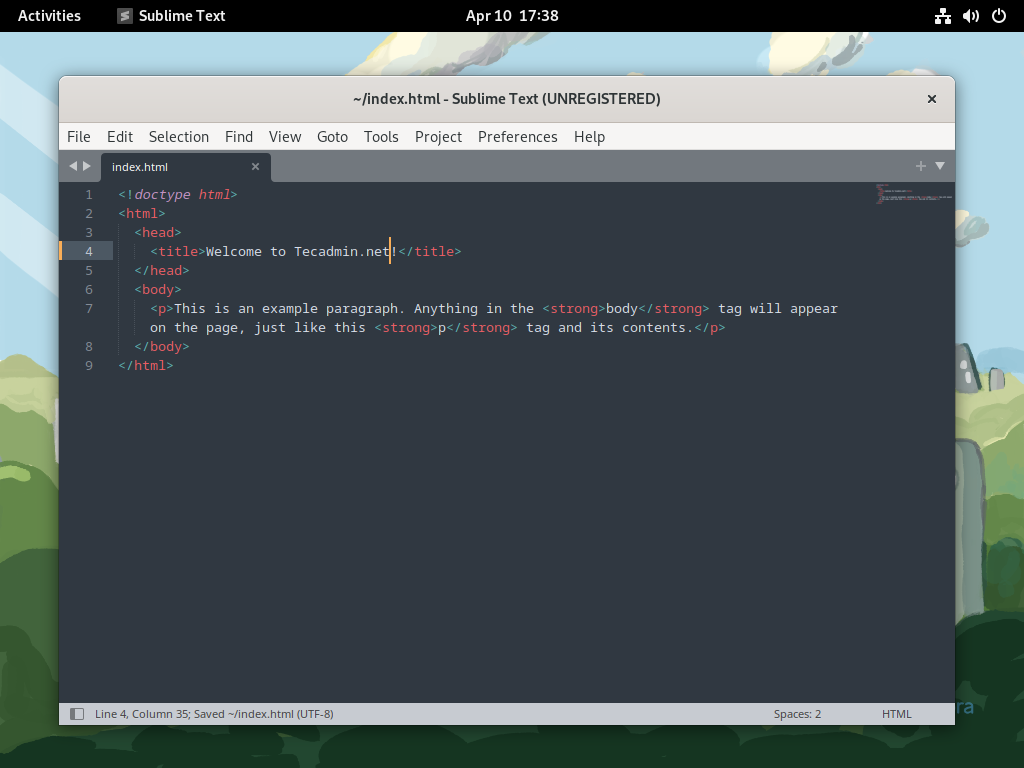
Step 3: Start Sublime
Once the installation is complete, you can launch Sublime Text by running the following command in the terminal:
subl
Alternatively, you can find Sublime Text in the application menu of your Fedora system under the “Programming” or “Development” category.

Configuring Sublime Text (Optional)
Sublime Text offers extensive customization options through its settings and packages. You can access the settings by navigating to “Preferences” > “Settings” in the Sublime Text menu. This will open a split window with the default settings on the left and the user-specific settings on the right. You can modify the user settings to override the default settings.
To extend the functionality of Sublime Text, you can install additional packages using the Package Control package manager. If you haven’t installed Package Control already, follow the instructions on the official Package Control website: https://packagecontrol.io/installation
Uninstall Sublime (Optional)
If you need to uninstall Sublime Text for any reason, you can do so using the DNF package manager. Run the following command in the terminal:
sudo dnf remove sublime-text
DNF will prompt you to confirm the removal. Type ‘y’ and press ‘Enter’ to proceed. The uninstallation may take a few moments to complete.
If you want to remove the Sublime Text repository configuration as well, delete the repository configuration file with the following command:
sudo rm /etc/yum.repos.d/sublime-text.repo
Conclusion
Sublime Text is a powerful and feature-rich text editor that is widely used by developers and system administrators. In this article, we demonstrated how to install Sublime Text on Fedora using the DNF package manager, ensuring an effortless and efficient installation process. We also covered the basics of configuring Sublime Text and, if needed, uninstalling it. By following these steps, you can quickly set up Sublime Text on your Fedora system and enjoy a sophisticated and customizable text editing experience.

8 Comments
Thanks, Rahul
It’s paid now
Thankyou!!! so much!
Muy buen post!! very good! me sirvio de mucha ayuda
Thanks a ton for easy steps
Thank you.
Thanks, you’re the best!!!
Thanks Dude!!