Desktop environments are a collection of software packages and different components that run on top of an operating system and manage the look and feel (GUI; Graphical User Interface) of the operating system. They consist of window managers, text editors, folders, drag and drop functionality, and many other features to make it easier for the user to use an operating system.
Desktop environments are super user-friendly and intuitive; they help the user access, manage and manipulate files easily. But they do not provide full control over the functionality/capabilities of the OS. To get the most out of an operating system CLI (command line interface) is still preferred.
How to Choose the Right Desktop Environment
Every Linux distribution comes with its own default desktop environment but you have the option to switch to the environment of your choice. Installing a desktop environment on Linux is very easy and can be done within a few minutes. However, choosing the right desktop environment can be confusing.
There are many desktop environments out there that are compatible with Ubuntu. Every desktop environment has its own pros and cons and is optimized for a certain task. Gnome is made with the intention to make it easier to use for common users while KDE Plasma aims to be fast and efficient, and tries to utilize as few resources as possible.
So the decision of choosing the right desktop environment comes down to the needs and personal preferences of the user.
How to Install a Desktop Environment
We can use the terminal to install any desktop environment on Linux. You can install desktop environments on Linux just like any other package.
In Ubuntu, we can use the “apt” command followed by the environment name to install any desktop environment available in its official repository. In this example, we will install the Vanilla Gnome desktop environment in Ubuntu 20.04 LTS operating system:
sudo apt install vanilla-gnome-desktop
The terminal will ask you for confirmation; press “Y/y” and hit Enter:
That’s it; the Gnome desktop environment has been successfully installed on your system.
How to Switch Desktop Environments
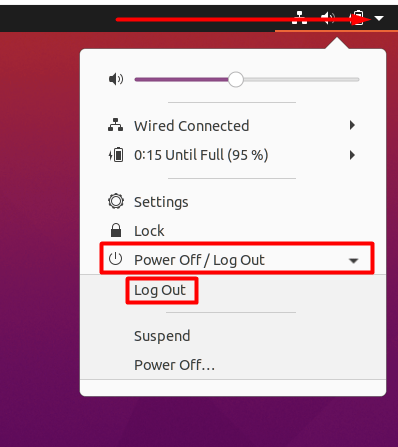
After successful installation of the desktop environment, log out of your account from the top right corner of your desktop:
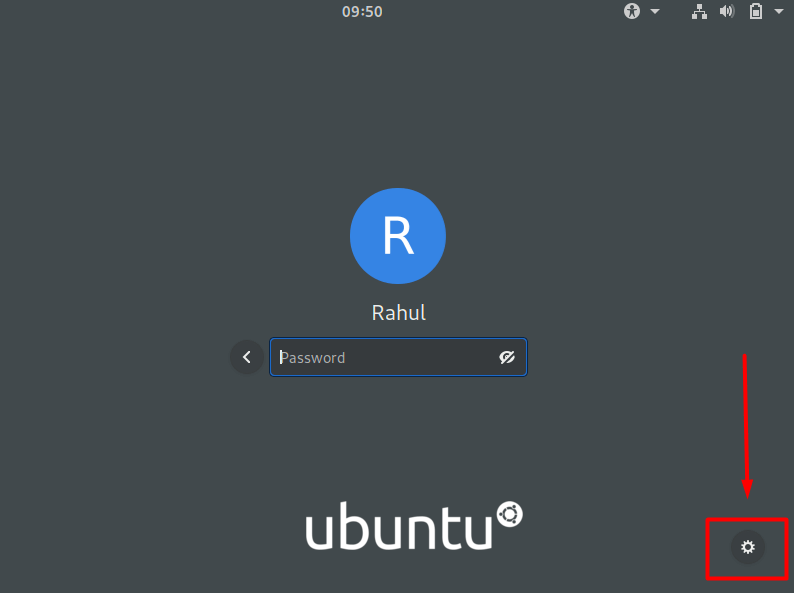
Now look for a button similar to the one shown in the below-given screenshot. The location of this button is different in different desktop environments. On the default desktop environment of Ubuntu 20.04 you can find it in the bottom right corner of the screen:
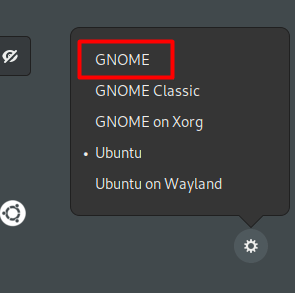
Click on the button and choose the environment you want to use:
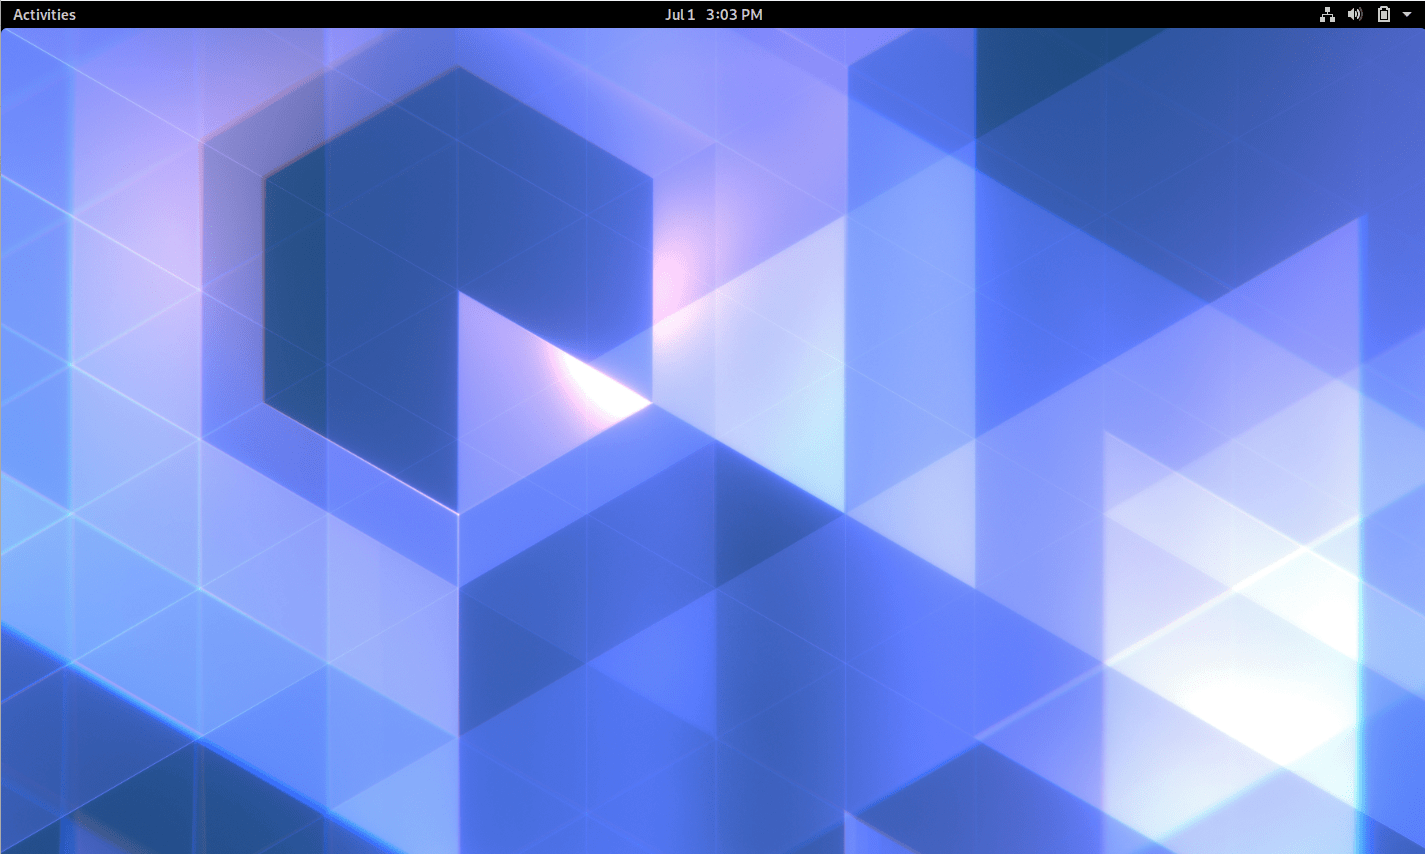
Next login to your account and you’ll see the environment you picked:
You will have the option to change the desktop environment every time you log in.
How to Remove a Desktop Environment
Some desktop environments are not compatible with each other and you might run into problems while running multiple desktop environments. These issues can generally be fixed by troubleshooting but sometimes you might even have to uninstall one of the desktop environments. Simply use the apt remove or apt purge along with apt autoremove command to get rid of the desktop environment.
sudo apt remove vanilla-gnome-desktop
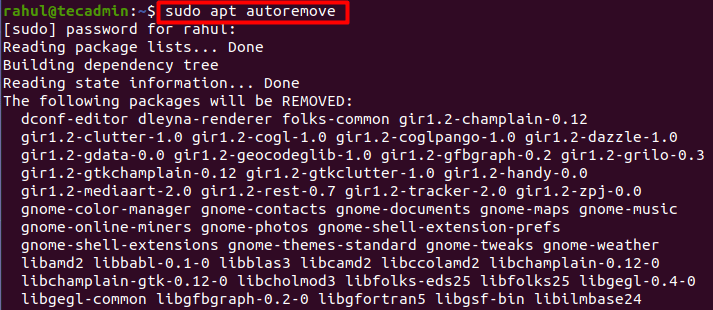
Now, run the autoremove command to remove the dependencies that are no longer required. These dependencies were automatically installed along with the desktop environment.
sudo apt autoremove
Conclusion
Every graphic you see after your system boots up is a part of the desktop environment. It dictates how everything from icons to mouse pointers looks and feels on your system.
In this post, we focused on how to install and switch between desktop environments on Ubuntu. Moreover, we also learned how to make the right decision when choosing a desktop environment.



1 Comment
To list currently installed desktop environments, issue the following command, ‘ls -l /usr/share/xsessions/’