Debian 11.0 was released on August 14th, 2021. The codename of Debian 11 is Bullseye. Debian is one of the widely used Linux operating systems and a popular choice for setting up and configuring servers for businesses has just got the latest release called Bullseye. Bullseyes come with tons of new packages, support for the exFAT file system, and an enhanced manual page.
This write-up is focusing on the installation of Debian 11 Bullseyes on your system. So if you are new to Debian or want to upgrade simple follow the steps mentioned below:
Step 1 – Downloading Debian 11 ISO
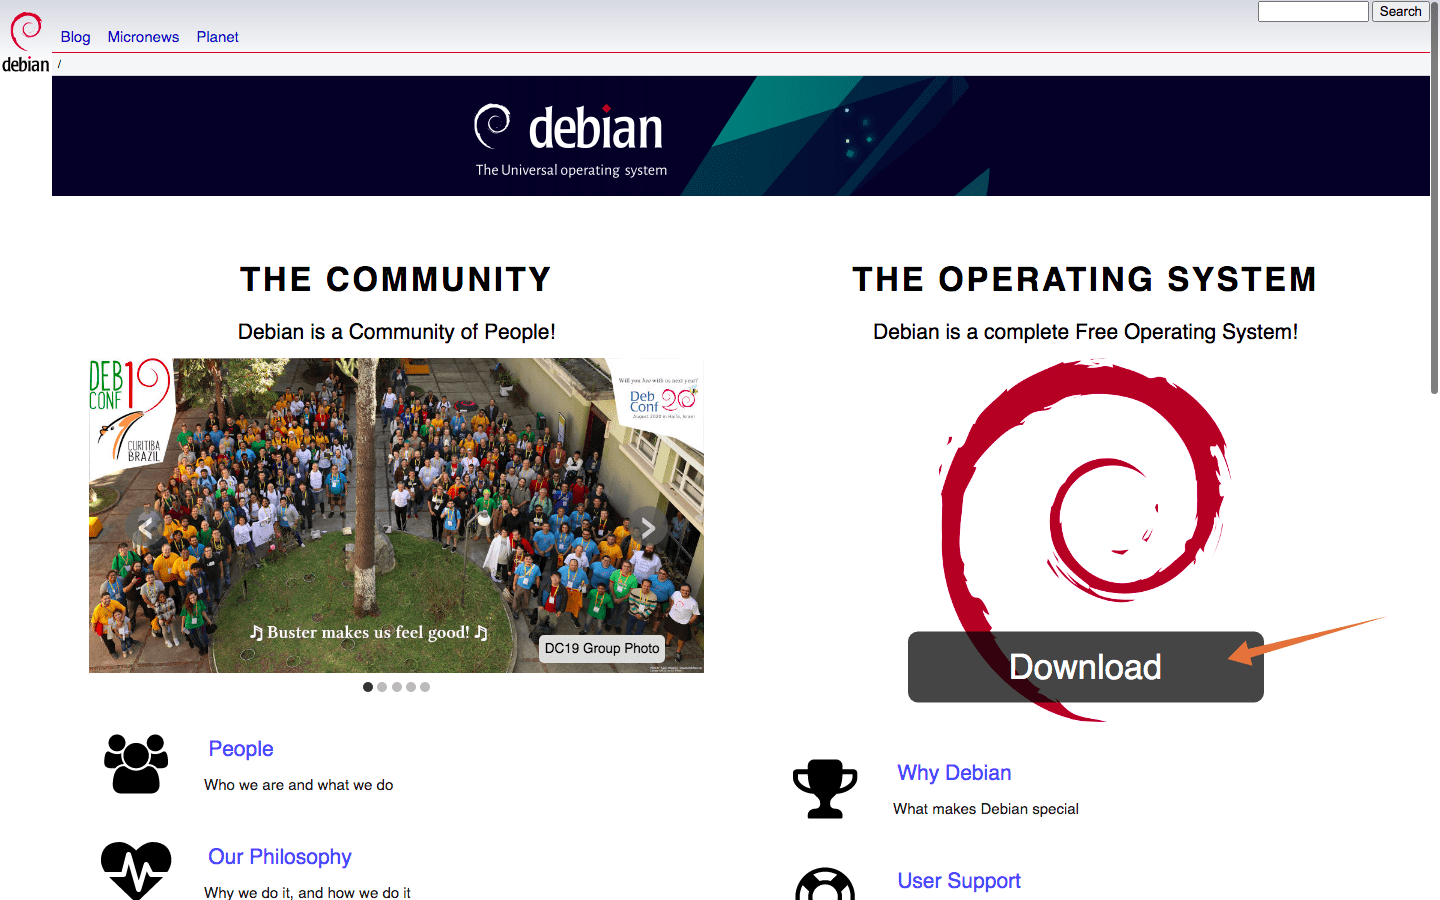
Before proceeding to the installation procedure first we need the latest Debian distro ISO. To download the current version of Debian distribution visit Debian, click on the “Download” button to get the ISO file.
Step 2 – Creating a bootable USB
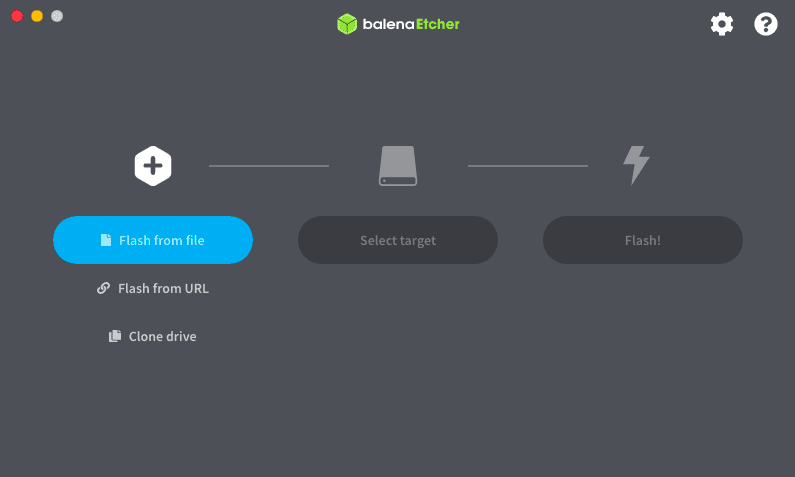
Once you get the Debian ISO downloaded, time to make a bootable USB containing Debian 11 ISO. A third-party utility is required to make a bootable USB, for that there are a couple of choices. Either Rufus or balenaEtcher can be used. BalenaEtcher is a much more simple and straightforward tool.
Insert USB and open balenaEtcher:
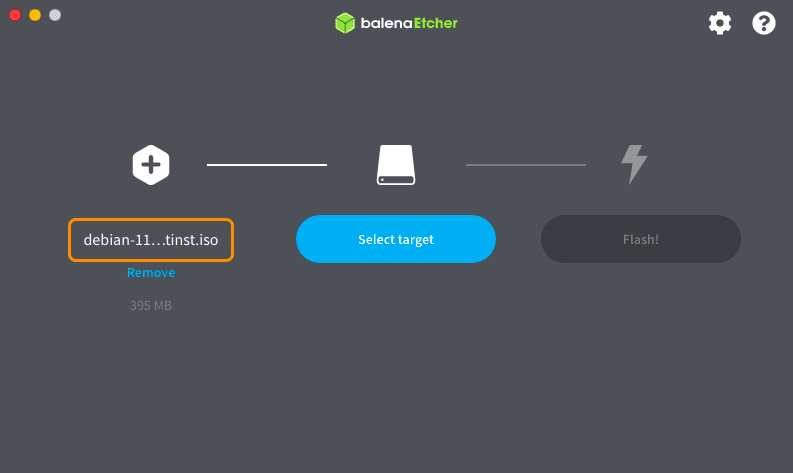
Now, select the image file, which is Debian 11 ISO file:
Select the USB drive, click on Flash:
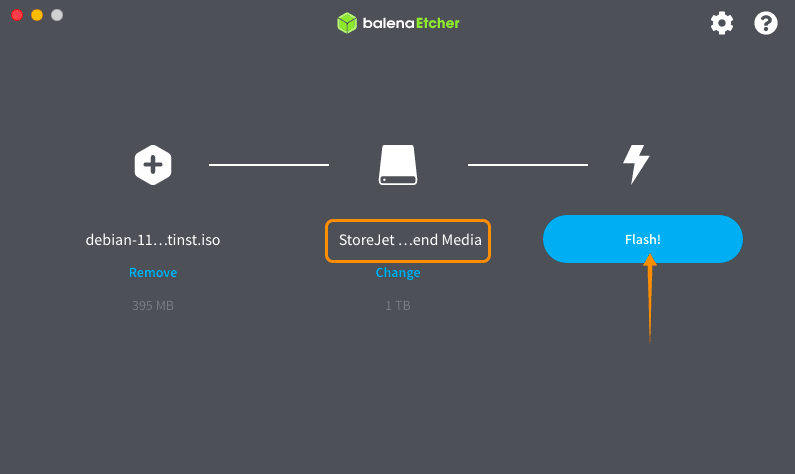
The process will take a few minutes.
Step 3 – Boot settings
Bootable USB with Debian 11 operating system is ready. Now, insert a USB into the target PC and turn it on. Enter the boot menu: it is important to note that every machine manufacturer has different keys for the boot menu, possible keys are F1, F2, F10, or Esc. If you are a mac user simply restart your PC, press, and hold the options/alt key to enter the boot disks menu.
Once you are in the boot menu select bootable USB and press Enter to boot.
Step 4 – Installing Debian 11 Bullseye
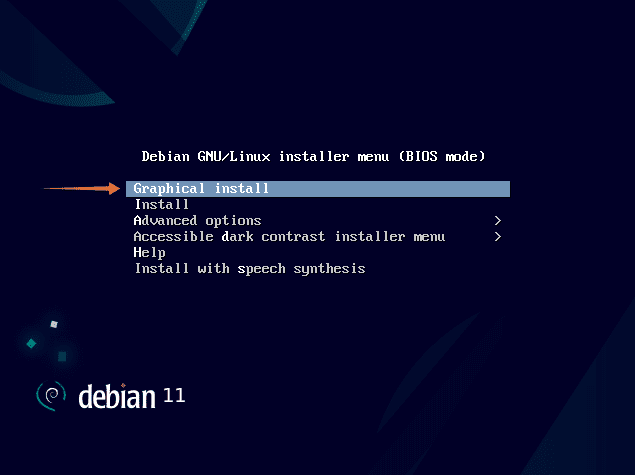
You will get an installer menu indicating different installation methods. Choose one of the given methods for installing Debian 11 on your system. In this tutorial we will go with the easiest method ie “Graphical Install” option:
01. Choose the Graphical install option and hit enter to continue.
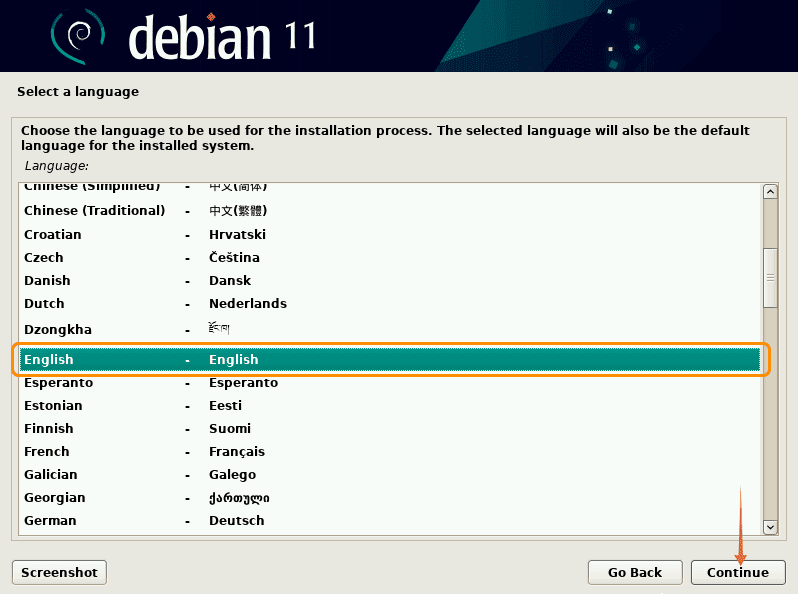
02. Select your preferred language and click on “continue”. English will be th edefault selected language.
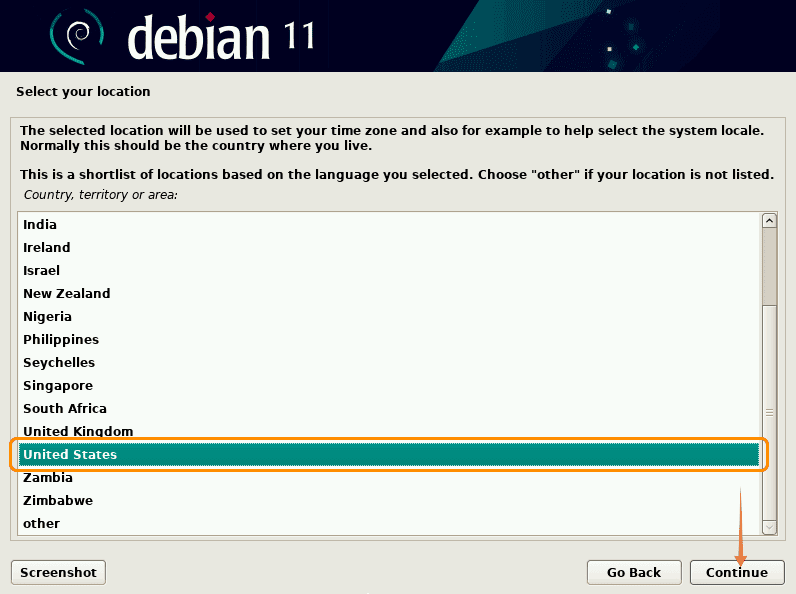
03. Now, select your location, and Debian will set the time accordingly:
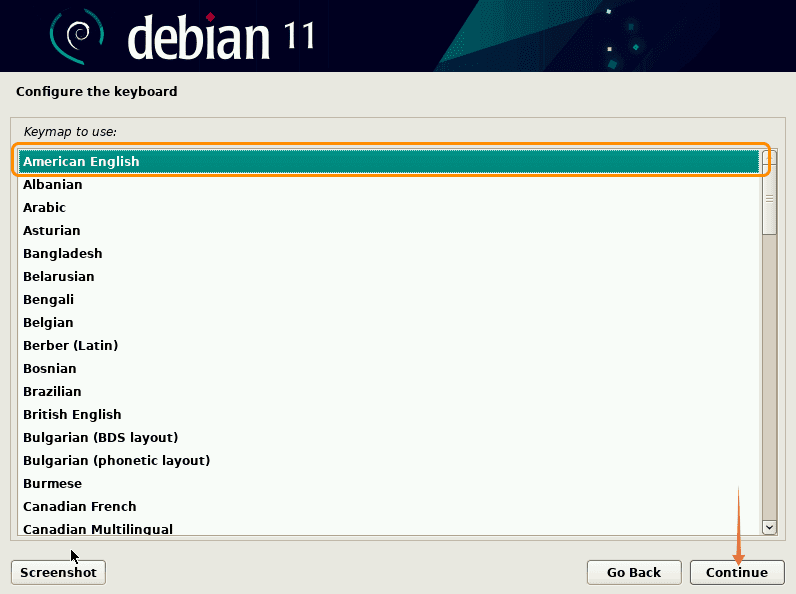
04. Next, configure the keyboard, you are using. choose the keyboard language and click continue.
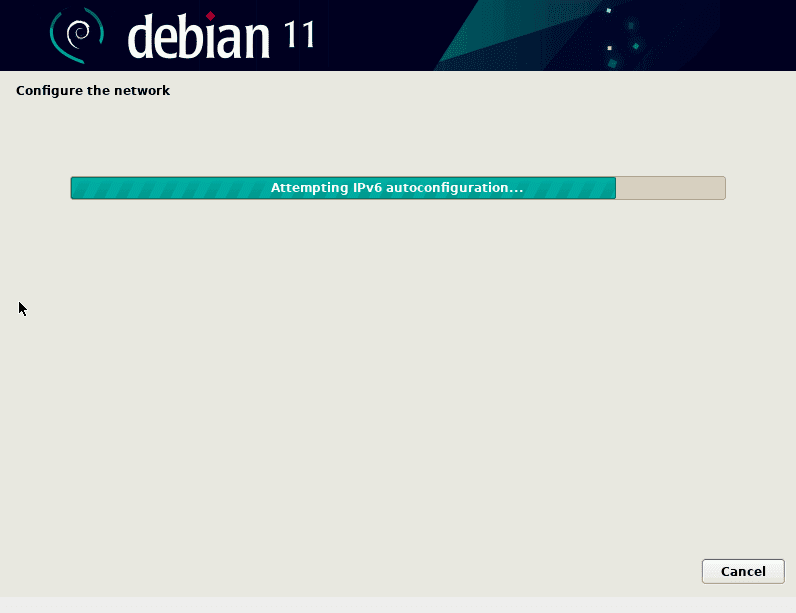
04. Upon clicking “continue”, Debian will configure network settings:
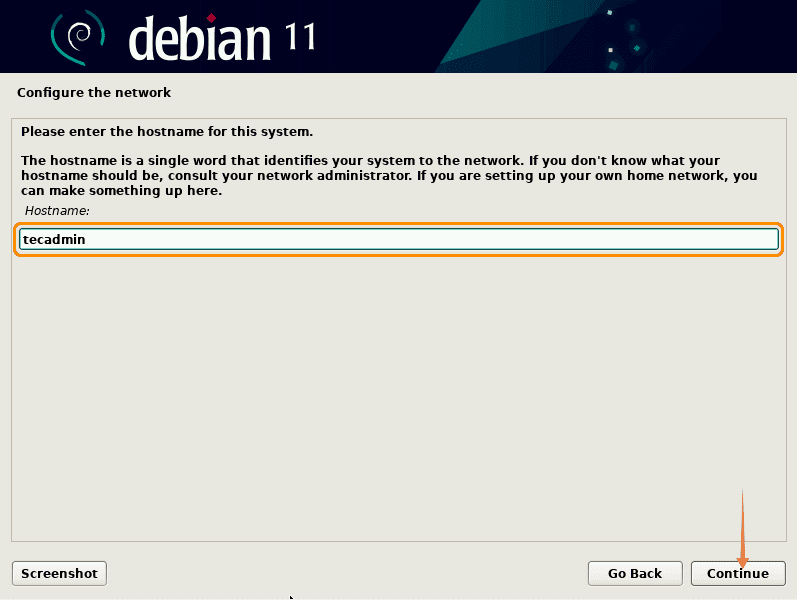
05. Now, the installer will prompt you to enter the hostname. A hostname is a single word that identifies your system to the network. Click continue.
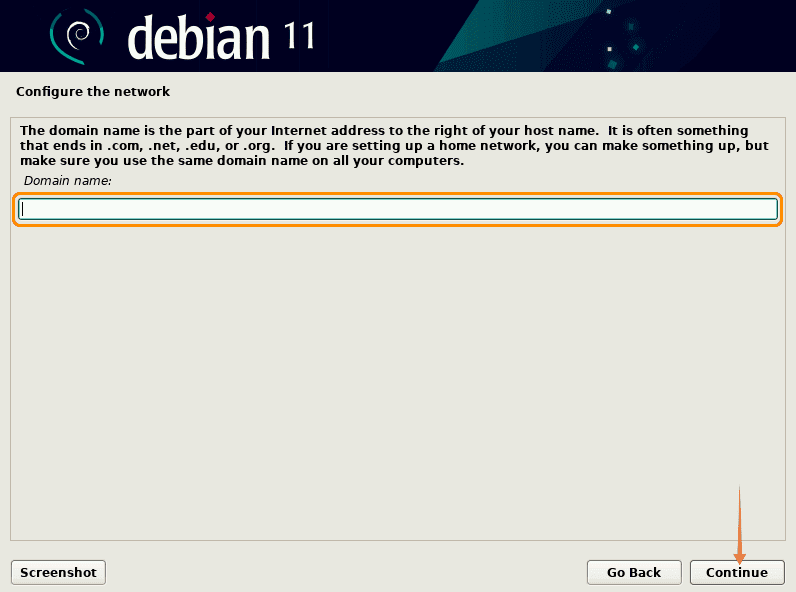
06. Next, the installer will ask for the domain name. If you don’t have any domain name, just leave it empty and click continue.
07. Time to set a strong password for the root user. As root has unlimited privileges, so keep its password more strong and don’t share it.

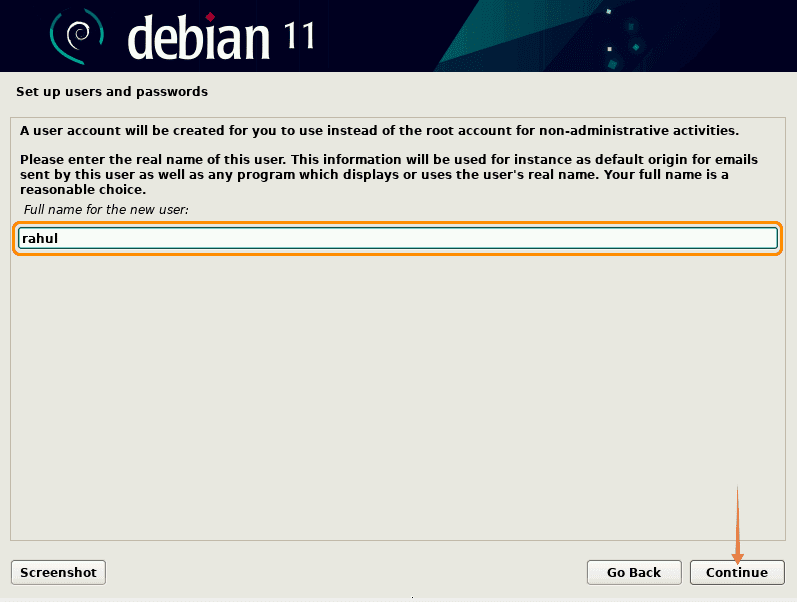
08. Enter a name for a user and click on “continue”, though the user can be created later. First type the full name of the user:
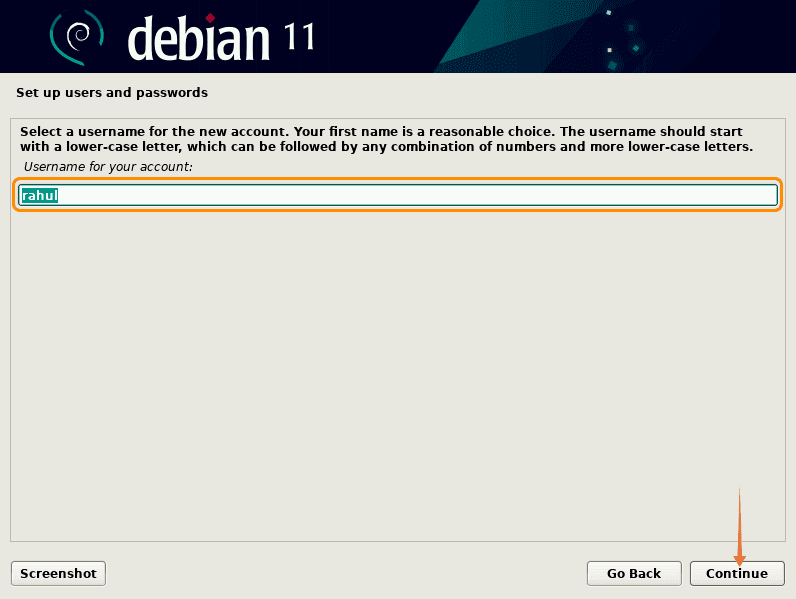
09. Give a username, this will be a sudo privileged account for your working.
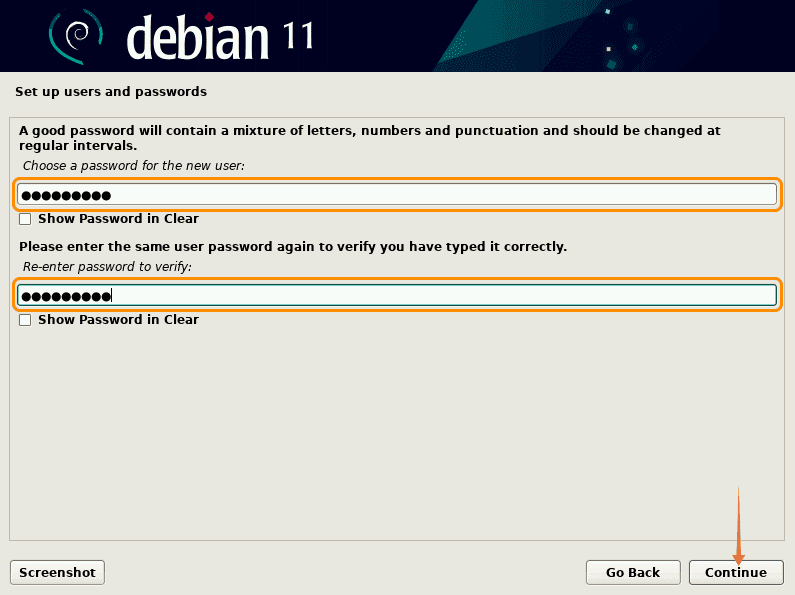
10. Now enter a password for the new user:
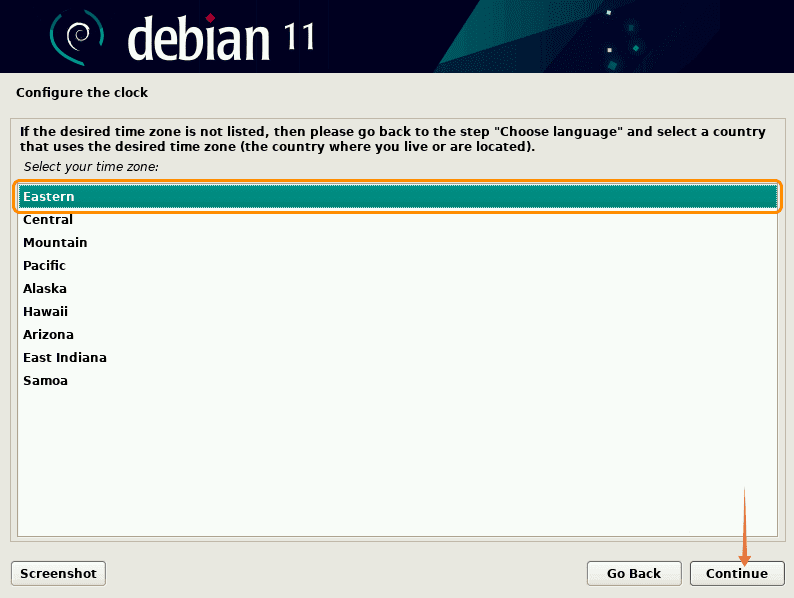
11. Choose a peffered timezone for your Debian 11 system and click Continue.
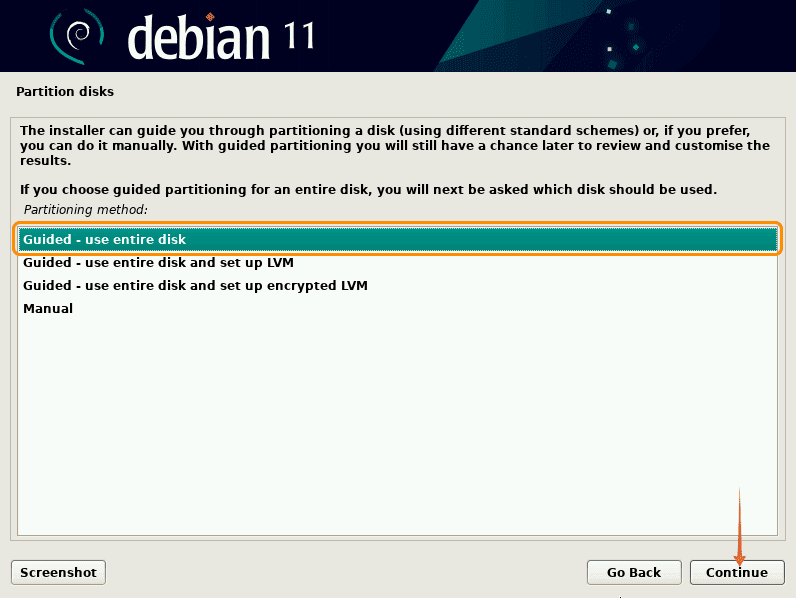
12. Partition method depends upon the personal preference, for most users default method “Guided- use entire disk” is recommended:
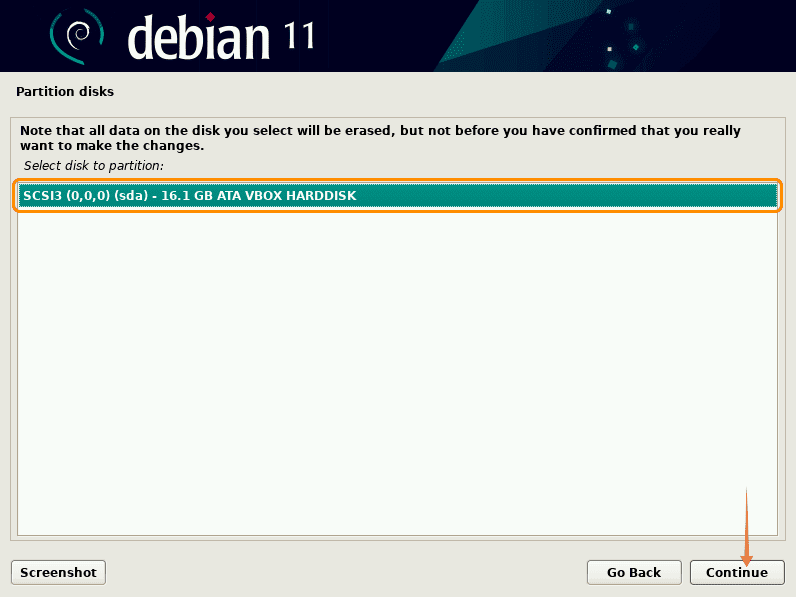
13. On this screen, all the attached hard disks will be listed here. Now be careful while selecting the disk because of other attached drives.
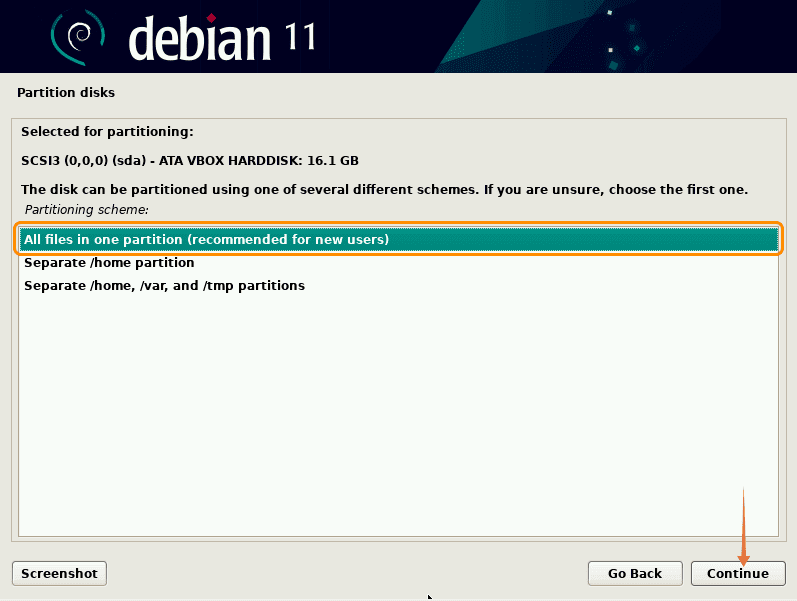
14. The next step is about partition scheme, leave it default and click on “continue”:. You can also choose second or third options as your choice.
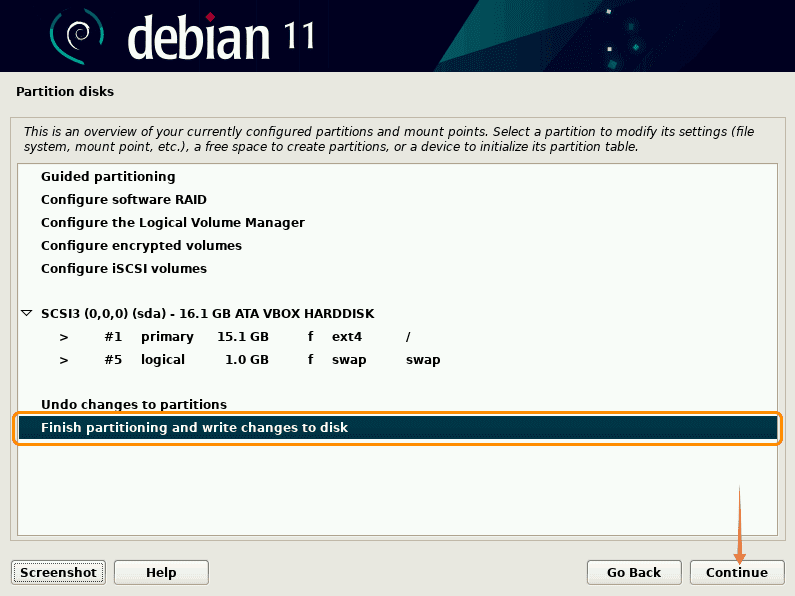
15. Next, you will be prompt with the partition settings. With the default selection in the previous second, you will see a root (/) and a swap partition. After reviewing it click on “continue”:
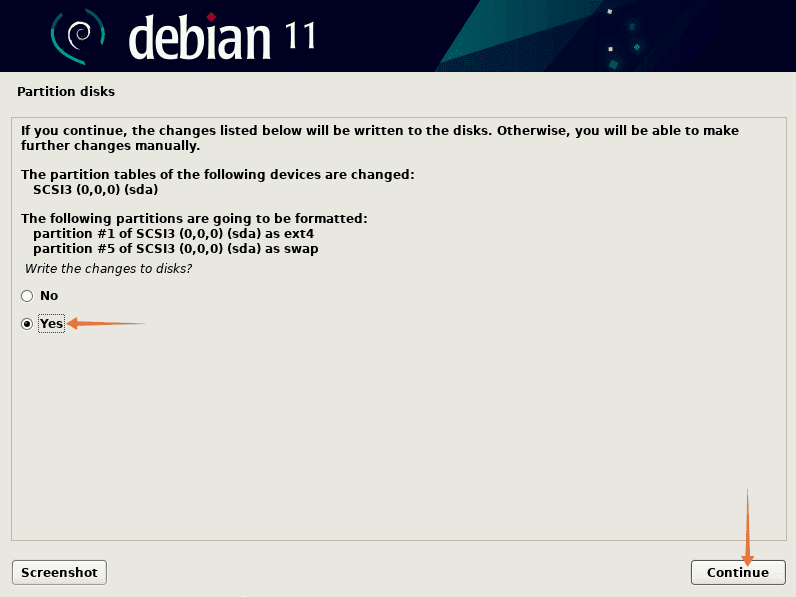
16. Confirm the configuration by selecting “Yes” and click on “continue”:
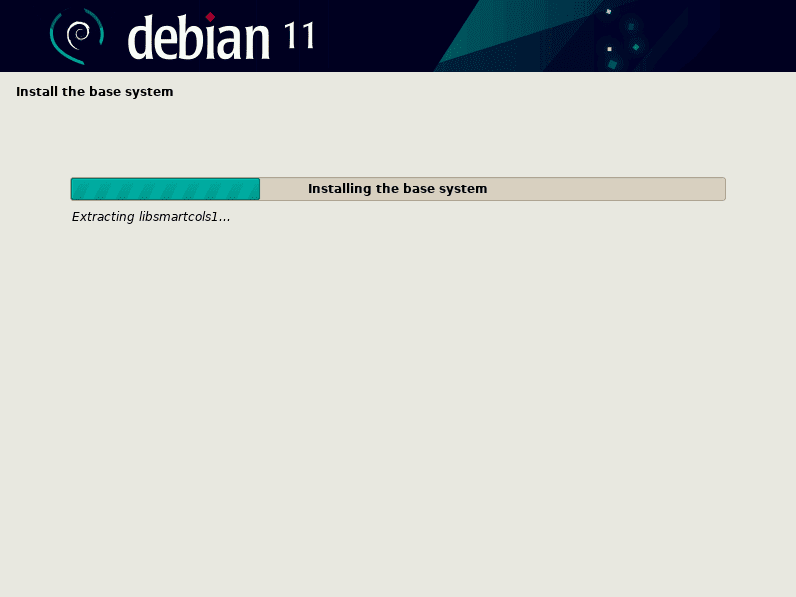
17. The base system installation will begin:
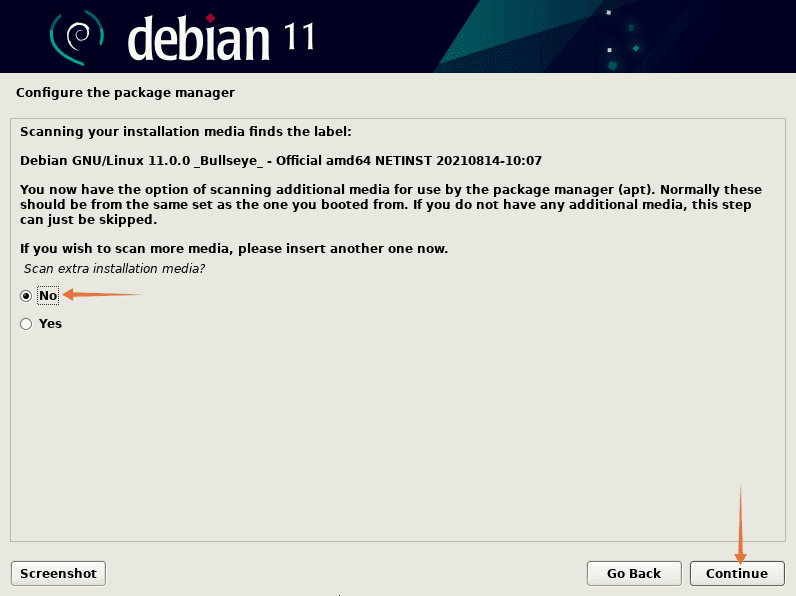
18. Now, set up the package manager, if it asks for scanning storage media then select “no”, and continue:
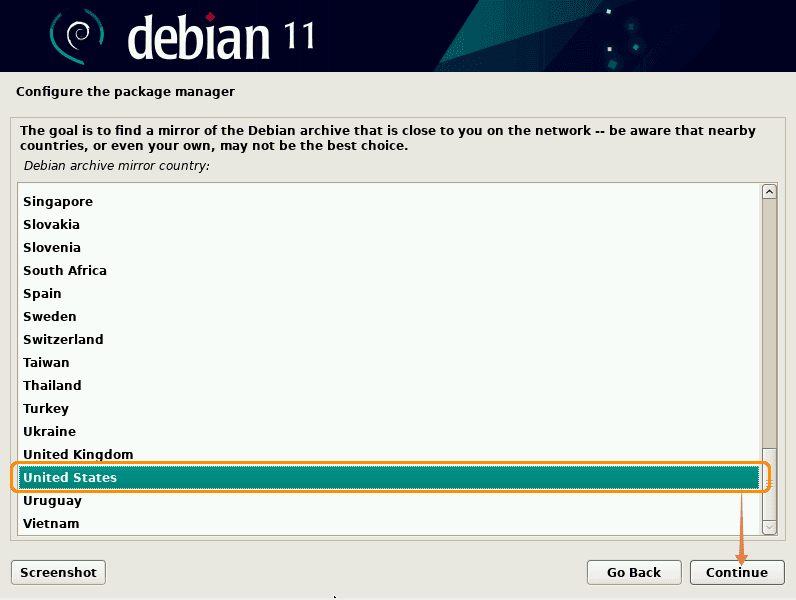
19. Now the installer will configure the package manager via the internet. Select the archive mirror country:
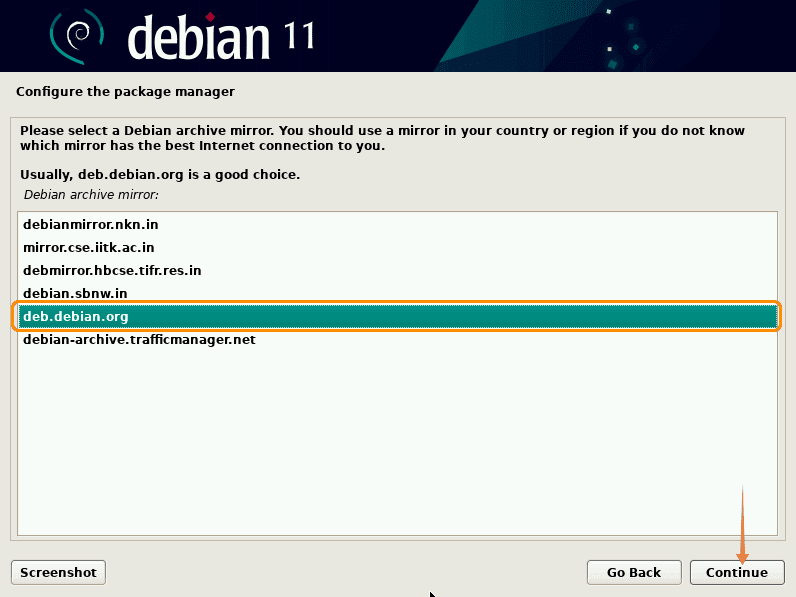
20. After selecting a country, choose archive mirror:
21. Leave the HTTP proxy blank:

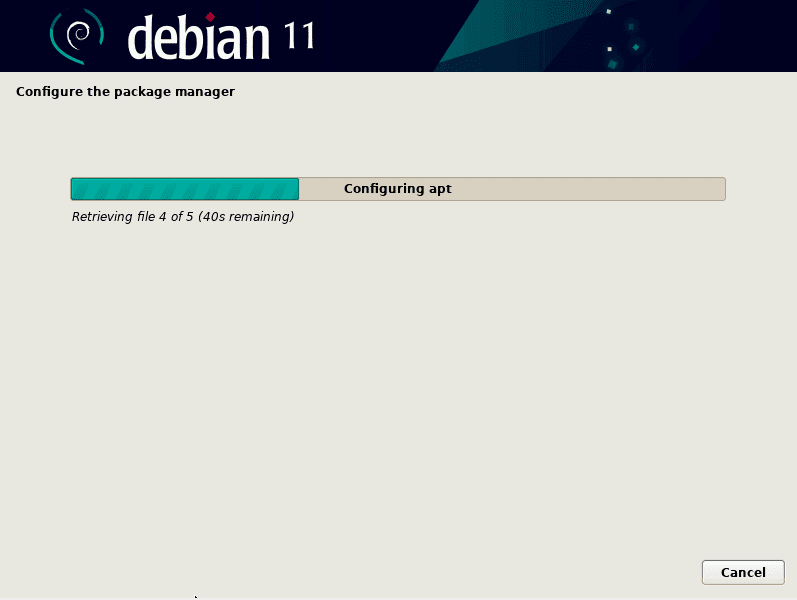
22. Now, wait for package manager configuration:
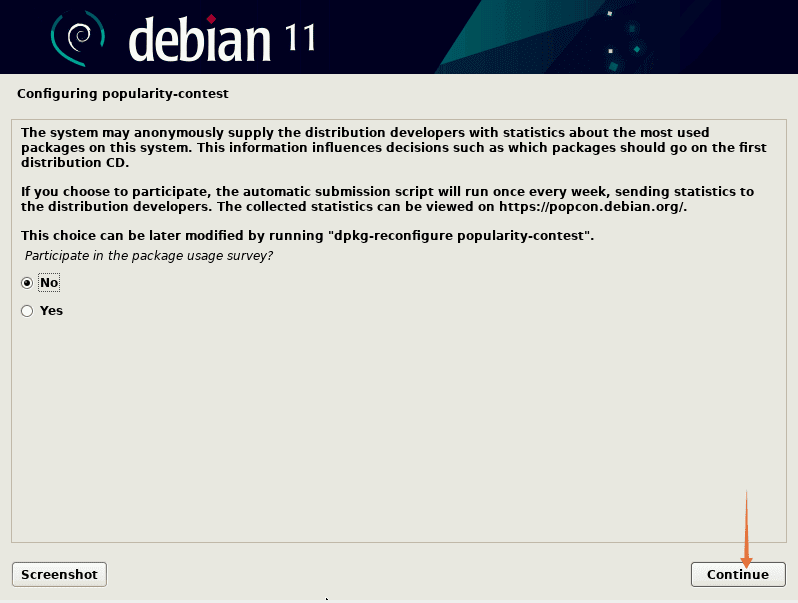
23. After that, you will be prompt with a package usage survey option, if you want to participate select “yes” otherwise “no”:
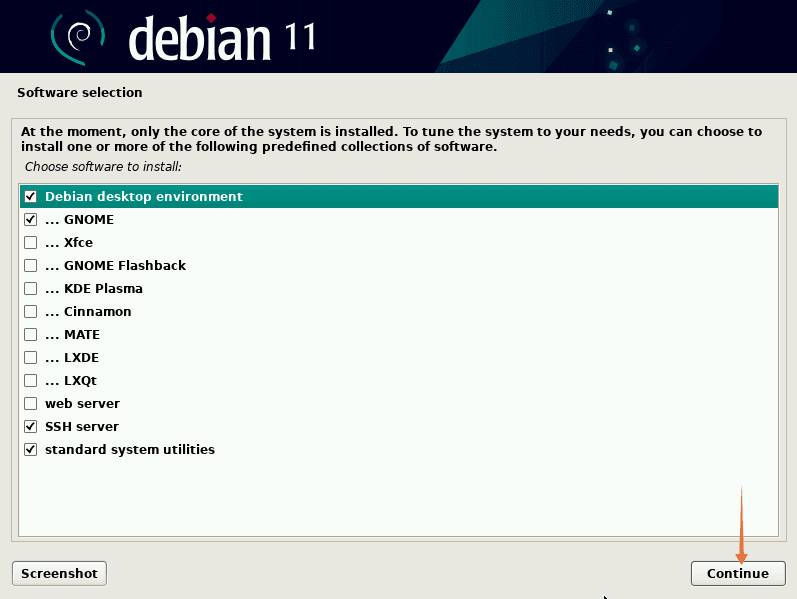
24. Now, choose the desktop environment from the list and other utilities such as SSH to install:
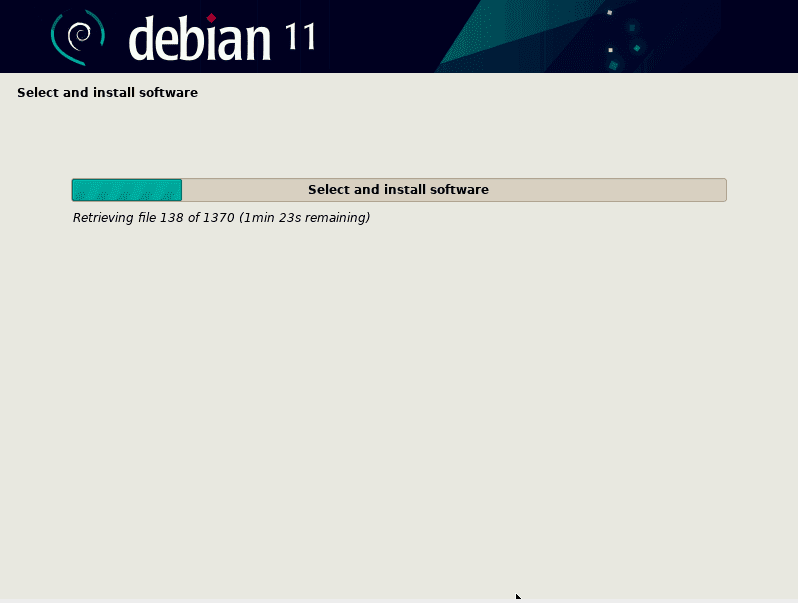
25. Wait for the installation process to finish:
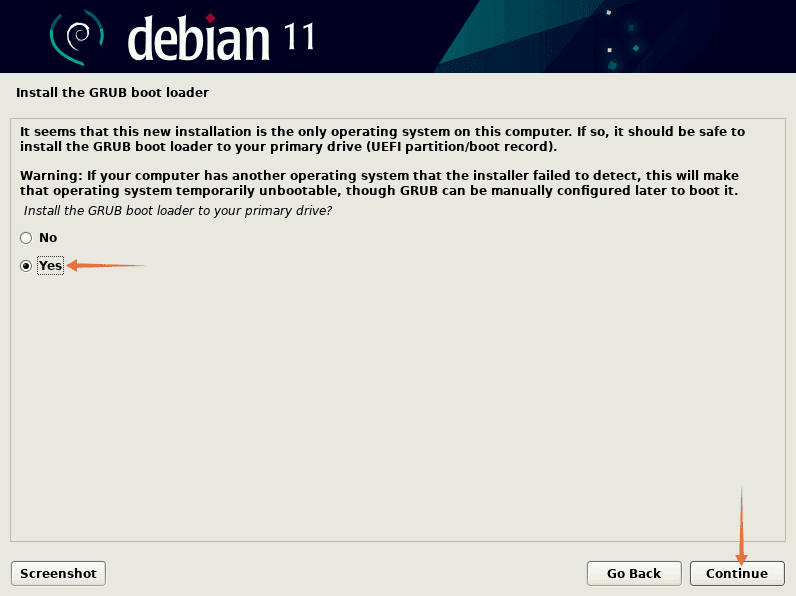
26. The next, step is boot loader installation, press “yes” to install the GRUB boot-loader, it is important to install because without it Debian will not load:
27. Now, select the storage media on which Debian is installed, it is usually “/dev/sda”, click “continue”:

28. Wait for the installation:
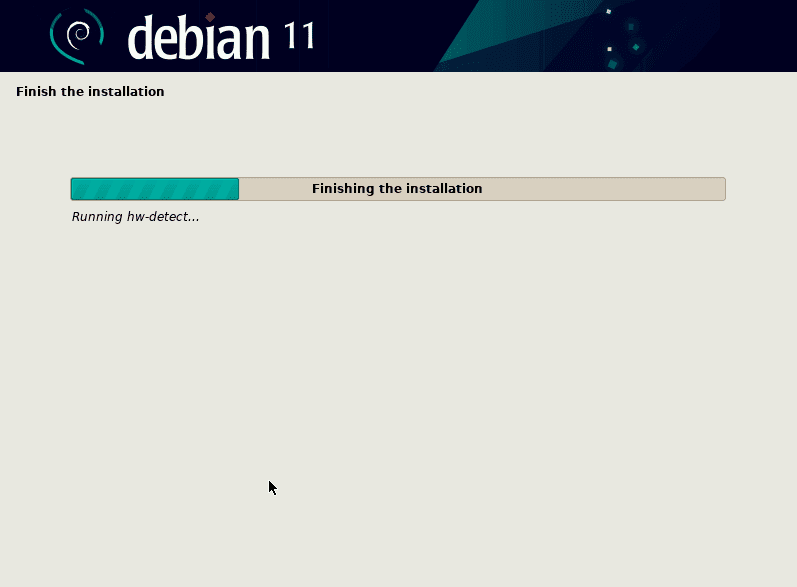
29. Now, the installation is completed:

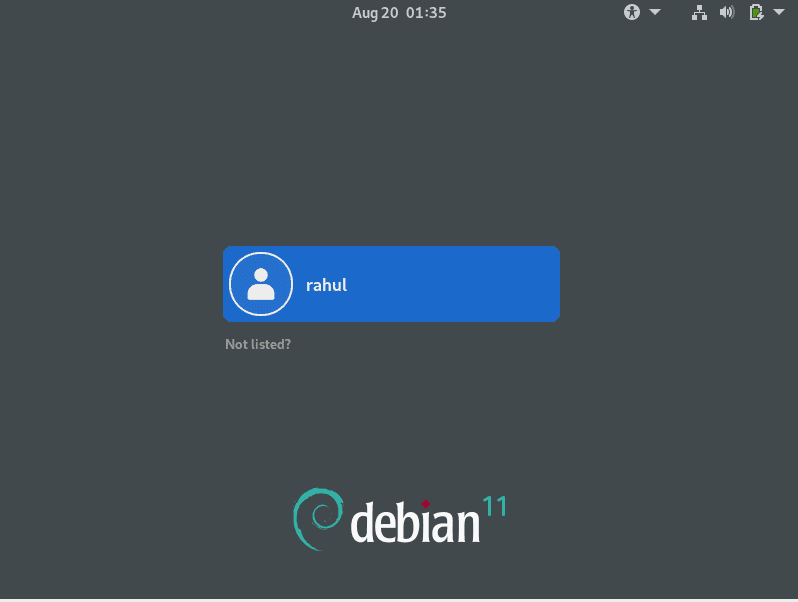
30. Now you will see the login screen, enter credentials created in the previous steps to begin using the latest Debian 11 Bullseye:
Congratulations, You have installed the most stable version of Debian Linux on your system.
Conclusion
Debian 11 Bullseye comes with a lot of enhanced features and to access the latest enhancements, it is recommended to upgrade if you are using an older version of Debian. There are various ways to get Debian 11 on your machine; a bootable USB drive with Debian ISO is recommended because of its convenience. This write-up gave a thorough guide on how to install Debian 11 on your machine.
2 Comments
Hi Rahul,
Give/show people the option to install the “Unofficial non-free images including firmware packages”.
These images/ISOs have non-free packages for firmware, eg wifi cards, see https://wiki.debian.org/Firmware
goto debian.org
click on Download Button
When asked to download ISO, click on Cancel Button
click on “Unofficial non-free images including firmware packages”
click on “11.2.0+nonfree/”, or if you want Live ISOs click on “11.2.0-live+nonfree/”
we will click on “11.2.0+nonfree/”
click on “amd64/” or “i386/”, depending on what you require
we will click on “amd64/”
click on “iso-cd/” for cd images or
click on “iso-dvd/”, this is mainly for desktop
for a server, we will click on “iso-cd/” for cd images
click on firmware-11.2.0-amd64-netinst.iso
once downloaded, continue “Creating a bootable USB” in your tutorial as above,
during the install, we wont install “Debian Desktop Environment” or “GNOME”, we will install “SSH server”
for a Desktop, we will click on “iso-dvd/” for DVD images, as we want to install a server
click on firmware-11.2.0-amd64-DVD-1.iso
once downloaded, continue “Creating a bootable USB” in your tutorial as above
for “live images including firmware packages”
Live images :- run Debian from the DVD/USB, without installing, to see if Debian will run on your PC/Laptop
while running Debian from the DVD/USB, you can install onto hard drive, there is an icon for installing Debian
goto debian.org
click on Download Button
When asked to download ISO, click on Cancel Button
click on “Unofficial non-free images including firmware packages”
click on “11.2.0-live+nonfree/”
click on “amd64/” or “i386/”, depending on what you require
we will click on “amd64/”
click on “iso-hybrid/”
Now download the desired ISO
For GNOME: debian-live-11.2.0-amd64-gnome+nonfree.iso
Thanks
William
The most important part of the Debian installation is about non-free.
It would be great if you can prepare that.