Docker is an open-source platform that simplifies the process of building, deploying, and managing applications by using containers. Containers allow developers to package applications with all their dependencies and configurations, making it easier to deploy and run applications consistently across various environments. This article aims to introduce Docker’s basics, explore the concept of containers, and understand the underlying architecture that makes this technology so powerful.
What is Docker?
Docker is a platform that automates the deployment and management of applications using containerization. It enables developers to streamline application development, testing, and deployment by allowing them to work in isolated environments called containers. These containers can be easily shared, ensuring that applications run consistently across different machines and platforms.
Understanding Containers
Containers are lightweight, portable, and self-sufficient units that package an application, along with its dependencies, libraries, and configurations, into a single executable unit. They run on a shared operating system but are isolated from one another, ensuring that they do not interfere with each other or the host system.
Benefits of containers
- Consistent environment: Containers provide a consistent environment for applications, reducing the risk of unexpected behavior caused by differences between development, testing, and production environments.
- Lightweight: Containers are more lightweight and resource-efficient compared to traditional virtual machines, as they share the host operating system’s kernel and do not require a full operating system for each instance.
- Portability: Containers can be easily moved and run across different platforms and environments, making it simple to deploy applications to various cloud providers or on-premises servers.
- Scalability: Containers can be easily scaled up or down to meet the changing demands of an application, making them ideal for microservices-based architectures.
Docker Architecture
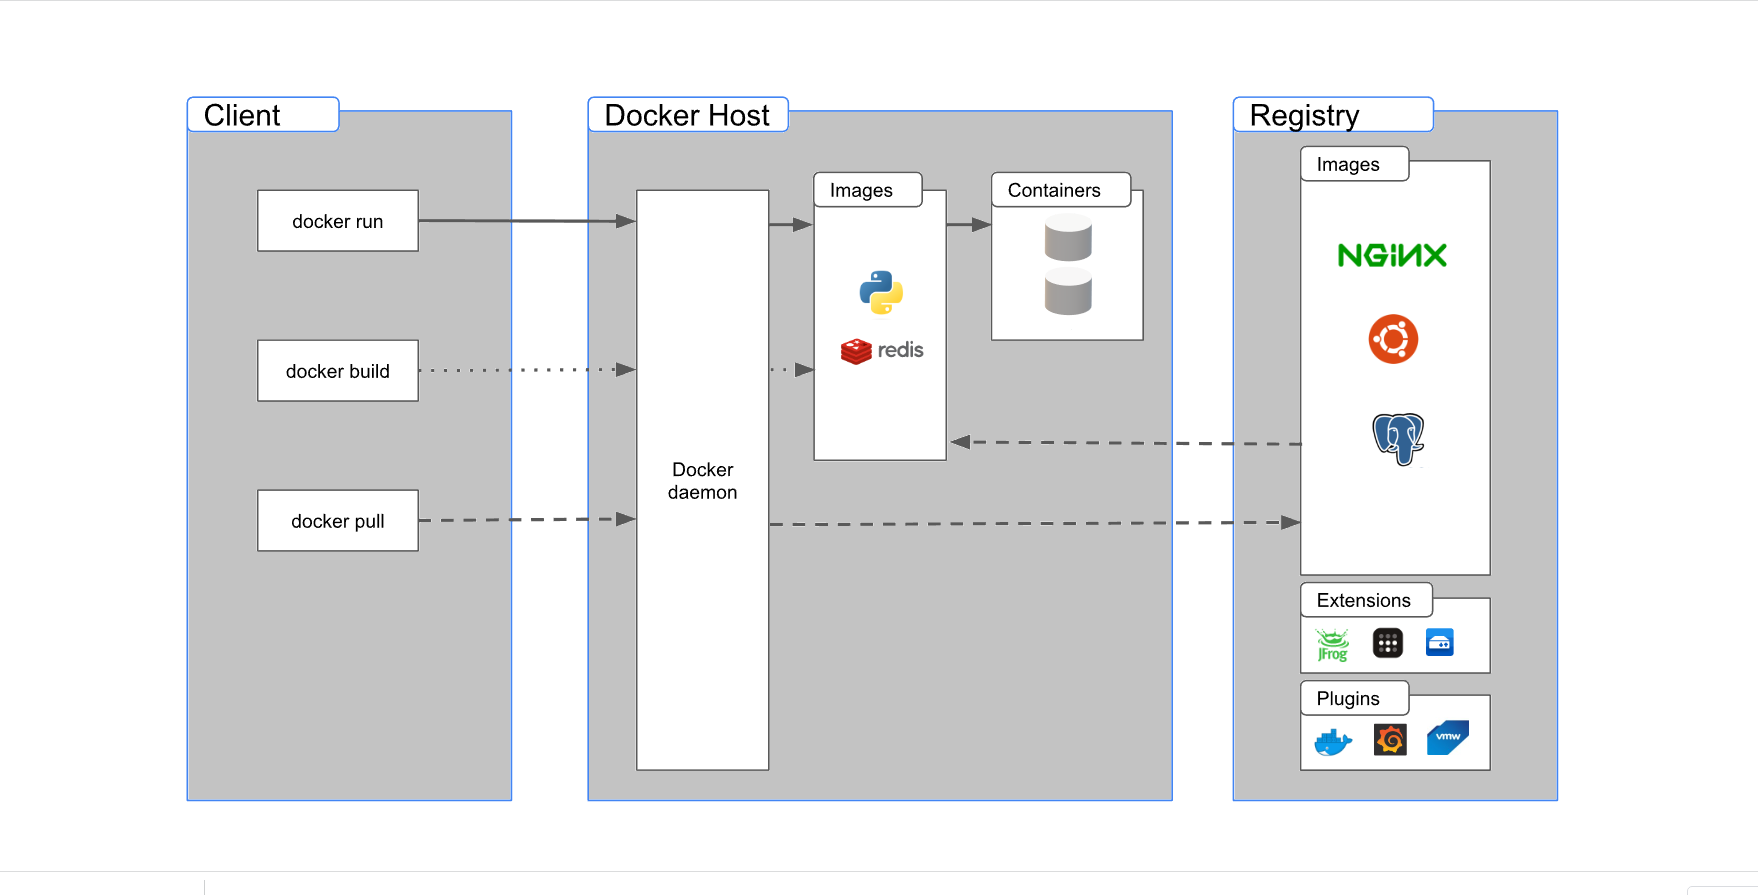
Docker follows a client-server architecture, consisting of the following components:
- Docker Daemon: The Docker daemon (dockerd) is a background process that manages Docker containers on a host. It listens to API requests and manages container objects such as images, containers, networks, and volumes.
- Docker Client: The Docker client is a command-line interface (CLI) or graphical user interface (GUI) tool that communicates with the Docker daemon. Developers use the client to issue commands to create, manage, and run containers.
- Docker Images: Images are the building blocks of containers. They are lightweight, portable, and self-contained snapshots of an application, including its dependencies and runtime environment.
- Docker Registry: A Docker registry is a centralized storage for Docker images. Docker Hub is the default public registry where you can find and share images, but you can also use private registries or create your own.
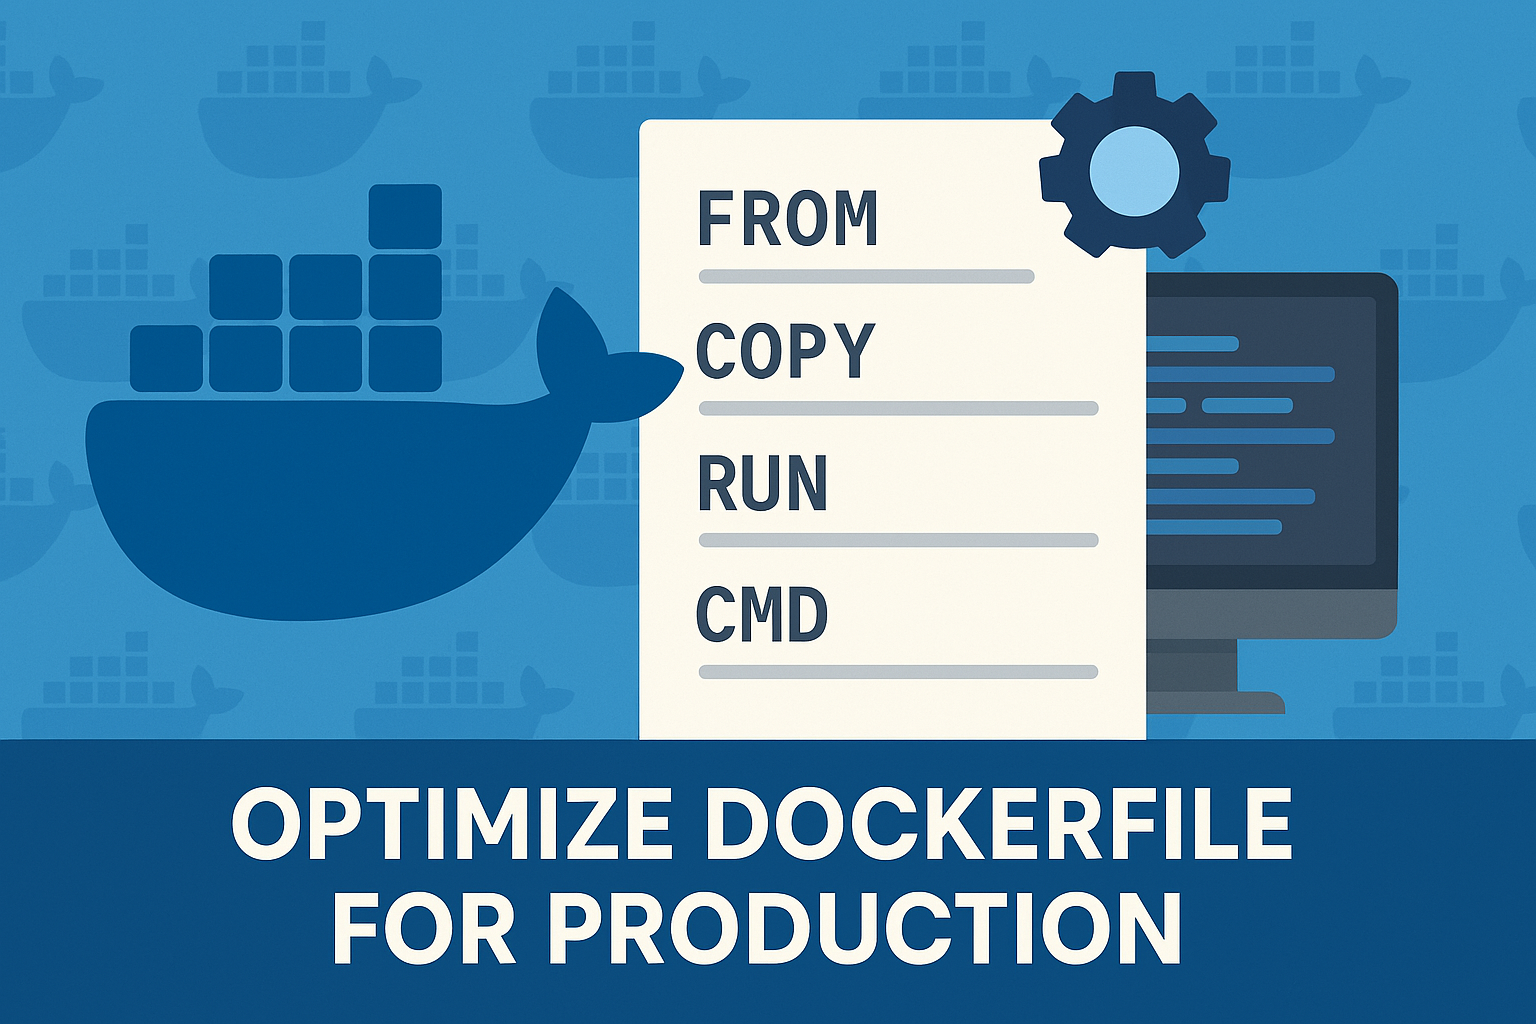
- Dockerfile: A Dockerfile is a script that contains instructions for building a Docker image. It specifies the base image, application code, dependencies, and configurations required for an application.

Getting Started with Docker
To start using Docker, follow these steps:
- Install Docker: Download and install Docker on your machine by following the instructions provided on the official Docker website (https://www.docker.com/get-started).
- Run a Docker container: After installation, open the terminal or command prompt and type the following command to run a simple Docker container: docker run hello-world. This command pulls the “hello-world” image from the Docker Hub and runs it as a container.
- Build your own Docker image: Create a Dockerfile with instructions to build a custom image. For example, to create an image for a simple Node.js application, use the following Dockerfile:1234567FROM node:14WORKDIR /appCOPY package*.json ./RUN npm installCOPY . .EXPOSE 8080CMD ["npm", "start"]
- Build the image: Navigate to the directory containing the Dockerfile and run the following command to build the image:
docker build -t your-image-name .Replace “your-image-name” with a name of your choice. This command creates a Docker image using the instructions provided in the Dockerfile.
- Run the custom Docker container: After building the image, you can run a container using the following command:
docker run -p 8080:8080 --name your-container-name your-image-nameReplace “your-container-name” with a name for your container, and “your-image-name” with the name you used when building the image. This command maps port 8080 of the host machine to port 8080 of the container and runs the container.
- Manage containers: You can use various Docker commands to manage containers, such as:
- `docker ps`: Lists running containers.
- `docker stop your-container-name`: Stops a running container.
- `docker rm your-container-name`: Removes a stopped container.
- `docker logs your-container-name`: Shows logs of a container.
- Share images: You can push your custom Docker images to Docker Hub or another registry by using the following command:
docker push your-image-nameYou may need to log in to your registry account or create one if you haven’t done so already.
Conclusion
Docker has revolutionized the way applications are developed, deployed, and managed by introducing containerization technology. With Docker, developers can ensure that their applications run consistently across different environments, reducing the chances of unexpected behavior and making the deployment process more efficient. By understanding Docker’s basics, containers, and architecture, you can begin to leverage this powerful technology to streamline your application development and deployment workflows.

