

This article will help you to Install Oracle JAVA 7 (JDK/JRE 7u76) on Ubuntu 14.10, 14.04 LTS and 12.04 LTS and LinuxMint systems using PPA File. To Install Java 8 in CentOS, Redhat and Fedora read This Article.

Install JAVA
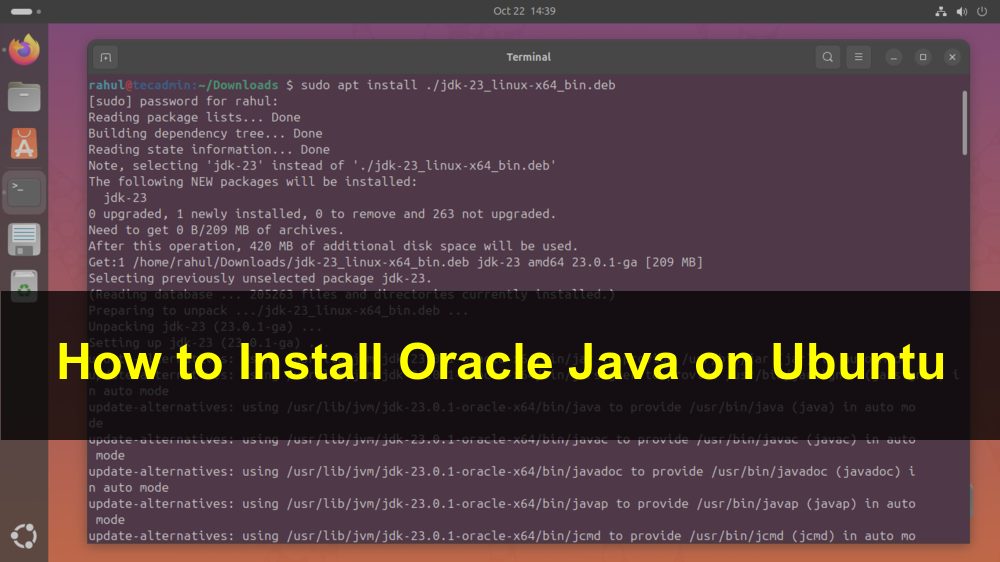
Add the webupd8team Java PPA repository in our system and install Oracle Java 7 using following set of commands. During installation installer will prompt for accepting license agreement.
$ sudoadd-apt-repository ppa:webupd8team/java $ sudoapt-get update $ sudoapt-get install oracle-java7-installer
Verify Java Version
After successfully installing Oracle Java 7 on Ubuntu & LinuxMint systems using above step, Le’ts verify installed version of Java on your system using following command.
$java -version java version "1.7.0_76 " Java(TM) SE Runtime Environment (build 1.7.0_76-b13) Java HotSpot(TM) 64-Bit Server VM (build 24.76-b04, mixed mode)
Step 3: Setup JAVA Environment
Webupd8team is providing a package to set Java 7 as default with environment variables. Install this package using following command.
$ sudo apt-getinstall oracle-java7-set-default
References:
https://launchpad.net/~webupd8team/+archive/java
How did it make you feel?

NOT WORK
Easy as 1,2,3.. Thanks!
Btw, how can I switch between from Java7 to Java8 and vice versa?
Simple and rocking steps…. thanks guys….