
Ubuntu, a popular operating system based on the Linux kernel, offers robust functionality and stability. However, like any other digital environment, it is susceptible to data loss due to human error, hardware failure, or malware. Therefore, having a backup and restore strategy is paramount to maintaining the integrity of your Ubuntu system. This article provides a comprehensive guide on how to back up and restore your Ubuntu system effectively.
Table of Contents
- Importance of Backups
- Choosing a Backup Tool
- Backup and Restoration using Deja Dup
- Backup and Restoration using Timeshift
- Advance Backup Options using CLI
- Backup and Restoration Best Practices
- Conclusion
1. Importance of Backups
In a digital world, data loss can cause significant problems, from losing important documents to disrupting business operations. Regular backups help protect your data from accidental deletion, hardware failures, and malware attacks. They also offer a safety net during system upgrades; if something goes wrong, you can always restore your system to its previous state.
2. Choosing a Backup Tool
Ubuntu provides various tools for system backup, each with its unique features and specifications. Some of the notable tools include:
- Deja Dup: This is a simple backup tool available in the Ubuntu Software Center. It offers an easy-to-use interface, scheduled backups, and supports both local and remote backup locations.
- Rsync: This is a command-line tool for synchronizing and backing up files. It’s highly flexible and powerful, especially for advanced users who prefer granular control over their backups.
- Timeshift: This tool is excellent for system restore points, similar to the System Restore feature in Windows. It takes incremental snapshots of your system, which can be restored at a later time.
Consider the nature of the data you’re backing up, the complexity of the backup process you’re willing to handle, and the storage space you have available when choosing a backup tool.
3. Backup and Restoration using Deja Dup
Backing Up Your Ubuntu System
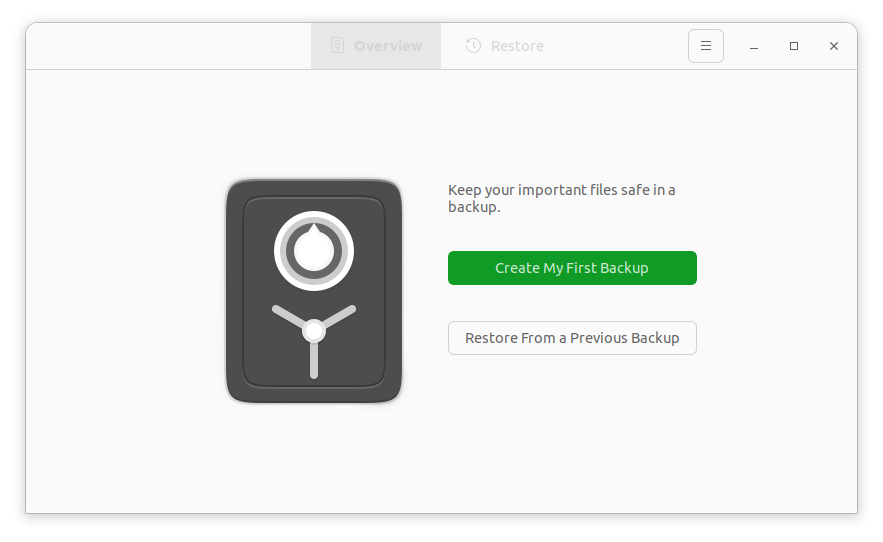
For this example, we will use Deja Dup due to its simplicity and ease of use for beginners. Here’s a step-by-step guide on how to use it:
- Install Deja Dup: You can install it from the Ubuntu Software Center or by running the following command in the terminal:
sudo apt-get install deja-dup - Set Up Your Backup: Open Deja Dup, and select the folders you want to backup and the location for the backup. You can choose a local directory, a network server, or a cloud location like Google Drive.
- Schedule Your Backup: In the ‘Scheduling’ tab, you can set Deja Dup to automatically backup your data daily or weekly.
- Start Your Backup: Click ‘Back Up Now’ to start the backup process. Depending on the size of the data, it might take some time.

Restoring Your Ubuntu System
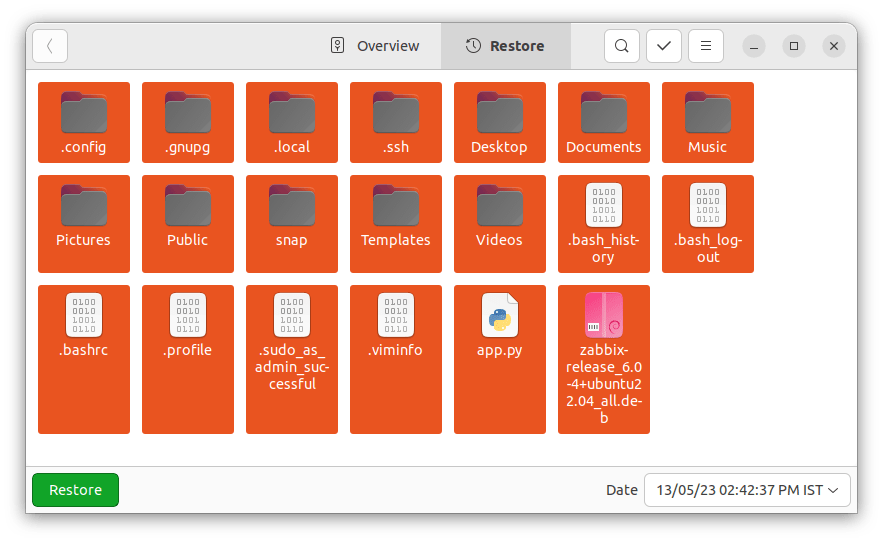
Restoring your system with Deja Dup is straightforward:
- Open Deja Dup and click on the ‘Restore’ button.
- Choose the backup location and the date of the backup you want to restore.
- Select the location for the restored files. To restore your system to its previous state, choose the original locations.
- Click ‘Restore’ to begin the restoration process.
4. Backup and Restoration using Timeshift
Timeshift functions like a time machine, enabling you to ‘go back in time’ and restore your system to the exact state it was in when the snapshot was taken. This is particularly useful in situations where you’ve installed a problematic update or software that has made your system unstable.
Here’s a step-by-step guide to use Timeshift:
- Install Timeshift: You can install Timeshift using the following commands in the terminal:
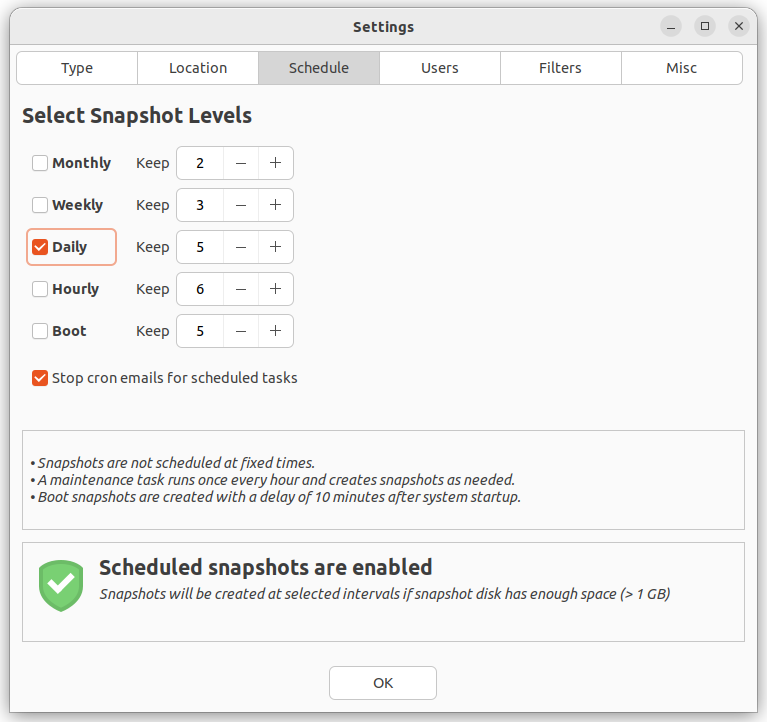
sudo add-apt-repository -y ppa:teejee2008/timeshiftsudo apt-get updatesudo apt-get install timeshift - Create a System Snapshot: Open Timeshift from your applications menu. On its first launch, Timeshift will run a setup wizard where you can select the snapshot type (RSync or BTRFS) and the location to save snapshots. After completing the setup, click ‘Create’ to create a new snapshot.
- Restore a Snapshot: If you need to restore a snapshot, open Timeshift, select the snapshot you want to restore, and click ‘Restore’. Your system will reboot and when it comes up, it will be in the exact state it was when the snapshot was taken.

5. Advance Backup Options using CLI
If you’re an advanced user comfortable with the command-line interface (CLI), you might prefer a more granular backup option like Rsync or Tar.
Using Rsync
Rsync is a powerful command-line tool for backup and file synchronization. A basic Rsync command looks like this:
rsync -av --progress source_directory destination_directory
This command will sync files from the source directory to the destination directory. The “-av” flags stand for “archive” (preserving symbolic links, file permissions, user & group ownerships, and timestamps) and “verbose” (providing detailed information on the sync process).
Using Tar
Tar is another command-line tool that can create a compressed archive (a ‘tarball’) of your files or directories, which you can then move to an external drive or a remote server. Here’s how you can create a tarball:
tar -czvf name_of_archive.tar.gz /path/to/directory/
In this command, “-c” creates a new archive, “-z” compresses it, “-v” provides verbose output, and “-f” allows you to specify the name of the archive.
6. Backup and Restoration Best Practices
Here are a few tips to make your backup and restore process effective:
- Regular Backups: Schedule regular backups to ensure your latest data is always secured.
- Multiple Backups: Consider having multiple backup copies in different locations for added security.
- Test Your Backups: Regularly test your backups to ensure they can be restored properly when needed. There’s nothing worse than discovering a backup is corrupt when you need it most.
- Use Encryption: If your backup includes sensitive information, consider using encryption to secure your data.
- System Updates: Before performing a system update or software installation, take a backup. If anything goes wrong, you can revert your system to its previous state.
- Use Cloud Storage: Consider using cloud storage for your backups. It provides off-site storage, which protects against data loss due to physical damage or theft.
Conclusion
Whether you’re a casual user, a professional, or a business, backing up your Ubuntu system is essential for data integrity and security. While it may seem like a chore, the peace of mind you get knowing that your data is safe is worth it.
In this guide, we’ve covered how to use Deja Dup for simple, scheduled backups, as well as advanced command-line tools like Rsync and Tar. We’ve also introduced you to Timeshift for system snapshots and restoration. By implementing these tools and following best practices, you can ensure the safety of your data and the stability of your Ubuntu system.
Remember, the best backup strategy is the one that you’ll actually use. So choose the tools and practices that best fit your needs and habits. Stay safe and always keep a backup!