
Apache, the world’s most widely used web server software, offers flexibility and a robust set of features. One common task that administrators often encounter is changing the server’s port number. This article provides a detailed, step-by-step guide to help you successfully change the port number in Apache.
Introduction
The default HTTP port for Apache is 80, and for HTTPS, it’s 443. However, there are various reasons you might need to change these, such as running multiple servers on one machine or avoiding conflicts with other applications. This guide assumes a basic understanding of Apache and its configuration files.
Step-by-Step Guide to Changing the Port Number in Apache
Step 1: Access the Apache Configuration File
The first step involves accessing the Apache main configuration file, typically named httpd.conf or apache2.conf. The location of this file varies depending on the operating system and Apache version:
- On RHEL-based Systems: /etc/httpd/conf/httpd.conf
- On Debian-based Systems: /etc/apache2/ports.conf
- For Windows users, it’s often located in the conf directory within the Apache installation directory.
Step 2: Locate the Listen Directive
Within the configuration file, look for lines starting with the Listen directive. This directive tells Apache on which IP addresses and ports it should listen for requests. By default, you might see something like:
Listen 80
Step 3: Change the Port Number
To change the port number, simply edit the number after the Listen directive. For instance, if you want Apache to listen on port 8080, modify the line to:
Listen 8080
If you’re running Apache with SSL/TLS and want to change the HTTPS port, change Listen 443 in configuration file as well as in Virtual hosts.
Step 4: Check for Virtual Hosts Settings
If your Apache server uses virtual hosts, you’ll also need to change the port number in each <VirtualHost> block in the configuration files. The line usually looks like this:
<VirtualHost *:80>
Change 80 to your new port number.
After making the changes, save the configuration file. Ensure you do not unintentionally change any other settings.
Step 5: Restart Apache
For the changes to take effect, restart the Apache server. This can be done via command line. On Unix/Linux systems, the command is often:
sudo systemctl restart apache2
On Windows, you can restart Apache through the Apache Service Monitor or by using the httpd.exe -k restart command in the command prompt.
Step 6: Test the New Configuration
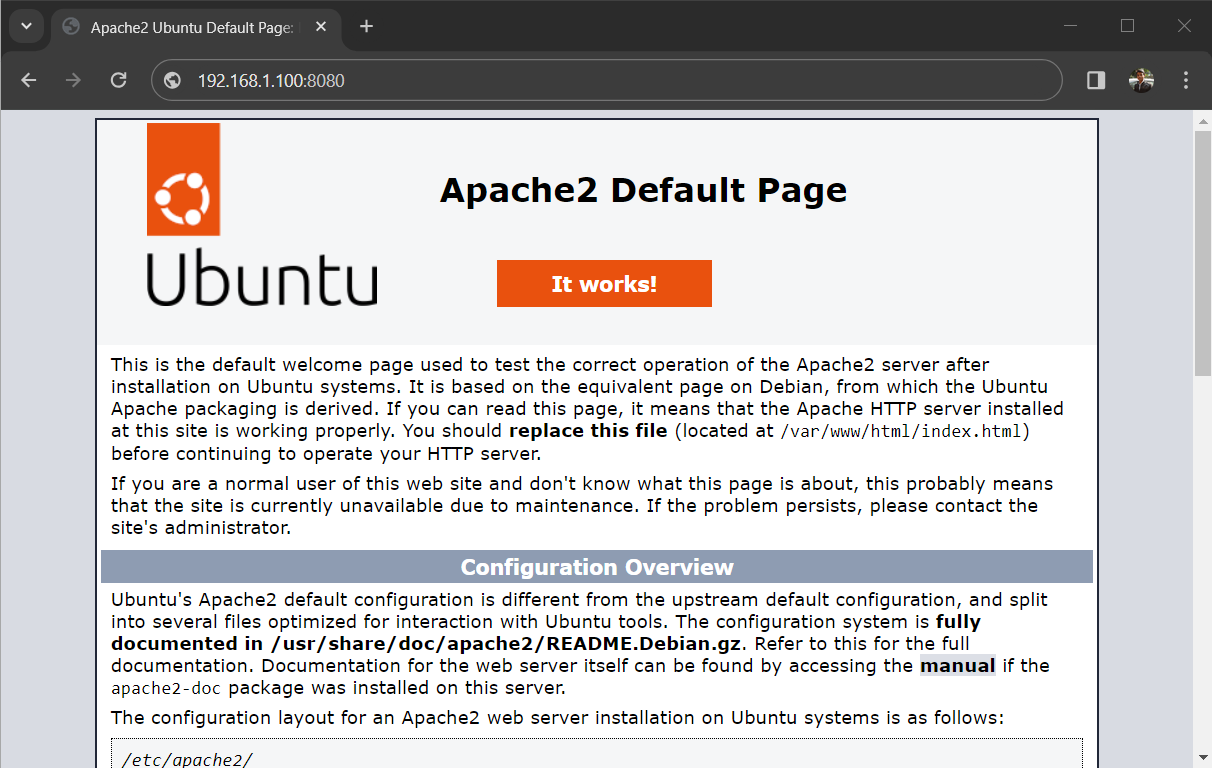
Open your web browser and try accessing your site using the new port number, for example, http://your_system_ip:8080. If everything is configured correctly, your site should load.

Conclusion
Changing the port number in Apache is a straightforward process, but it requires careful attention to detail. Always remember to back up your configuration files before making any changes. This precaution allows you to restore the original settings in case something goes wrong.
By following these steps, you can customize your Apache installation to suit your specific needs and maintain a smoothly running web server.