In today’s world, many people use virtual machines (VMs) to run different operating systems on one computer. Microsoft Hyper-V is a tool that helps you create and run these VMs, especially on Windows Server. However, when using Ubuntu on a VM in Hyper-V, the screen resolution might not fit your monitor properly, making it harder to use. This guide will show you easy steps to change the screen resolution on your Ubuntu VM in Hyper-V so you can work more comfortably and clearly.
How to Change Screen Resolution for an Ubuntu VM on Hyper-V
To improve your experience and change the screen resolution of your Ubuntu VM on Hyper-V, follow these simple steps:
- Log in with Admin Rights: Make sure you are logged into your system as a user with sudo or root permissions.
- Edit the GRUB Settings:
- Open a terminal and edit the GRUB settings by typing:
sudo vim /etc/default/grub - Find the line that says GRUB_CMDLINE_LINUX_DEFAULT and change it to:
GRUB_CMDLINE_LINUX_DEFAULT="quiet splash video=hyperv_fb:1366x768"Change ‘1366×768’ to the resolution that works best for your computer.
- Open a terminal and edit the GRUB settings by typing:
- Update GRUB and Install Extra Drivers:
- Update the GRUB settings by typing:
sudo update-grub - Install extra drivers to improve performance by typing:
sudo apt install linux-image-extra-virtual
- Update the GRUB settings by typing:
- Restart Your System:
- Restart your system by typing:
sudo reboot - After restarting, log in and switch to full-screen mode to check the new screen resolution.
- Restart your system by typing:
Following these steps will allow you to fully use the display features of Ubuntu on Hyper-V, making your experience smoother and more productive.
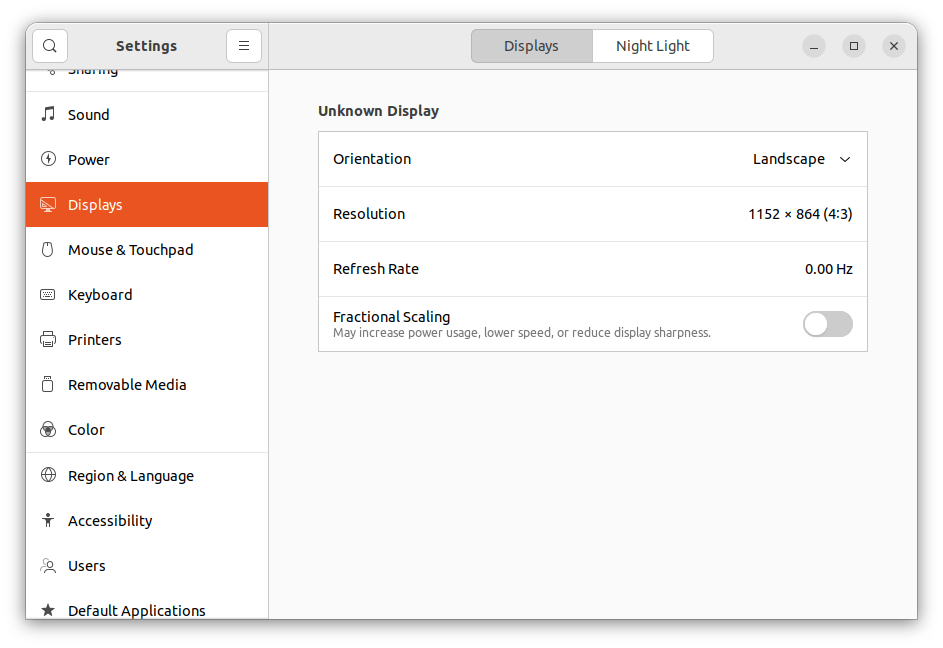
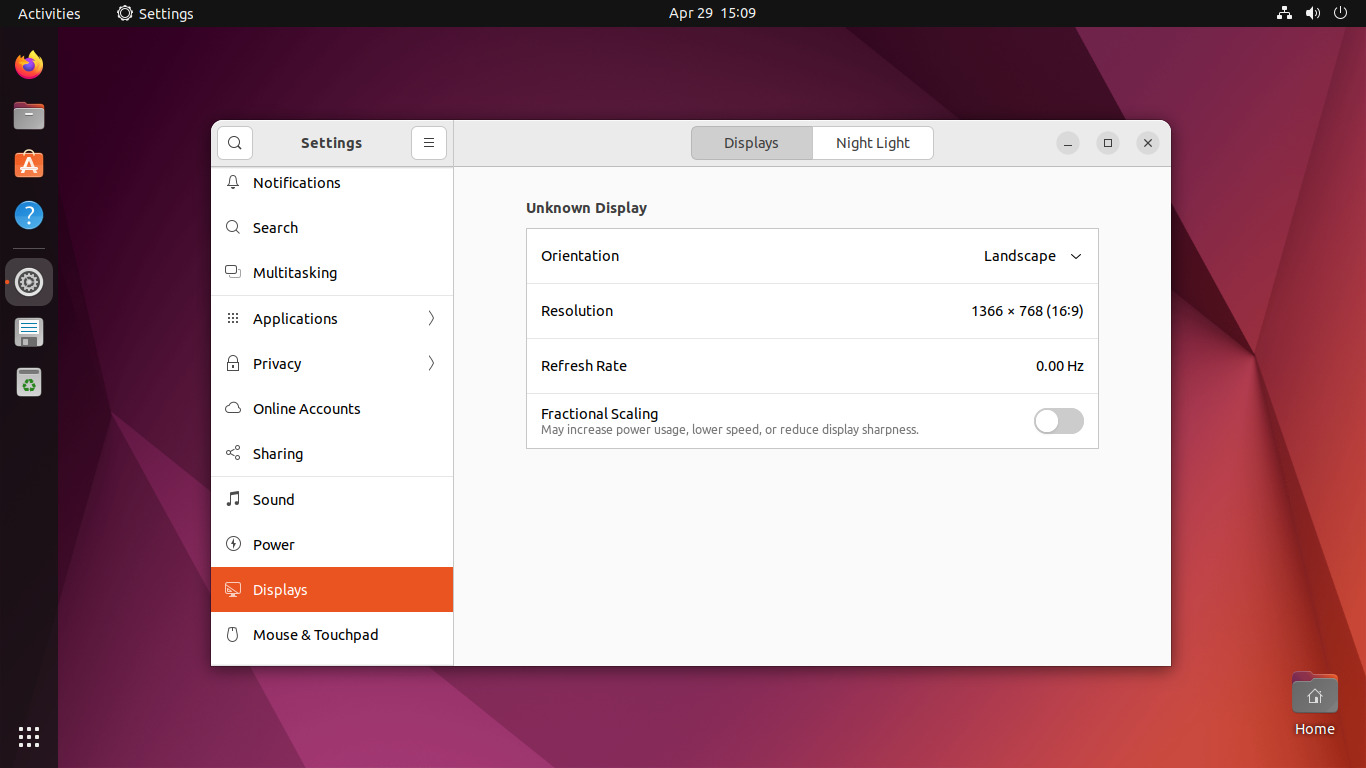
Check Your New Screen Resolution
Now, make sure the screen resolution on your Ubuntu VM has been updated on Hyper-V.
Conclusion
Changing the screen resolution of your Ubuntu VM on Hyper-V can make your work more comfortable and productive. By following these steps, you can easily adjust the display settings to fit your needs. Whether you need a higher resolution for certain applications or simply want a clearer display, these changes will help you get the best experience from your virtual machine on Windows Server. Keep this guide for future use if you need to adjust your display settings again.
8 Comments
Borked the stock Ubuntu 18.04 VM when I tried to set the resolution to 1920 x 1080. VM becomes unreachable and won’t shutdown. Whatever you do, make sure you create a checkpoint *before* dorking with grub settings.
Ubuntu 22.04.3 LTS result:
sudo: vim: command not found
Hello!
/etc/default/groub >>>> /etc/default/grub
Thanks
This does not seem to be an issue after updating to the latest Ubuntu studio distribution: 22.04 as of writing this comment. The GUI is the KDE Plasma environment and it is now listing all available resolutions in the Display settings applet.
Thank you, that was so helpful.
does not work for 2560×1440, still no full screen
Thanx for the post. Worked for me. Pity that you need to do this as some other distros you can change the resolution from the settings panel