
In today’s digital-driven environment, virtualization technologies are indispensable, empowering users to operate multiple operating systems on a single hardware unit. Microsoft’s Hyper-V stands out as a robust virtualization tool, particularly favored for its ability to host virtual machines (VMs) efficiently on Windows Server environments. A frequent hurdle encountered by users operating Ubuntu VMs on Hyper-V is adjusting the screen resolution to match their specific needs. The default settings often do not align with user displays, which can hinder productivity and ease of use.
This guide offers a detailed, easy-to-follow procedure on enhancing your Ubuntu VM’s screen resolution within Hyper-V, aimed at boosting both functionality and visual clarity.
How to Adjust Screen Resolution for an Ubuntu VM on Hyper-V
To enhance your user experience by optimizing the screen resolution of your Ubuntu VM in Hyper-V, follow these comprehensive steps:
- Access Your System with Administrative Privileges: Ensure you are logged into your system as a user with sudo or root permissions.
- Modify the GRUB Configuration:
- Open a terminal and edit the GRUB configuration file by entering:
sudo vim /etc/default/grub - In the text editor, locate the GRUB_CMDLINE_LINUX_DEFAULT variable and update its value to:
GRUB_CMDLINE_LINUX_DEFAULT="quiet splash video=hyperv_fb:1366x768"Replace ‘1366×768’ with the resolution that suits your host machine.
- Open a terminal and edit the GRUB configuration file by entering:
- Update GRUB and Install Necessary Drivers:
- Apply the changes to GRUB by executing:
sudo update-grub - Install additional drivers that are not included in the base kernel to ensure optimal performance:
sudo apt install linux-image-extra-virtual
- Apply the changes to GRUB by executing:
- Reboot and Test the Changes:
- Restart your system to implement the changes:
sudo reboot - Once rebooted, log into the Ubuntu desktop and switch to full-screen mode to experience the updated resolution settings.
- Restart your system to implement the changes:
These steps will enable you to fully utilize the visual capabilities of Ubuntu on the Hyper-V platform, ensuring a seamless and productive user experience.
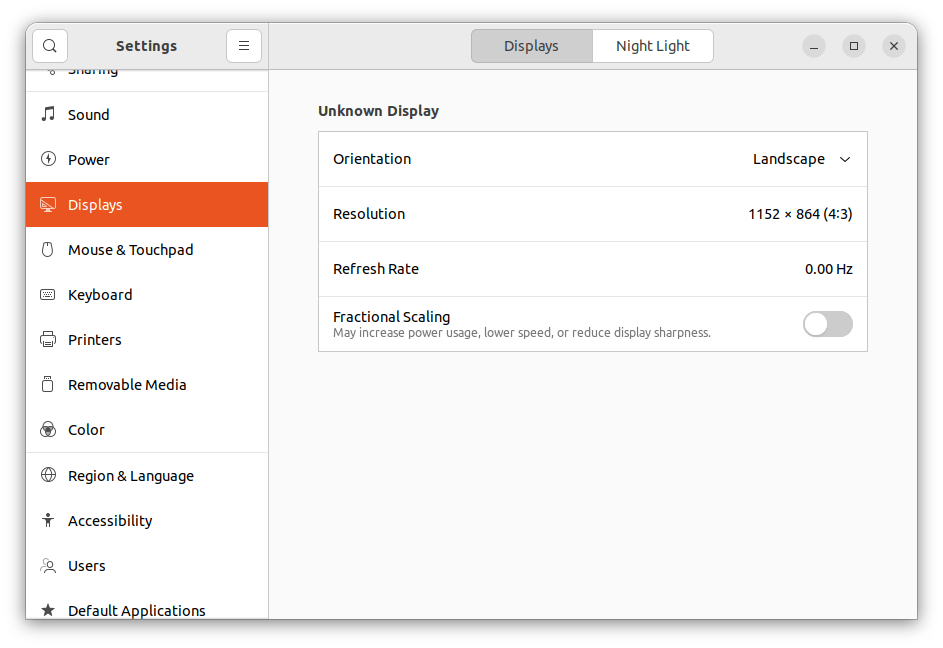
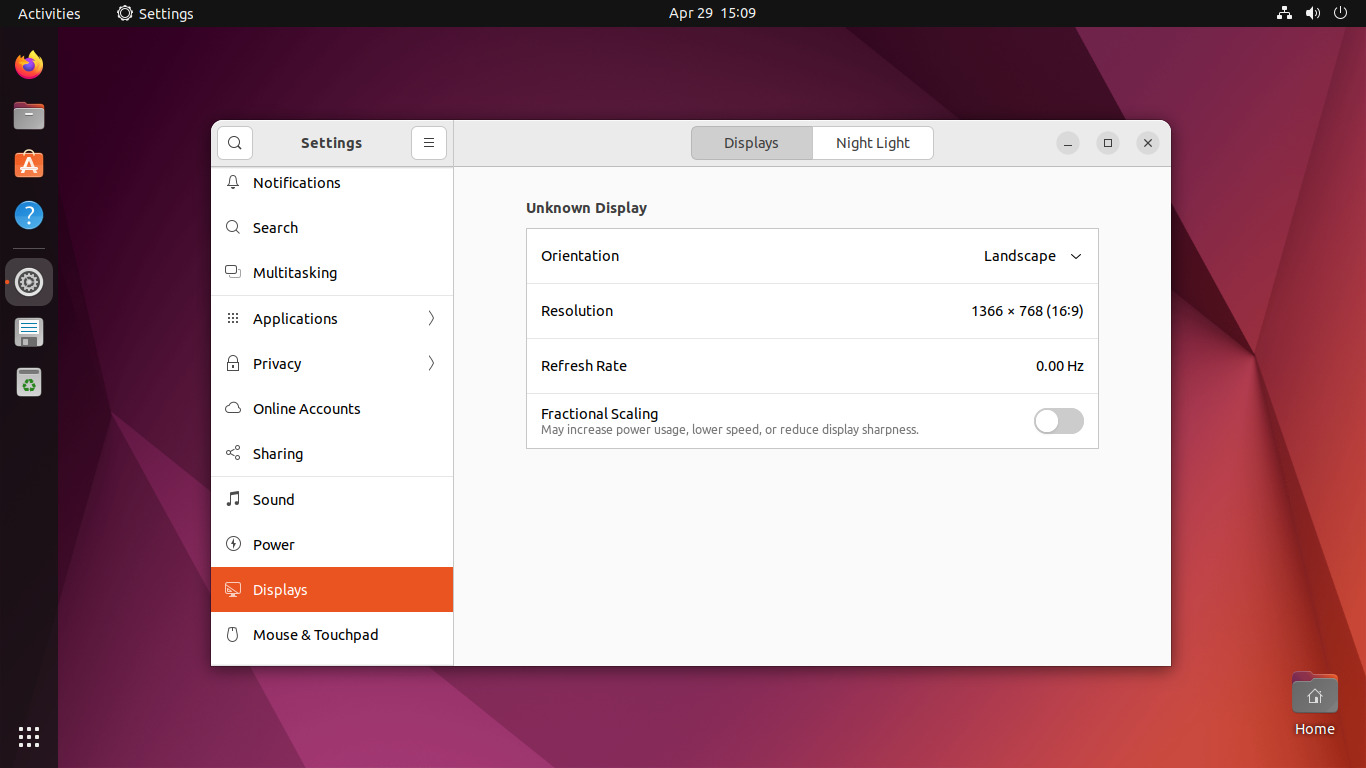
Confirm Resolution Adjustment
Now, verify the updated screen resolution settings of your Ubuntu VM on the Hyper-V platform.
Conclusion
Successfully adjusting the screen resolution of your Ubuntu virtual machine on Hyper-V can significantly enhance your operational efficiency and visual comfort. By following the detailed steps provided, you can tailor the display settings to meet your specific requirements, ensuring a more productive and enjoyable experience. Whether you’re running applications that require higher resolution or simply prefer a clearer and more defined display, these adjustments will help you get the most out of your virtual environment on Windows Server systems. Keep this guide handy for future reference to maintain optimal display settings as your needs evolve.
7 Comments
Ubuntu 22.04.3 LTS result:
sudo: vim: command not found
Hello!
/etc/default/groub >>>> /etc/default/grub
Thanks
This does not seem to be an issue after updating to the latest Ubuntu studio distribution: 22.04 as of writing this comment. The GUI is the KDE Plasma environment and it is now listing all available resolutions in the Display settings applet.
Thank you, that was so helpful.
does not work for 2560×1440, still no full screen
Thanx for the post. Worked for me. Pity that you need to do this as some other distros you can change the resolution from the settings panel