Apache Tomcat is a widely used open-source Java Servlet Container developed by the Apache Software Foundation (ASF). It powers numerous large-scale, mission-critical web applications across a diverse range of industries and sectors. A common task for developers and system administrators working with Tomcat is changing the server’s port number. The default port for Tomcat is 8080, but there may be situations where you need to modify this port due to conflicts with other services, security policies, or to run multiple Tomcat instances on the same server.
This guide provides a step-by-step approach to changing the Tomcat server port, ensuring even those new to Tomcat can confidently make this adjustment.
Prerequisites
- Access to the Tomcat server
- Basic understanding of XML files
- Text editor (e.g., Notepad++, Vim, Nano)
Step-by-Step Guide: Changing Tomcat Port
Step 1: Stop the Tomcat Server
Before making any changes, ensure that the Tomcat server is not running. You can stop the Tomcat server by executing the shutdown script located in the bin directory of your Tomcat installation.
- On Windows, run shutdown.bat.
- On Linux/Unix, run ./shutdown.sh.
Step 2: Edit the server.xml File
The port number for the Tomcat server is defined in the server.xml file. This file is located in the conf directory of your Tomcat installation.
Open the server.xml file in your text editor. Look for the
<Connector port="8080" protocol="HTTP/1.1"
           connectionTimeout="20000"
           redirectPort="8443" />
Step 3: Change the Port Number
Modify the value of the port attribute to your desired port number. For example, to change the port to 8081, you would adjust the element to look like this:
<Connector port="8081" protocol="HTTP/1.1"
           connectionTimeout="20000"
           redirectPort="8443" />
Ensure the port number you choose is not already in use by another service and is within the allowable range for your operating system.
Step 4: Save the Changes and Restart Tomcat
After changing the port number, save the server.xml file and close your text editor. Restart the Tomcat server to apply the changes. You can start Tomcat by running the startup script located in the bin directory of your Tomcat installation.
- On Windows, run startup.bat.
- On Linux/Unix, run ./startup.sh.
Step 5: Verify the New Port Configuration
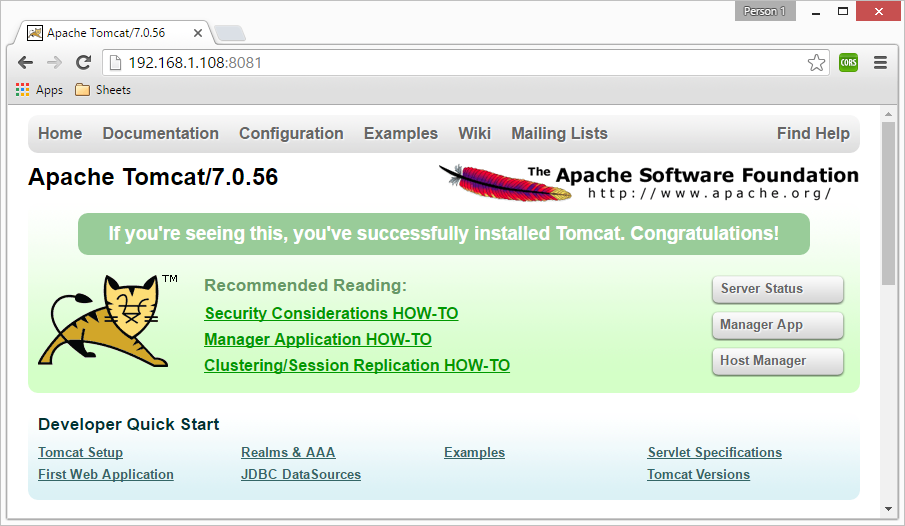
To confirm that Tomcat is now running on the new port, open a web browser and visit http://localhost:new_port_number, replacing new_port_number with the port number you specified in server.xml. If you see the Tomcat welcome page, the port change was successful.

Troubleshooting
- Port Conflict: If Tomcat does not start after changing the port, it’s possible the new port is already in use. Choose another port and repeat the process.
- Firewall Restrictions: Ensure your firewall allows traffic through the new port, especially if changing to a non-standard port number.
Conclusion
Changing the Tomcat server port is a straightforward task that can be accomplished in a few simple steps. This flexibility allows Tomcat to coexist with other server applications and meet various deployment requirements. By following this guide, you should be able to adjust the Tomcat server port to suit your specific needs, enhancing your application’s deployment and management processes.


1 Comment
I have configured tomcat connector on one server and create different virtual host domain but I am facing some issue like I have created vms.dev.com:7070 domain and other is vms.test.com:9090 in tomcat server both domain is accessible in browser but when I open vms.dev.com:9090 it will also open and its directory location is test server and when I open vms.test.com:7070 it will also open and its directory location in dev server. it is possible to restrict port access on other domain in same server like if I want to open vms.dev.com:9090 then it should be give some error. Please help me to solve this issue.