Amazon EBS (Elastic Block Store) provides persistent block storage for using with Amazon instances. Each Amazon EBS volume offering high availability and durability. It has capability to automatically replicate in its Availability Zone to protect you from component failure.
This article will help you to Create and Add EBS Volume to your existing instance. All the command are used with this article are used with CentOS 6.5. So change commands used in Step #3 as per operating system used.
Step 1: Create an EBS Volume
First we need to login to AWS EC2 dashboard. After login navigate to following location and create an EBS volumes of preferred size. Below screenshots will provide you help about this.
-
AWS Account >> EC2 Dashboard >> Volumes
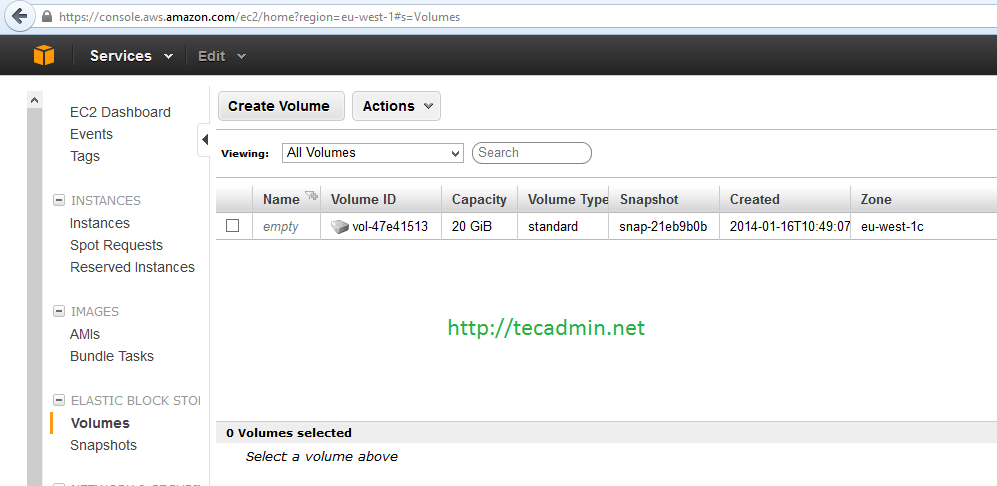
Now click on
- Volume Time: Standard
- Size: As per requirement
- Availability Zone: This should be same in which instance is running
- Snapshot: Leave it if create fresh EBS
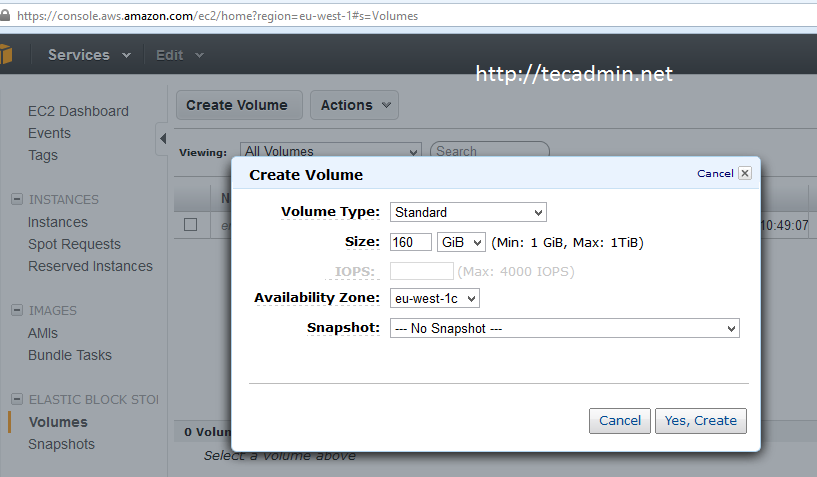
After filling all the details click on
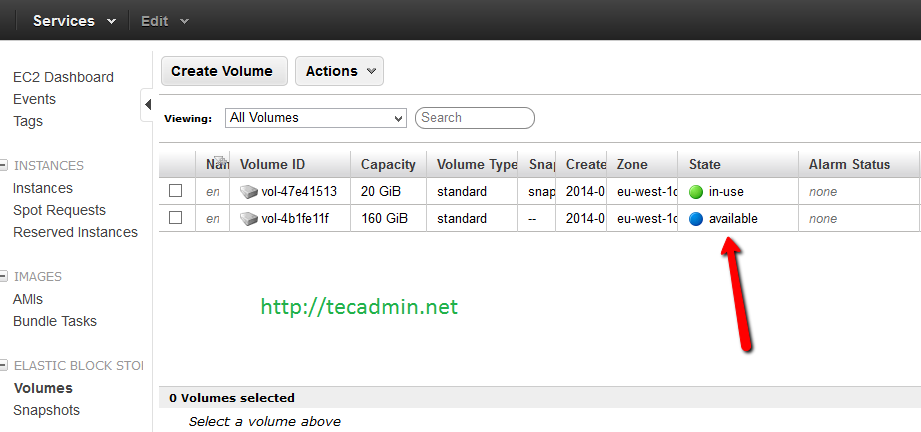
Step 2: Attach EBS Volume
As you have created an EBS volume in your account, lets attach this in your instance of your choice. Follow below navigation option to find the options.
-
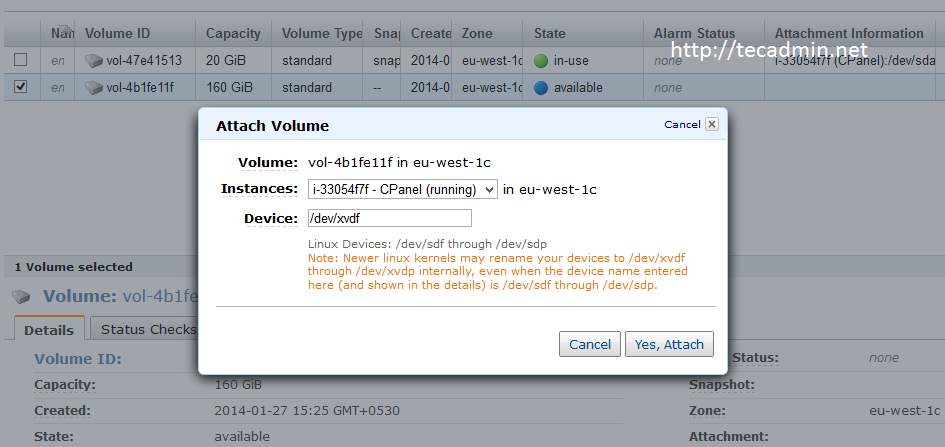
Select New Volume >> Actions Menu >> Select Attach Volume
It will show input box like below. Select the instance to which you need to attach.
Step 3: Mount EBS Volume in Server
After completing above step, Now new volume will list your system. You can check this using ‘fdisk -l‘ command. This article assume that newly disk is /dev/xvdf.
Now use following command to create new filesystem to newly attached EBS volume, Run below command with care and make sure you are formatting right volume.
# mkfs /dev/xvdf
After creating filesystem, Lets mount this disk on your mount point for eg: /mnt using following command.
# mount /dev/xvdf /mnt
Add below entry at the end of file /etc/fstab to enable auto mount disk on your system reboot.
/dev/xvdf /mnt ext4 defaults 1 1
")