
Next.js is a free, open-source JavaScript framework created by Vercel. Developed on top of React, it’s designed to provide an efficient solution for building server-side rendered and static websites. It offers powerful features like hybrid static & server rendering, TypeScript support, smart bundling, and route pre-fetching. It’s a great choice for your next web application project.
This article is a step-by-step guide to help you get started with Next.js. We’ll focus on setting up a new application from scratch.
Prerequisites
Before you start, you should have:
- Basic knowledge of JavaScript and React.
- Node.js (version 16.8 or later) and npm installed on your computer. You can check the installed version by running `node -v` and `npm -v` in your terminal.
Creating a New Next.js Application
Step 1: Create a new project
Next.js provides a command-line tool `create-next-app` to bootstrap a new project. Run the following command in your terminal:
npx create-next-app@latest my-next-app
Replace “my-next-app” with the name you want for your project. This command will create a new directory with the project name, and install all necessary dependencies.
Step 2: Navigate into the project directory
Once the installation process is completed, navigate into the newly created project directory:
cd my-next-app
Step 3: Start the development server
In the project directory, you can start the development server by running:
npm run dev
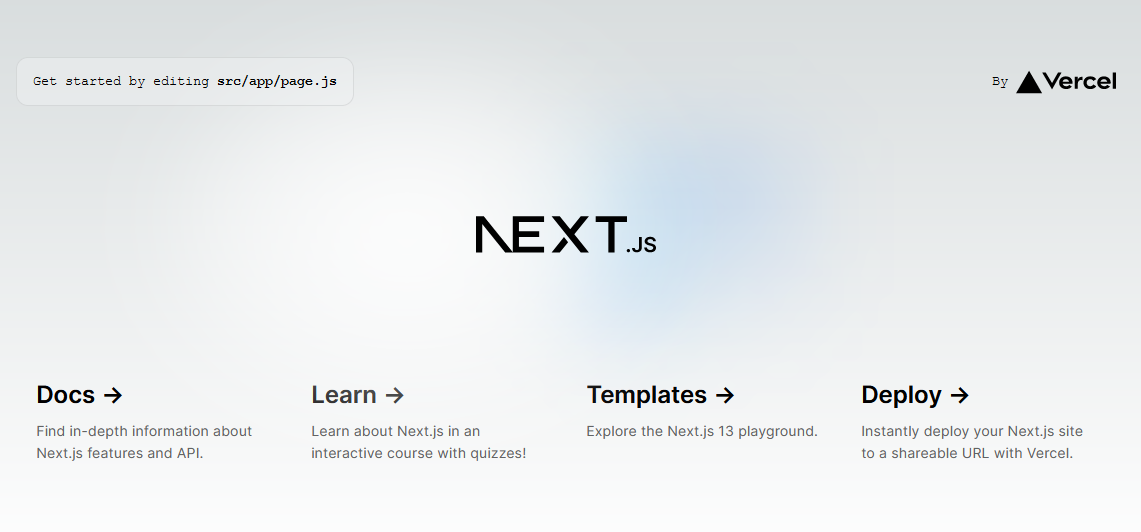
You should see a message in your terminal saying that the server is running at http://localhost:3000. Open your web browser and visit this URL. You will see the default Next.js starter page.

Understanding the Project Structure
The Next.js project you’ve just created comes with a certain directory structure and some pre-defined files:
- pages: This is where your application’s pages are located. Each JavaScript or TypeScript file in this directory corresponds to a route based on its file name.
- public: This directory is used for serving static assets such as images, stylesheets, and scripts.
- styles: This directory holds style files. The starter project uses CSS modules.
- package.json: This file contains scripts and dependencies of the project.
- .next: This is the build output directory used by Next.js for its build process. It’s auto-generated and should not be modified manually.
Customizing the Homepage
Let’s start by customizing the homepage of our Next.js application. Open the `index.js` file in the pages directory and replace the existing content with:
import styles from '../styles/Home.module.css'

export default function Home() {
  return (


          Welcome to My Next.js App!


          Get started by editing{' '}
          pages/index.js


  )
}
Save the file and return to your browser. The server will automatically hot-reload the page when files are changed. You should see the updated title on your homepage.
Conclusion
In this article, we’ve walked through creating a new Next.js application from scratch, understanding the project’s structure, and customizing the homepage. As you can see, getting started with Next.js is a straightforward process, thanks to its powerful, yet simple-to-use features.
Next.js is a flexible framework that can handle a wide range of web development projects. Whether you’re creating a small static website or a large-scale dynamic web app, Next.js is a reliable choice. Start exploring more advanced features like API Routes, Dynamic Routes, Image Optimization, and much more to take full advantage of what Next.js has to offer.
Happy coding!