A Virtual Environment provides an isolated environment for your application. That helps to maintain multiple Python applications on a single machine without any module conflicts. Once we create a activate the virtual environment, all the remaining activities are performed under that environment. It also helps to migrate the application to a new system.
In the previous article, you have learned about the installation of Python on a Windows system. This tutorial will help you to create a virtual environment in a Python application on Windows systems.
Create a Virtual Environment in Python
A Python module venv is available by default in Python 3.3 and later versions. To create a virtual environment, cd to your project directory and run the following command to create a new virtual environment.
- Create the Environment: The following commands will create a new virtual environment under
c:\Projects\Python-app\venvdirectory:cd c:\Projects\Python-apppython3 -m venv venv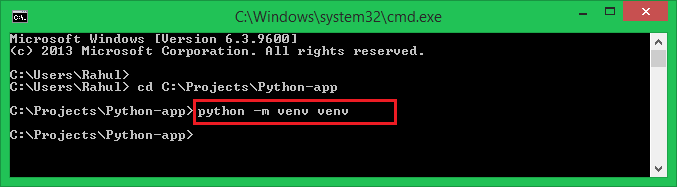
Creating a Python Virtual Environment - Activate the Environment: Now, we have a virtual environment, we need to activate it.
.\venv\Scripts\activateAfter you activate the environment, the command prompt will be changed to show the virtual environment.
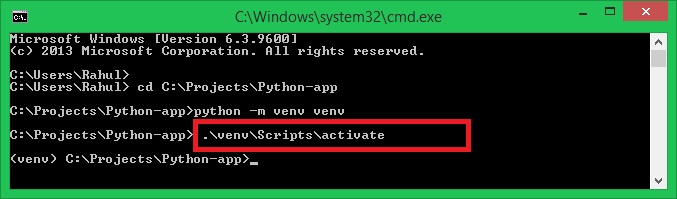
Activate Python Virtual Environment on Windows
Creating the requirements.txt File (Optional)
After you activate the virtual environment, you can add packages to it using pip. You can also create a description of your dependencies using pip.
Use the following command to create requirements.txt containing all the installed packages on your system.
pip freeze > requirements.txt
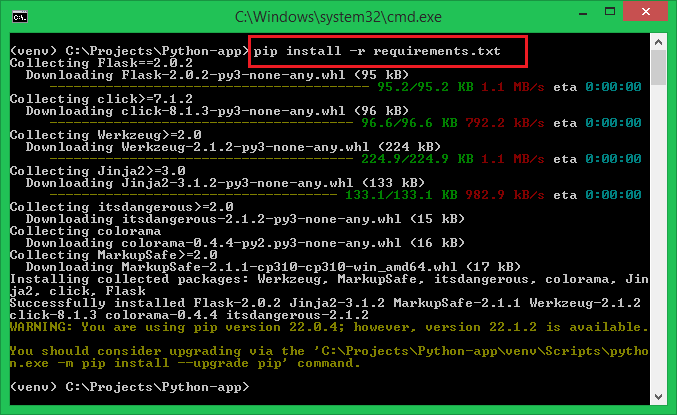
This file can be used by the other project collaborators to install or update Python modules on their system virtual environments using the following command.
pip install -r requirements.txt
Deactivate the Virtual Environment
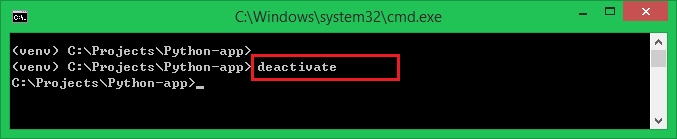
You can close the virtual environment and return to normal system settings, by typing the deactivate command:
deactivate
After executing the above command, you’ll notice that the command prompt returns to normal.
Conclusion
This tutorial helped you to create a virtual environment for your Python application on the Windows system.
