
Introduction
In this guide, we’ll explore how to deploy a Java WAR file within a Docker container, focusing on utilizing Apache Tomcat as the hosting web server. Apache Tomcat, renowned for its robustness and widespread adoption in the Java ecosystem, is a free, open-source web server that provides an ideal environment for running Java applications. This process not only simplifies deployment but also leverages the power and flexibility of Docker alongside the reliability of Tomcat, offering a streamlined approach for Java developers to efficiently deploy their web applications.
Advantages
- Consistency: Docker containers ensure consistency across multiple development, testing, and production environments.
- Isolation: Each container runs independently, minimizing conflicts between different applications.
- Scalability: Easily scale up or down by creating or removing containers as needed.
Preparing Your Java Web Application
To begin, ensure your Java web application is packaged as a WAR file. A WAR file is a compressed package containing your Java code, JSPs, HTML, JavaScript, and other resources necessary for web applications.
For the testing purposes, I have downloaded sample war file from Tomcat official website.
Creating a Dockerfile
A Dockerfile is a text document containing all the commands a user could call on the command line to assemble an image. Here’s an example Dockerfile for a Java WAR deployment:
# Use an official Java runtime as a parent image
FROM tomcat:10.0

# Set the working directory in the container
WORKDIR /usr/local/tomcat

# Copy the WAR file into the Tomcat webapps directory
COPY ./sample.war /usr/local/tomcat/webapps/

# Make port 8080 available to the world outside this container
EXPOSE 8080

# Run Tomcat server
CMD ["catalina.sh", "run"]
This Dockerfile performs the following steps:
- Base Image: Starts with a base image (tomcat:10.0), which includes Tomcat server and Java runtime.
- Working Directory: Sets the working directory.
- Copy WAR: Copies your WAR file into the Tomcat webapps directory.
- Expose Port: Exposes port 8080 for the web server.
- Run Command: Defines the command to run the Tomcat server.
Building and Running Your Docker Image
After creating your Dockerfile, you can build and run your Docker image:
- Build Image: Run below command to build your Docker image.
docker build -t my-java-app . - Run Container: Run below command to start a container.
docker run -p 8080:8080 my-java-app
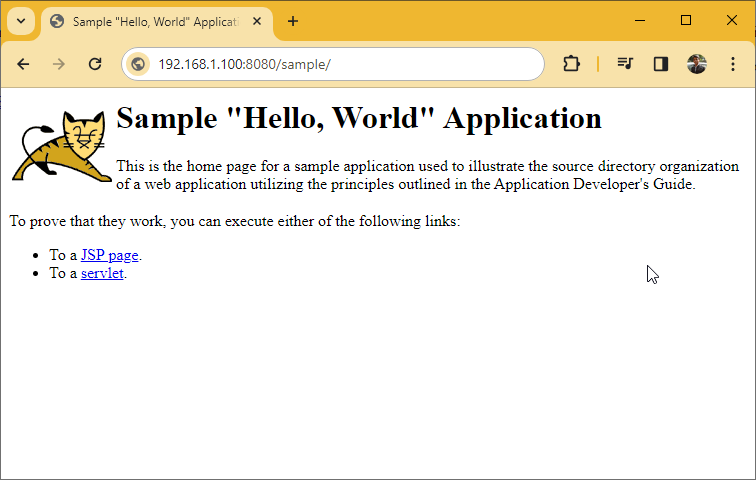
Once the container started, you can access your application at http://server-ip-addresss:8080/sample. Replace /sample with your application name.

Enhancing Deployment with Docker Compose
Docker Compose simplifies the process of managing multi-container Docker applications. With a single command, you can configure and start all the components of your application. Here’s how to use Docker Compose with your Java WAR file:
- Creating a Docker Compose File: Create a
docker-compose.ymlfile in your project directory:version: '3' services: webapp: image: my-java-app build: . ports: - "8080:8080"This configuration does the following:
- Version: Specifies the Docker Compose file format version.
- Services: Defines the services in your application (in this case, just one).
- webapp: The name of the service.
- image: Specifies the image to use for the container.
- build: Tells Docker Compose where to build the Dockerfile.
- ports: Maps port 8080 on the host to port 8080 in the container.
- Running Your Application with Docker Compose: To start your application, run:
docker-compose upThis command builds the image (if necessary), starts the container, and maps the ports. To stop and remove all containers, use:
docker-compose down
Conclusion
In this article, we explored the deployment of a Java WAR file within a Docker container. We initiated the process by crafting a Dockerfile, choosing the official Tomcat Docker image as our base. Following this, we proceeded to build the Docker image and launch the application container. To conclude, we confirmed the success of our deployment by navigating to the application URL, ensuring that our setup was correctly configured and operational. This streamlined approach offers a practical and efficient method for deploying Java web applications using Docker and Tomcat.