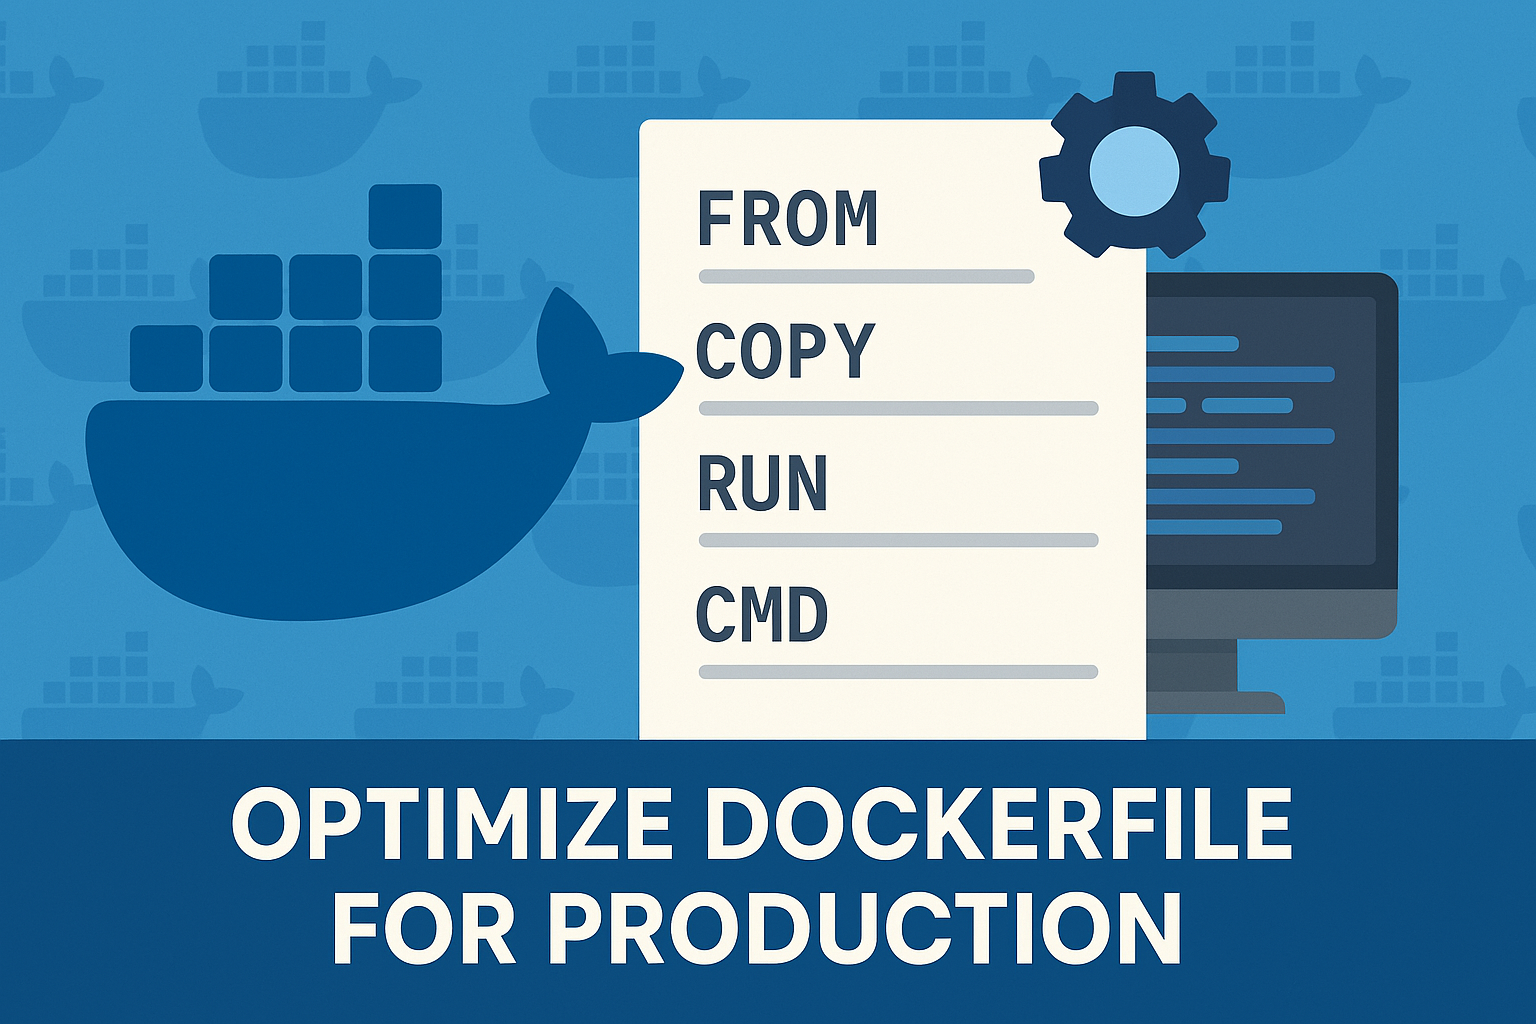
In the modern web development landscape, efficiency and scalability are key. Next.js has emerged as a powerful framework for building server-rendered React applications with ease, while Docker offers a seamless way to containerize and deploy applications across different environments. By combining Next.js with Docker, developers can ensure their applications are both scalable and easy to deploy.
This guide will walk you through the process of setting up a Next.js application with Dockerfile and Docker-Compose, ensuring your development workflow is streamlined and production-ready.
Prerequisites
Before we dive in, ensure you have the following installed on your system:
- Node.js and npm
- Docker and Docker-Compose
Step 1: Setting Up Your Next.js Application
If you haven’t already, start by creating a new Next.js application. Open your terminal and run the following command:
npx create-next-app my-next-app
Navigate into your project directory:
cd my-next-app
Step 2: Creating a Dockerfile
A Dockerfile is a text document that contains all the commands a user could call on the command line to assemble an image. Create a file named Dockerfile in the root of your Next.js project with the following contents:
# Specify the base image
FROM node:18

# Set the working directory in the container
WORKDIR /app

# Copy package.json and package-lock.json
COPY package*.json ./

# Install dependencies
RUN npm install

# Copy the rest of your application code
COPY . .

# Build your Next.js application
RUN npm run build

# Expose port 3000
EXPOSE 3000

# Command to run your app
CMD ["npm", "start"]
This Dockerfile does the following:
- Starts from a Node.js 18 base image.
- Sets the working directory to /app.
- Copies package.json and package-lock.json to leverage Docker cache layers.
- Installs dependencies.
- Copies the rest of your application’s source code.
- Builds the Next.js application.
- Exposes port 3000.
- Defines the command to start your app.
Step 3: Creating a Docker-Compose File
Docker compose allows you to define and run multi-container Docker applications. Create a file named docker-compose.yml in the root of your project with the following contents:
version: '3.8'
services:
  web:
    build: .
    ports:
      - "3000:3000"
This configuration tells Docker-Compose to:
- Build the image using the Dockerfile in the current directory.
- Map port 3000 inside the container to port 3000 on the host machine.
Step 4: Building and Running Your Application
With your Dockerfile and docker-compose.yml configured, you’re now ready to build and run your Next.js application in a Docker container. Run the following command in your terminal:
docker-compose up --build
If you are using Docker Compose V2, use command:
docker compose up --build
This command builds the image for your application and starts it. Once the process is complete, your Next.js application will be running inside a Docker container, accessible at http://localhost:3000.
Conclusion
Congratulations! You’ve successfully set up your Next.js application to run with Dockerfile and Docker-Compose. This setup not only makes your development process more efficient but also simplifies deployment and scalability. Whether you’re working in a team or deploying your application to different environments, Docker provides a consistent and reliable way to manage your application’s lifecycle.

