If you work in a tech company as a software engineer, there’s a good chance that you will be asked to create and deploy applications frequently. These applications are usually web apps that are built on top of frameworks such as React, Redux, or Vue.js. An application is the ultimate output of software development and not just another file with multiple layers of folders and files.
A Docker container can be used to package your app so it can run in any environment without requiring any pre-installed dependencies or libraries. In this tutorial, we will cover all you need to know about Dockerizing React-based Web App as well as an example project which takes you through the entire process from start to finish.
What is Docker?
Docker is open-source software that allows you to containerize your application. Containerization is a process that allows you to run an application inside a virtual machine environment. The container can run on any machine without the requirement of installing dependencies on the host machine.
Containerization is a great option for deploying applications to production environments. It ensures that the application is completely self-contained and only requires a minimal set of dependencies to function properly. This reduces the risk of introducing dependencies that could impact other applications or services on the same host. It also makes it easier to reproduce the production environment on a development machine.
Step 1: Create a ReactJs Application
First, create a basic react application in your system. The below instructions will help you to install Node.js and create-react-app module.
- Before you start, you must install Node.js on your machine. On Debian-based systems, you can use the following commands to install Node.js.
curl -sL https://deb.nodesource.com/setup_16.x | sudo -E bash -sudo apt install nodejs - After installing Node.js, use npm command to install create-react-app module globally.
sudo npm install create-react-app --target=global - Once you have installed CRA, you can go ahead and create a React project by running the following command.
npx create-react-app my-app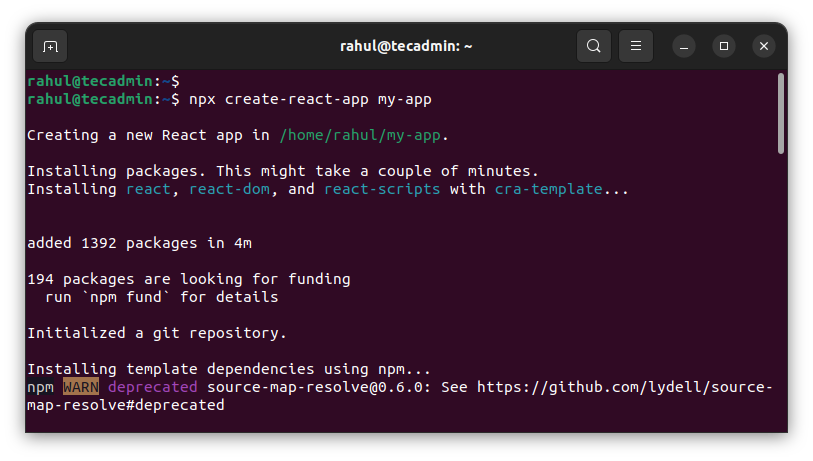
- The above command will create a directory my-app with the basic react application. You can change to the newly created directory and start to react application using the below-mentioned commands.
cd my-appnpm start - The default react application will start on port 3000. You can open a web browser and access react application at http://localhost:300 or use system IP address.
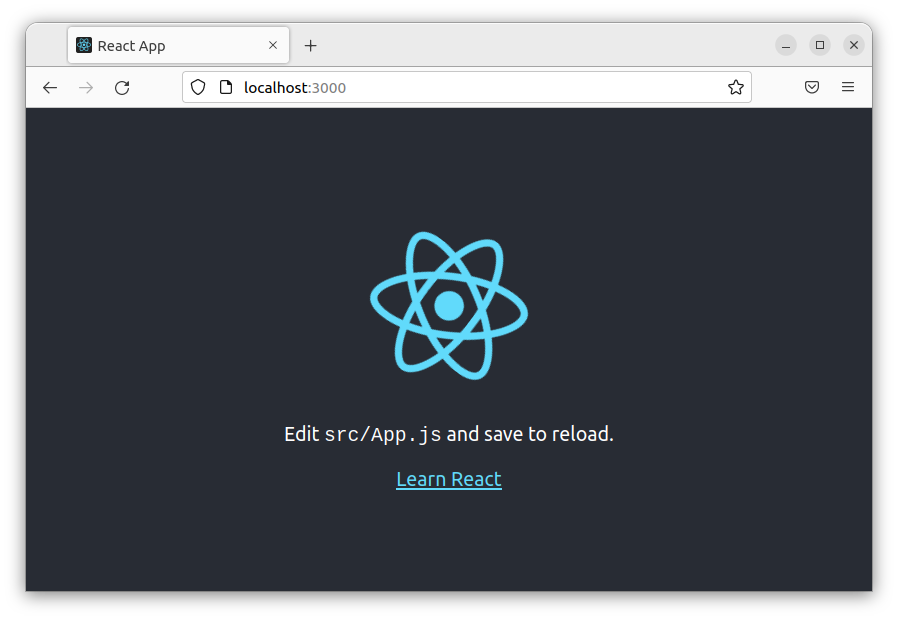
Your default react application is ready now.
Step 2: Create a Dockerfile for React Application
After you have created your react app, you can go ahead and create a Dockerfile for your app. This file will contain all the instructions for building your app inside a container. Create a new file named Dockerfile inside your project’s root directory, and add the following code to it.
vim Dockerfile
Add the following code to file:
1 2 3 4 5 6 7 8 9 10 11 12 13 14 15 16 17 18 19 20 | # Using node:16-alpine base image FROM node:16-alpine # Set /app as the default work directory WORKDIR /app # copy package.json to the working directory for packages installation COPY package.json /app # Install npm dependencies RUN yarn install # Copy all the project files to the working directory COPY . . # Expose the port of your application to bind with the host port EXPOSE 3000 # run your app CMD ['yarn', 'run', 'start'] |
Let’s break down each line of code above to understand what it’s doing.
- FROM – This is the name of the base image that you will be using to create your container. You should use Alpine Linux, as it is lightweight and has all the required tools for your app.
- WORKDIR – This specifies the working directory for executing subsequent instructions in the Dockerfile. This will be the directory that is mounted inside the container as /app.
- COPY – This is used to copy all the files and folders from the current directory to the working directory. COPY . . will copy all the files and folders from the current directory to the working directory using recursive copy. This means, that even hidden folders will be copied as well.
- RUN – This is used to run a command inside the container. Here, we are using npm install, which will install all the dependencies inside the container.
- EXPOSE – This is used to expose the port 3000 on the container. This port will be used to host the React app.
Step 3: Build and Run the Docker Container
- Next, create the Docker image by running the below-mentioned command. Here “react-app” is the image name.
docker build -t react-app . - This image will be created in local image registry. Then you can create a Docker container with the following command.
sudo docker run -it -p 3000:3000 -d react-app - Now, verify that container is running on your system.
docker containers ls - Finally, open a browser and connect to localhost on port 3000 (or use your own defined port). You should see the react application.
You can use a Dockerfile to automate the building and updating of your image. This is helpful if you’re working with a team and people are adding code to the same application.
Step 4: Creating Docker-compose Configuration File
Let’s go ahead and run the React app with Docker Compose. Open up a new file named docker-compose.yml inside the root directory of your project, and add the following code to it.
1 2 3 4 5 6 7 8 | version: '3' services: client: stdin_open: true build: context: . ports: - "3000:3000" |
Save the file and close it.
Then run the following command to build and run docker containers.
sudo docker-compose buildsudo docker-compose up -d
Conclusion
In this article, we discussed why you should Dockerize your app and how to do so. We also discussed the benefits of using Docker, different Docker versions, Docker file structure, and how to run containers. We also discussed how to build and deploy a React app using Create-React-App and Docker.
If you work with a React-based application, you would benefit greatly from Dockerizing your app. It ensures that your app will run in production exactly as intended by testing it in the same environment as your development machine. It also makes it easier for people in your organization to reproduce your production environment on their machines.
1 Comment
Fine, but docker image is too large.