
CentOS Stream 9 is a powerful, open-source Linux distribution that caters to the needs of developers, system administrators, and other IT professionals. As a continuously delivered, rolling release distribution, CentOS Stream 9 provides the latest innovations from the CentOS community, acting as an upstream platform for the more stable CentOS Linux distribution. In this article, we will guide you through the process of downloading the CentOS Stream 9 DVD ISO images, verifying their integrity, and creating a bootable USB drive to install the operating system on your computer.
1. Download CentOS Stream 9 DVD ISO Images
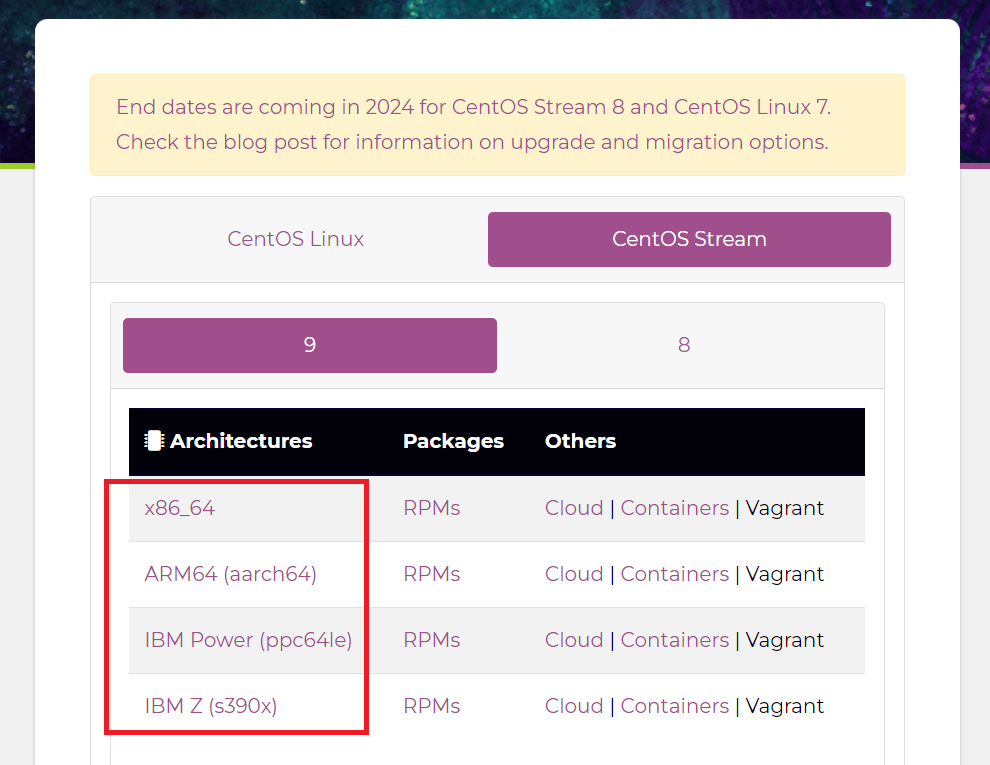
To download the CentOS Stream 9 DVD ISO images, follow these steps:
- Visit the official CentOS website download page https://www.centos.org/download/.
- Scroll down to the “CentOS Stream 9” section, where you will find the available DVD ISO images.
- Click on the appropriate ISO image link based on your system’s architecture (either x86_64 or aarch64) to initiate the download. You may also choose a mirror closer to your location to ensure a faster download.

Keep in mind that the ISO file size may be several gigabytes, so ensure you have a stable internet connection and sufficient storage space before downloading.
2. Verify the Integrity of the ISO Image
After downloading the CentOS Stream 9 DVD ISO image, it’s essential to verify its integrity to ensure that the file has not been tampered with or corrupted during the download process. To do this, follow these steps:
- Locate the checksum file corresponding to the ISO image you downloaded. This file will have the same name as the ISO file but with a “.sha256” extension.
- Download the checksum file and save it in the same directory as the ISO image.
- Open a terminal window and navigate to the directory where you saved the ISO image and checksum file.
- Run the following command to generate a SHA-256 checksum for the ISO image:
sha256sum <ISO-image-filename>
Replace <ISO-image-filename> with the actual name of the ISO file you downloaded.
- Compare the generated checksum with the one in the “.sha256″ file. If they match, the ISO image is valid and safe to use.
3. Create a Bootable USB Drive
To create a bootable USB drive from the CentOS Stream 9 DVD ISO image, follow these steps:
- Insert a USB drive with at least 8GB of storage capacity into your computer.
- Download and install a USB imaging tool, such as Rufus (https://rufus.ie/) for Windows or Etcher (https://www.balena.io/etcher/) for macOS and Linux.
- Launch the USB imaging tool and select the CentOS Stream 9 ISO image.
- Choose the USB drive as the target device and ensure that the partition scheme is set to “GPT” and the file system is “FAT32” or “ext4”.
- Click “Start” or “Flash” to create the bootable USB drive. This process may take several minutes.
4. Install CentOS Stream 9
Once you have created the bootable USB drive, you can proceed to install CentOS Stream 9 on your computer. Follow these steps:
- Insert the bootable USB drive into the target computer.
- Restart the computer and access the BIOS or UEFI settings by pressing the appropriate key (usually F2, F10, or DEL) during the boot process.
- Configure the boot order to prioritize booting from the USB drive. Save the settings and exit the BIOS/UEFI.
- The computer will now boot from the USB drive, and you will see the CentOS Stream 9 installation menu. Select “Install CentOS Stream 9” and press Enter.
- The CentOS Stream 9 installer, called Anaconda, will start. Follow the on-screen prompts to configure your installation preferences, such as language, keyboard layout, time zone, and disk partitioning.
- Choose your desired software selection, which includes the default “Server with GUI” or “Minimal Install”. You can also customize the software packages to be installed by clicking on the “Software Selection” option.
- Once you have completed configuring your preferences, click on “Begin Installation”.
- While the installation is in progress, you will be prompted to set the root password and create a user account. Make sure to provide strong and unique passwords for enhanced security.
- After the installation is complete, click on “Reboot” to restart the computer. Remove the USB drive during the reboot process.
- Your computer will now boot into CentOS Stream 9. Log in using the user account you created during the installation process and start exploring the features and capabilities of this powerful Linux distribution.
Conclusion
CentOS Stream 9 is a cutting-edge Linux distribution that offers a continuously delivered, rolling release platform for developers, system administrators, and IT professionals. By following this comprehensive guide, you can download the CentOS Stream 9 DVD ISO images, verify their integrity, create a bootable USB drive, and install the operating system on your computer. Embrace the world of open-source software and harness the power of CentOS Stream 9 to build, test, and deploy your applications and infrastructure.