GZIP compression is a powerful tool that can significantly improve website performance by reducing the size of files transferred between the web server and client. In this article, we will explore what GZIP compression is, why it matters, and how to enable it on Apache running on Ubuntu.
What is GZIP compression?
GZIP compression is a method of compressing files before sending them over the network. It works by analyzing the content of a file and finding patterns that can be replaced with shorter symbols, reducing the overall size of the file. When the client receives the compressed file, it decompresses it and displays the original content.
Why does GZIP compression matter?
Reducing the size of files transferred over the network can significantly improve website performance. Smaller files mean faster transfer times, which can result in quicker page load times and a better user experience. Additionally, GZIP compression can reduce bandwidth usage and lower hosting costs, especially for websites with high traffic.
Enabling GZIP compression on Apache
Enabling GZIP compression on Apache is a straightforward process. Here are the steps to follow:
- Check if GZIP is already enabled: Before enabling GZIP, check if it’s already enabled on your Apache server by running the following command:
sudo apache2ctl -t -D DUMP_MODULES | grep deflateIf GZIP is already enabled, you will see the following output:
Outputdeflate_module (shared)If you don’t see this output, you need to enable the deflate module, which is responsible for handling GZIP compression.
- Enable the deflate module: To enable the deflate module, run the following command:
sudo a2enmod deflateThis command will create a symbolic link to the deflate configuration file in the /etc/apache2/mods-enabled/ directory.
- Configure GZIP compression: Once the deflate module is enabled, you need to configure GZIP compression in the Apache configuration file. Open the configuration file using your preferred text editor.
sudo nano /etc/apache2/apache2.confTo enable it for specific website, edit the site specific virtual host configuration file or create a .htaccess file under the document root. Then add/append the following snippet to the file.
1234567891011121314151617181920212223242526272829303132333435<IfModule mod_deflate.c># Compress HTML, CSS, JavaScript, Text, XML and fontsAddOutputFilterByType DEFLATE application/javascriptAddOutputFilterByType DEFLATE application/rss+xmlAddOutputFilterByType DEFLATE application/vnd.ms-fontobjectAddOutputFilterByType DEFLATE application/x-fontAddOutputFilterByType DEFLATE application/x-font-opentypeAddOutputFilterByType DEFLATE application/x-font-otfAddOutputFilterByType DEFLATE application/x-font-truetypeAddOutputFilterByType DEFLATE application/x-font-ttfAddOutputFilterByType DEFLATE application/x-javascriptAddOutputFilterByType DEFLATE application/xhtml+xmlAddOutputFilterByType DEFLATE application/xmlAddOutputFilterByType DEFLATE font/opentypeAddOutputFilterByType DEFLATE font/otfAddOutputFilterByType DEFLATE font/ttfAddOutputFilterByType DEFLATE image/svg+xmlAddOutputFilterByType DEFLATE image/x-iconAddOutputFilterByType DEFLATE text/cssAddOutputFilterByType DEFLATE text/htmlAddOutputFilterByType DEFLATE text/javascriptAddOutputFilterByType DEFLATE text/plainAddOutputFilterByType DEFLATE text/xml# Level of compression (highest compression level)DeflateCompressionLevel 9# Do not compress certain file typesSetEnvIfNoCase Request_URI \.(?:gif|jpe?g|png)$ no-gzip dont-varySetEnvIfNoCase Request_URI \.(?:exe|t?gz|zip|bz2|sit|rar)$ no-gzip dont-varySetEnvIfNoCase Request_URI \.pdf$ no-gzip dont-vary# Make sure proxies don't deliver the wrong contentHeader append Vary User-Agent env=!dont-vary</IfModule>The above configuration file includes a list of file types that should be compressed and the level of compression (9 being the highest compression level). It also specifies file types that should not be compressed, such as images and archives, as compressing these types of files can actually increase their size.
- Restart Apache: After configuring GZIP compression, you need to restart Apache to apply the changes:
sudo systemctl restart apache2
Verify Gzip Compression
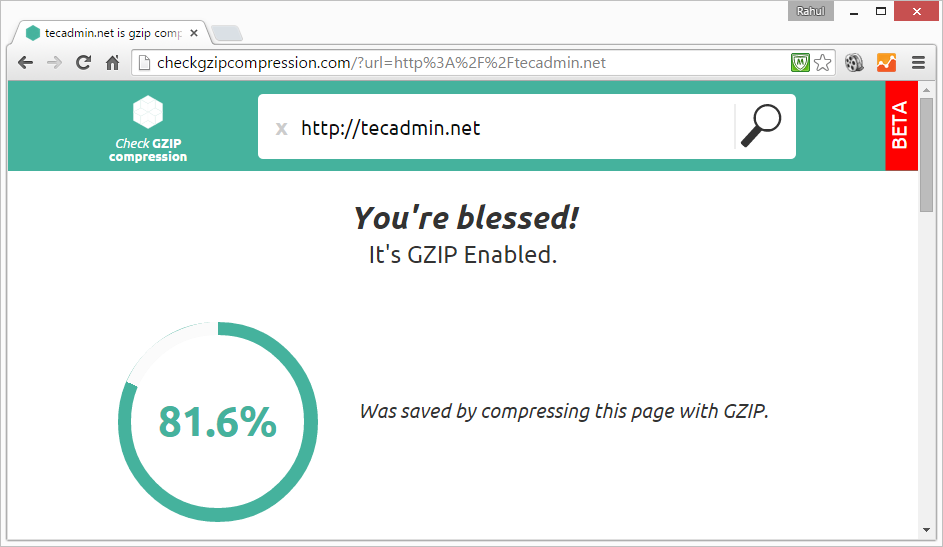
Now that your site has been enabled with gzip compression, let’s use one of below online tools to verify that Gzip is working correctly.
Conclusion
Enabling GZIP compression on Apache running on Ubuntu is an effective way to improve website performance and reduce bandwidth usage. By following the steps outlined in this article, you can easily enable GZIP compression and enjoy the benefits of faster website loading times and improved user experience.

8 Comments
Thanks, useful tutorial.
This is good, but I highly recommend everyone check the HTML5 Boilerplate example for a bit more detail: https://github.com/h5bp/server-configs-apache
Go to the /dist folder you’ll find a .htaccess with best practices for many things Apache, including gzip
i followed above things but js/css not compressed- > google speed test tool -> http://www.namomithrarealestate.com….
Hi I am Sanjay Raturi from India.
I have to enable Gzip compression for my website yogainrishikesh.in
Please help me. please.
I have 100/100 page speed on pagespeed insights google tool.
See http://www.yogainrishikesh.in on Google pagespeed insights.
You have a typo! sudo a2enmod defalte should be sudo a2enmod deflate!
Thanks SAM!!!
Very useful, thank you.