Kali Linux is a Debian-based Linux distribution developed for advanced penetration testing and security auditing. It contains a multitude of tools that can help users conduct everything from simple vulnerability testing to complex network intrusion examinations. Here is your ultimate guide to getting started with Kali Linux, from downloading the software to installing it on your device.
Step 1: Requirements
Before you can download Kali Linux, you need to make sure your system can run it. The minimum requirements are:
- A minimum of 20GB hard disk space for installation
- A minimum of 2GB RAM (4GB recommended for smooth functioning)
- A 64-bit compatible processor
- An internet connection for downloading the installation files
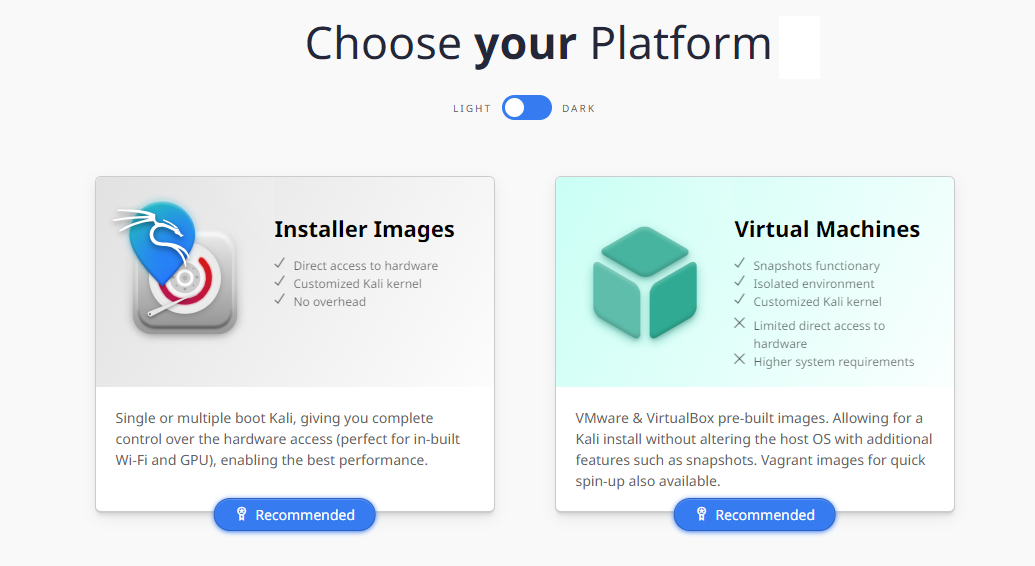
It’s also recommended to use a virtual machine (VM) like VirtualBox or VMware for installation, especially if you’re new to Kali Linux. Using a VM allows you to run Kali Linux inside your regular operating system, making it easy to switch back and forth and reducing the risk of damaging your primary OS.
Step 2: Download Kali Linux
You can download the latest version of Kali Linux from its official website at https://www.kali.org/. The website provides several versions, including Kali Linux Light, which is a minimalist version with only essential tools, and the full version that includes the complete toolkit. For beginners, the full version is recommended.
Choose the appropriate version and download the ISO file. An ISO file is a disk image that can be burned to a CD/DVD or used to create a bootable USB drive. If you’re using a VM, you’ll use the ISO file directly without needing to burn it.

Step 3: Install Kali Linux
Once you have downloaded the ISO file, you can start installing Kali Linux. If you’re using a VM, you need to create a new VM and select the downloaded ISO file as the installation media.
- Open your VM software and create a new virtual machine.
- Choose “Linux” as the type and “Debian 64-bit” as the version.
- Assign memory and hard disk space according to your preferences, but remember the minimum requirements.
- When asked for the installation media, choose the downloaded ISO file.
- Follow the prompts to complete the installation.
If you’re installing Kali Linux directly on your computer:
- Burn the ISO file to a USB drive using software like Rufus or Universal USB Installer.
- Insert the USB drive into your computer and reboot.
- Enter your BIOS/UEFI setup menu (usually by pressing a key such as F2, F10, or DEL during startup) and set your computer to boot from the USB drive.
- Restart your computer. It should boot from the USB drive into the Kali Linux installer.
- Follow the prompts to complete the installation.
Step 4: Update Kali Linux
Once the installation is complete, you should update Kali Linux to get the latest security patches and software updates. You can do this by opening a terminal window and entering the following commands:
- `sudo apt-get update` – This will update the list of available packages.
- `sudo apt-get upgrade` – This will upgrade all out-of-date packages.
Step 5: Explore
Now that you’ve installed Kali Linux, you can start exploring its features. It comes with a large number of security tools, including Wireshark for network protocol analysis, Aircrack-ng for Wi-Fi testing, Metasploit for exploiting vulnerabilities, and many more.
Remember that Kali Linux is a powerful tool, and with great power comes great responsibility. Always use Kali Linux ethically and legally. Never attempt to probe or exploit systems without explicit permission.
In conclusion, Kali Linux is a versatile tool for anyone interested in improving their network security skills. This guide has covered the basic steps to get started with Kali Linux, from downloading the software to beginning exploration. As you learn and explore, you’ll likely find that Kali Linux offers a wealth of opportunities to grow and expand your security knowledge. Happy exploring!

