
In the realm of open-source operating systems, Linux Mint has become a beloved choice for many. Renowned for its versatility, Linux Mint boasts an intuitive and user-friendly environment that makes it a perfect gateway for those transitioning from other systems like Windows or MacOS. This article aims to guide you on how to get started with Linux Mint by detailing the process of downloading and installing it on your computer.
What is Linux Mint?
Linux Mint is a community-driven Linux distribution based on Ubuntu and Debian that aims to be modern, elegant, and comfortable to use. With complete out-of-the-box multimedia support, it’s a robust operating system for both beginners and advanced users. Its popularity owes to its stability, striking interface, and power-packed software center.
Step 1: Choose the Right Linux Mint Edition
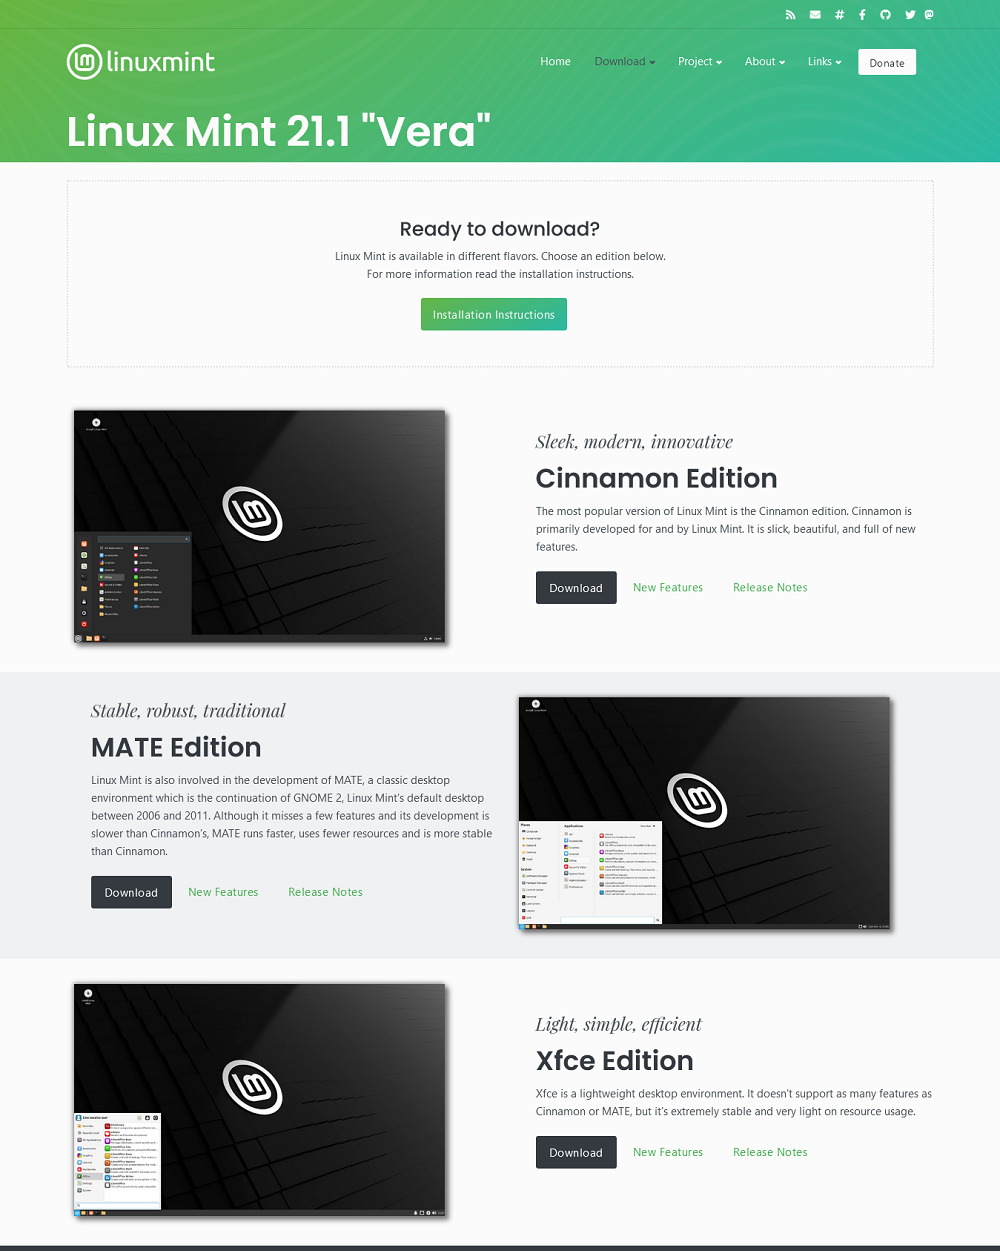
Linux Mint comes in three editions: Cinnamon, MATE, and Xfce. The most significant difference between them is the desktop environment, which defines the user interface and functionalities.
- Cinnamon: This is the most modern and feature-rich edition of Linux Mint. It offers a balance between speed and features and has a comfortable, intuitive feel.
- MATE: MATE offers a more classic desktop environment. It is lighter than Cinnamon and can be a better choice for computers with limited hardware capabilities.
- Xfce: Xfce is the lightest edition, suitable for older computers that might struggle with Cinnamon or MATE.
Choose the one that suits your needs and hardware capabilities best.
Step 2: Download Linux Mint
Navigate to the Linux Mint website’s download page at https://linuxmint.com/download.php. Select the edition that you decided on in the first step. Choose a mirror closest to your location for a faster download. Click on it, and the ISO file will start downloading.

Step 3: Verify the ISO File
This step is not mandatory, but it is a good practice to ensure the ISO file’s integrity and security. The Linux Mint website provides MD5 checksums for every released ISO. After downloading, you can verify the ISO file using a checksum tool.
Step 4: Create a Bootable USB or DVD
To install Linux Mint, you need to create a bootable USB stick or DVD. You can use tools like Rufus or BalenaEtcher for this purpose. Make sure your USB stick has at least 2GB of free space. If you’re using a DVD, ensure it is blank.
Step 5: Install Linux Mint
- Insert the bootable USB stick or DVD into your computer and reboot. Make sure your BIOS settings are configured to boot from USB/DVD. The Linux Mint logo should appear, indicating that it is loading.
- Once loaded, you’ll see the option to try Linux Mint or install it. If you wish to explore first, select “Try Linux Mint”. To proceed with the installation, click on “Install Linux Mint”.
- Follow the on-screen instructions, choose your preferred language, decide on installation type (typically, choose “Erase disk and install Linux Mint” for fresh installations), and input your location and keyboard layout. Finally, create your user account.
- Once you’ve filled in all the details, the installation process begins. It may take some time, so be patient.
Step 6: Get to Know Linux Mint
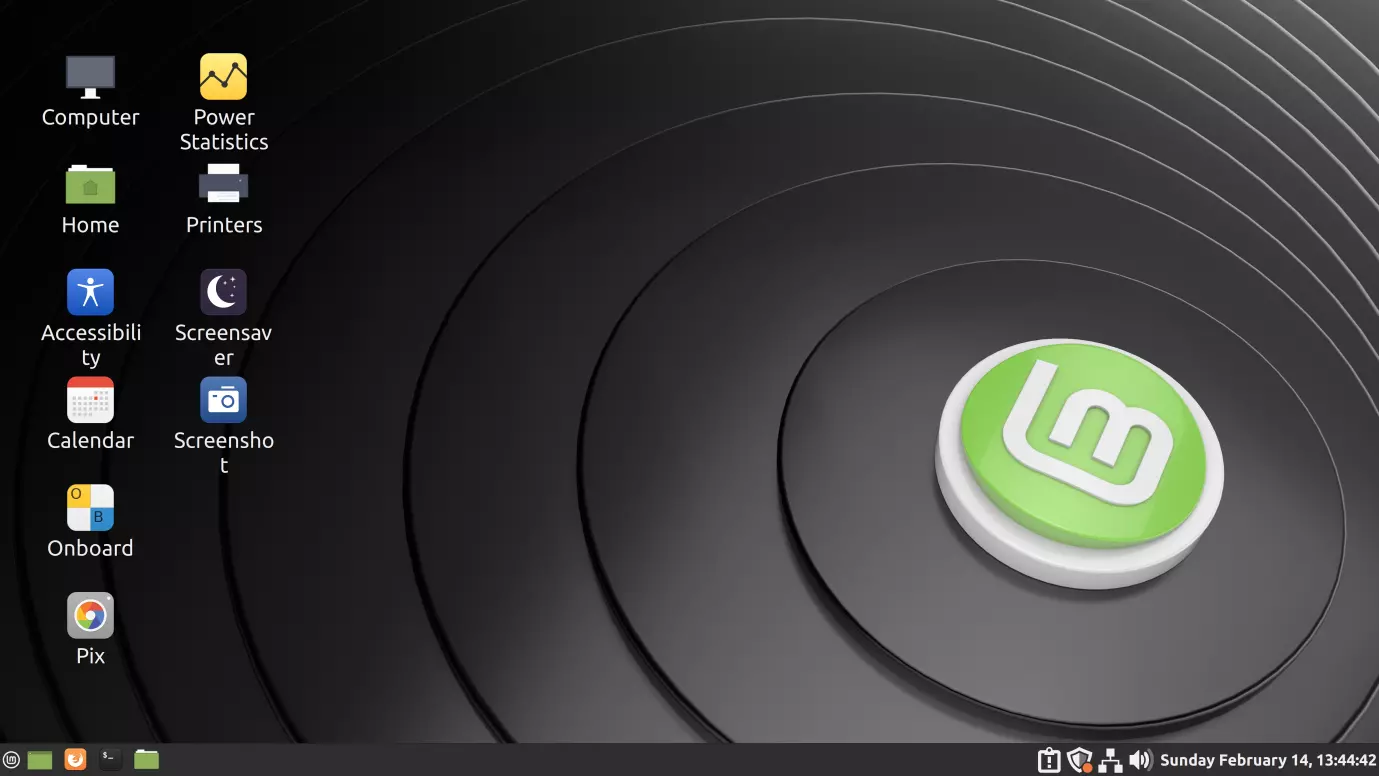
After the installation is complete, restart your computer. Now, you’re ready to explore Linux Mint. Take some time to familiarize yourself with the desktop environment, default applications, software manager, and system settings.
Conclusion
Linux Mint is a versatile, user-friendly operating system that appeals to a wide range of users. Its installation process is straightforward, allowing you to switch from your current OS without any hassles. By following this guide, you’re now equipped to enjoy the Linux Mint experience. Happy exploring!