Git is an essential version control system for developers, allowing them to track and manage changes in their codebase. Branches are a powerful feature of Git that enable users to work on multiple features, bug fixes, or experiments concurrently, without affecting the main branch. In this article, we’ll walk you through the process of creating local and remote Git branches.
1. Setting up the local Git repository
Before creating branches, you need to have a local Git repository. To initialize a new local Git repository, open a terminal, navigate to your project directory, and run the following command:
git init
This command initializes a new Git repository in your project directory, creating a hidden .git folder that contains the repository’s metadata.
2. Creating a local Git branch
To create a new local branch, use the following command:
git checkout -b <branch-name>
Replace
git checkout -b feature-login
3. Working with the local branch
Once you’ve created your new branch, you can start making changes to your project files. To stage and commit your changes, use the following commands:
git add .git commit -m "Your commit message here"
4. Creating a remote Git branch
In order to share your local branch with others or to work on it from another computer, you need to push it to a remote repository. To do this, first, make sure you have a remote repository set up. If you’re using GitHub, GitLab, or Bitbucket, create a new repository on their platform.
Next, link your local repository to the remote one by running:
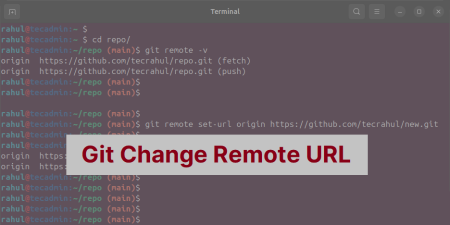
git remote add origin <remote-repository-url>
Replace
Now, you’re ready to push your local branch to the remote repository. Use the following command:
git push -u origin <branch-name>
This command pushes your local branch to the remote repository and sets up a tracking relationship between the local and remote branches. For example, if your branch is named “feature-login,” run:
git push -u origin feature-login
5. Switching between branches
To switch between branches, use the git checkout command followed by the branch name:
git checkout <branch-name>
For example, to switch back to the main branch (usually called “master” or “main”), run:
git checkout main
Conclusion
Creating local and remote Git branches is an essential skill for developers working with version control. It allows you to work on multiple features or fixes simultaneously, without affecting the main branch. By following the steps outlined in this article, you’ll be well-equipped to manage your codebase effectively using Git branches.


