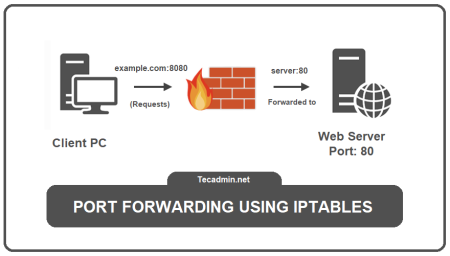
IPTables is a user-space utility program that allows system administrators to configure the packet filter rules of the Linux kernel firewall. One of the typical usages of IPTables is to secure a Linux server by restricting incoming and outgoing traffic. In this article, we are going to focus on how to allow only SSH access and prevent accidental blocking with incorrect rules by setting a specific time interval for rule removal.
Before we start, please note that performing this task will require root-level access to your server. If you do not have such access, please consult with your server administrator.
Step 1: Backup existing IPTables rules
Before making any changes, it’s always a good idea to back up your current IPTables rules. You can do this by running:
sudo iptables-save > /root/iptables.rules.backup
Step 2: Flush existing IPTables rules
You can flush the current rules to start from a clean slate. However, you might want to skip this step if you have other rules set up that you do not wish to remove.
sudo iptables -F
Step 3: Allow SSH traffic
The default port for SSH is 22, but it could be different on your server. Replace ’22’ in the command below with your SSH port if it’s different.
sudo iptables -A INPUT -p tcp --dport 22 -j ACCEPT
Step 4: Set default policies to DROP
This command drops all incoming traffic that does not match the existing rules.
sudo iptables -P INPUT DROPsudo iptables -P FORWARD DROPsudo iptables -P OUTPUT DROP
At this point, only incoming SSH connections will be allowed, while all other incoming traffic will be dropped.
Step 5: Schedule a job to remove rules after a specific time
There is always a chance that you may lock yourself out of the server if the rules are incorrectly set. To prevent this, it’s a good practice to set a time limit on your new IPTables configuration. We’ll use the at command to schedule the old IPTables configuration to be restored after a set period.
Firstly, install at with:
sudo apt-get install at
Then create a bash script to restore the old IPTables configuration:
echo "iptables-restore /root/iptables-restore.shchmod +x /root/iptables-restore.sh
Now, let’s say you want the changes to last only 10 minutes. You can schedule a job to restore the old configuration after this time:
echo "/root/iptables-restore.sh" | at now + 10 minutes
During these 10 minutes, verify that everything works as expected. If something goes wrong, just wait for the time to elapse, and your old configuration will be restored automatically.
Step 6: Make the IPTables rules persistent
If everything is working as expected and you want the rules to be permanent, make sure to save the rules to a file:
sudo iptables-save > /etc/iptables.rules
Then install iptables-persistent to load the rules upon every system boot:
sudo apt-get install iptables-persistent
During the installation process, you will be asked if you want to save current IPv4 and IPv6 rules. Answer “Yes” to both.
Please note that the exact command names and package names might vary based on the Linux distribution. This guide uses commands and package names as they would be used in a Debian-based distribution.
Conclusion
By following the steps in this guide, you can ensure that only SSH connections are allowed to your server, reducing the risk of unauthorized access. Furthermore, by scheduling the removal of these rules, you can protect yourself from accidental blocking due to incorrect settings. Always ensure to carefully test your configuration to avoid any unnecessary downtime or lockouts.
