
Booting a physical machine using USB is much easier, but VirtualBox does not provides direct way to select boot from USB. So if you have a bootable USB drive then this article will help you to how to create VirtualBox vm using bootable USB.
For this example, I have already created a bootable USB of Ubuntu. You can visit following links for prerequisites.
- Create bootable USB
- Install VirtualBox on Ubuntu, Debian & LinuxMint
- Install VirtualBox on CentOS, RHEL & Fedora
Step 1 – Attach & Find Bootable USB
Now attach your bootable USB drive to your system and find the name of USB attached. In my case the USB drive name is /dev/sdc.
/dev/sdc1 7.5G 1.1G 6.5G 14% /media/sysadmin/new
Unmount mounted USB drive using following command
# umount /dev/sdc1
Step 2 – Create VMDK from USB
Now use VBoxManage (VirtualBox command line) command to create raw vmdk file using USB (/dev/sdc) using following command at desired location.
# VBoxManage internalcommands createrawvmdk -rawdisk /dev/sdc -filename /opt/USB-Boot-Disk.vmdk
Read more about VBoxManage command line utility.
Step 3 – Create VM in VirtualBox
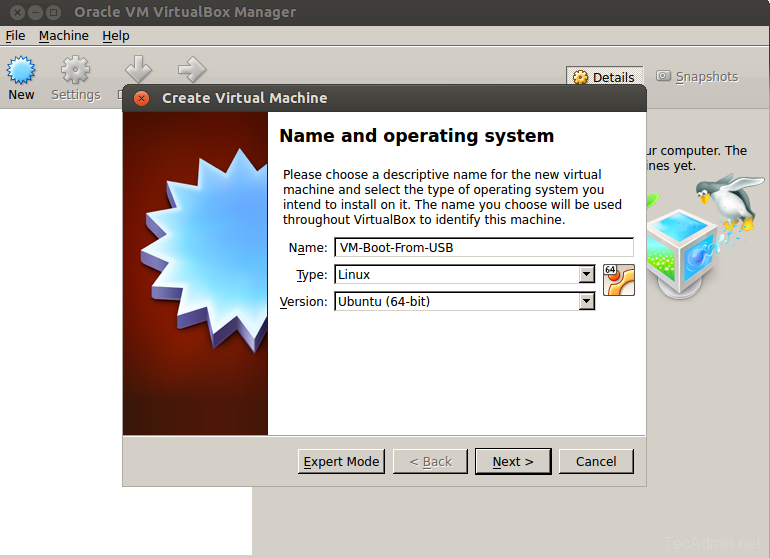
Now start the VirtualBox on your system and click New to start Create Virtual Machine wizard. Enter name of your machine ans select proper operating system type and version.
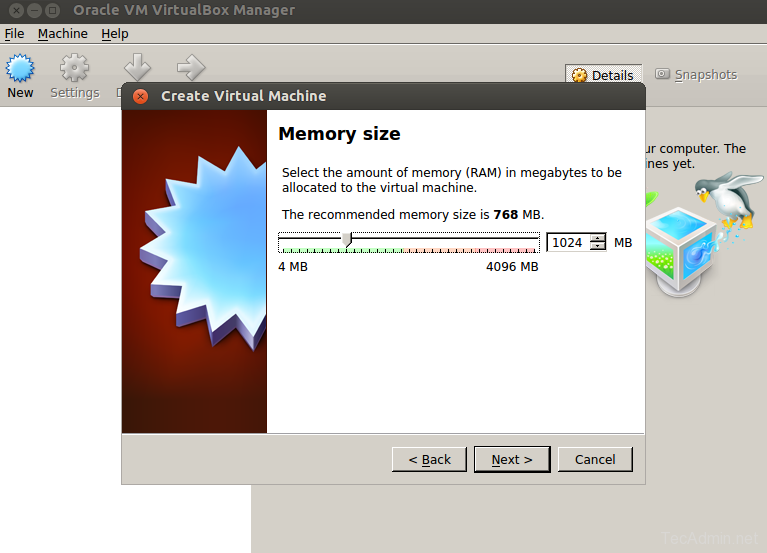
Now select the amount of memory (in MB) to allocated to new virtual machine and click Next.
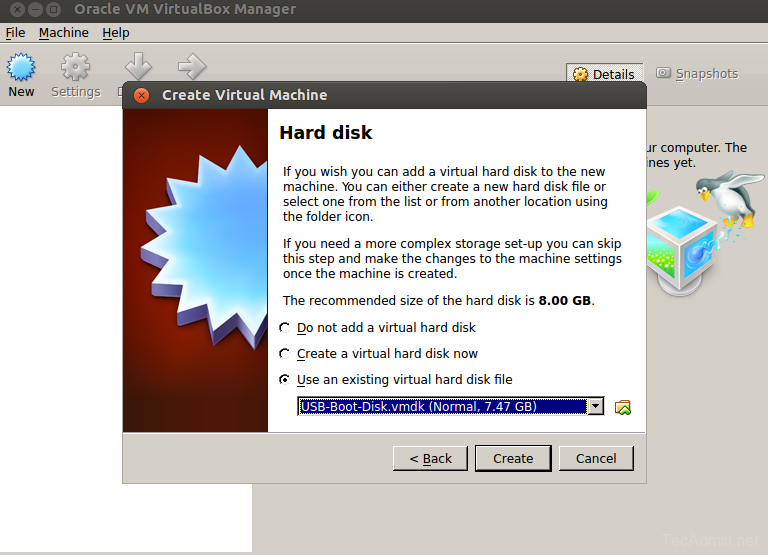
In this step select Use an existing virtual hard disk file option and select vmdk file created in last step. This will attach this virtual disk with new virtual machine. Now click Create button.
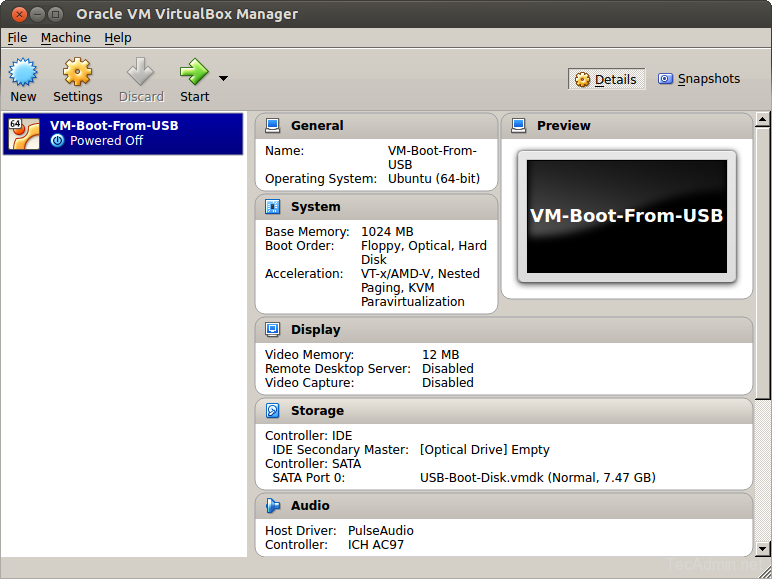
At this stage your virtual machine has been created successfully. Now select the newly created virtual machine and click Start button. This will boot your virtual machine
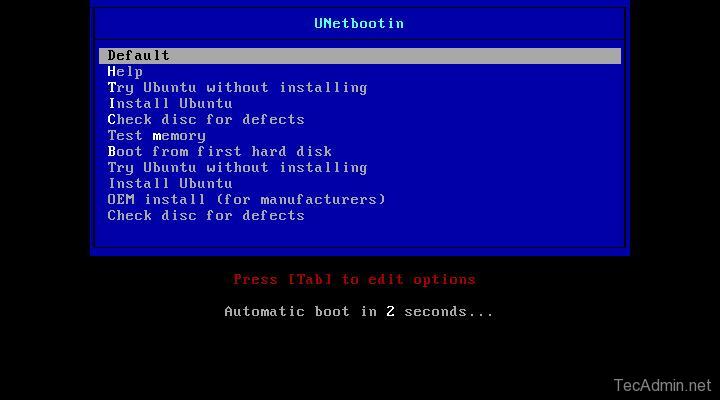
If everything goes smooth, you will see boot options at this stage like below screen shot. You can select to Install Ubuntu or any other option as per your choice. By default it will boot as live media
Default live boot will take place and you will see screen like below. From where you can also install operating system permanently. Or you can select Install Ubuntu on above screen to start installation.
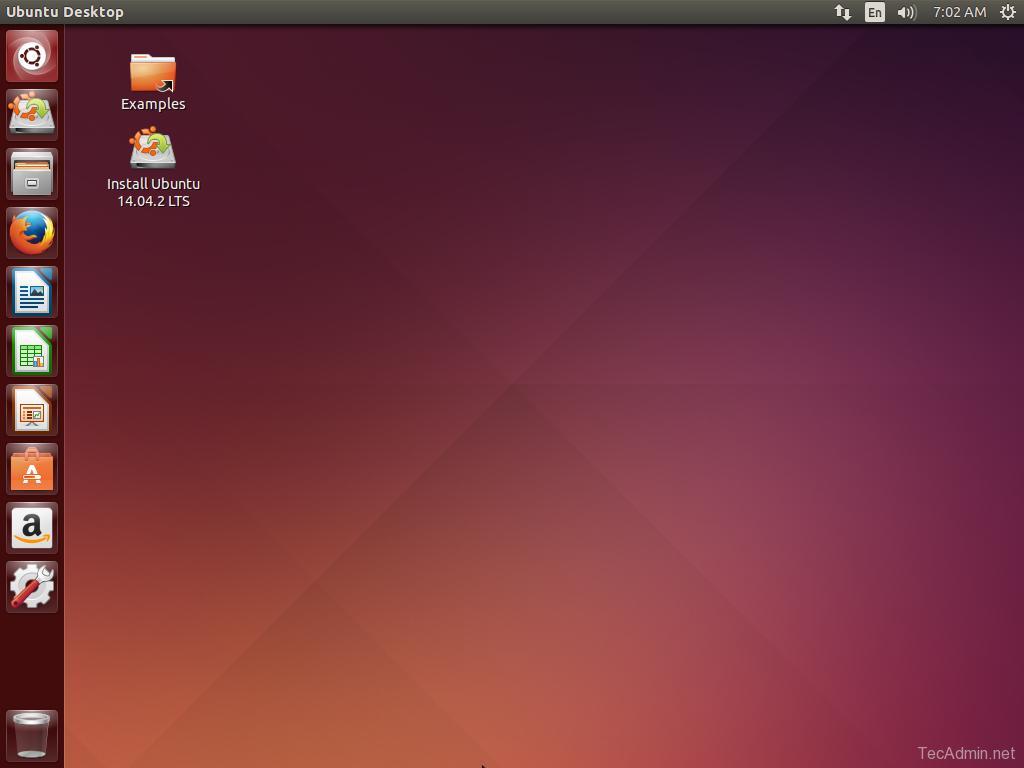
To install it permanently click on Install Ubuntu and complete the installation wizard to finish Ubuntu install on your system.

: Opportunities and Challenges")
6 Comments
I really want to thank you man, your tutorial helped me a lot.
Does not work with more than one Partitions!
That is very different than booting from USB, that is booting from an internal disk that is stored on the USB.
So when booting that way, the GUEST see the USB not as a USB, it see it as a normal internal hard disk.
Just a tip: Try to install a Windows Guest on that USB that way, then try to boot it on real hardware, then try to install Windows on the USB using the real hardware… you will find things.
On the other side: I use that trick to install Grub2 onto one of the USB sticks i have (real UEFI hardware refuses to see it on boot, since i want a BIOS boot, but real hardware does not have the option to boot in BIOS mode, it only supports UEFI… on firmware there is no option for Legacy, etc… as soon as possible i will sell that computer and by another one supporting both modes… but till then… i make BIOS Grub2 boot in virtual machine with VMDK trick)… and then when i test on a friends BIOS boot PC it boots Grub2 very well.
Created virtual disc but I don’t have permission to use the file. If I try to change the permissions I get told I don’t own the file and cannot change permissions. If I try to go through terminal I can’t get to the file and if I run virtual box with sudo from terminal all my existing machines are missing because it thinks I’m the sudo user and does not show my existing machines. Oh it’s all a bit painful.
worked for me, but had to run vbox as sudo.
i used this to remove video drivers from my live cd, they were causing ubuntu 16.04 live cd fail when running on a physical host with an nvidia video card.
Hi Rahul
Nice article, i have small doubt what will happen if we re-plugin the usb drive, whether the vm will work fine or we need to perform the troubleshoot again to make the vm work.