Sometimes we are required to compare two or more than two files for some modifications or just to check the errors in two same files. Instead of reading both files and comparing them precisely, we have some built-in tools in Linux which can help us in this regard.
In this article, we will discuss the built-in functions and some third-party tools which are used to compare to files in Linux and how they work.
How to compare files in Linux
For the comparison files by using the following utilities:
- Diff
- Colordiff
- Wdiff
What is diff Command in Linux
The Diff command compares two files by lines. It also helps us to tell what differences are in files and mentions those differences. It always compares the first file to another, which means it will tell the differences which are in the first file by comparing it to the second file. So it will recommend you make changes in the first file (if there is any difference) to match it with the second file.
There are three letters that might be displayed in the results: “a means to add”, “c means to change” and “d means to delete”. The sign “<” is used to show the first file and “>” is used to show the second file.
Syntax of the diff command is as follows:
diff [first file name] [second file name]
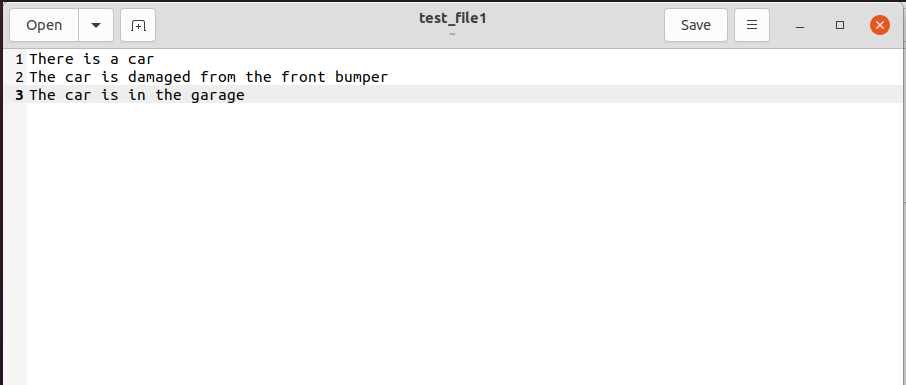
Let us consider examples to understand how this command works. We create two text files in the Documents folder in Ubuntu 20.04 with the name i.e. test_file1 and test_file2 having the text shown in the image.
Now, we will open the following command in the terminal of Ubuntu 20.04 in order to find out the differences. Go to the folder where files have been saved.
diff test_file1 test_file2
The above output shows us there are differences in the above files. The 3a4 means in the 1st file a in a 3rd line should be added.
Now, for more clarification run the following command:
diff test_file2 test_file1
In this command, we are just comparing test_file2 with test_file1. Now let’s look at the output. In this output the meaning of “4d3” means to delete line 4 of the test_file2 in order to match test_file1.
There are different flags that help us in understanding the differences in the file more easily. Before discussing the flags let’s see the general syntax of using flags.
diff –[flag] [filename1] [filename2]
There are a lot of flags used for different purposes. We will discuss two of them here in detail for understanding.
How to view files in context mode using the diff command
In order to view results in the context mode, we will use the flag “c”. Let us consider the previous example and compare them using this flag and check it out how it works.
diff -c test_file1 test_file2
In this output using the flag, the details of the creation of the file as well time are also mentioned. “!” means changes are required, “-” means something to be deleted and “+” comes it means to add something to match the first file with the second file.
How unified mode works using diff command:
It is used to view files in unified mode. We can view by using the flag “u”, the difference between it and context mode is that it doesn’t show information that is not important.
Let us consider an example.
diff -u test_file1 test_file2
So we observe this flag is displaying the results in a precise way so the reader can understand them better. In the above output, the -1,3 means in the first file you have to delete “from the bumper” and also add the fourth line.
Some other flags and their uses are:
| Flag | Details |
|---|---|
e | It is used to show output at ed script. |
y | It displays output in colors |
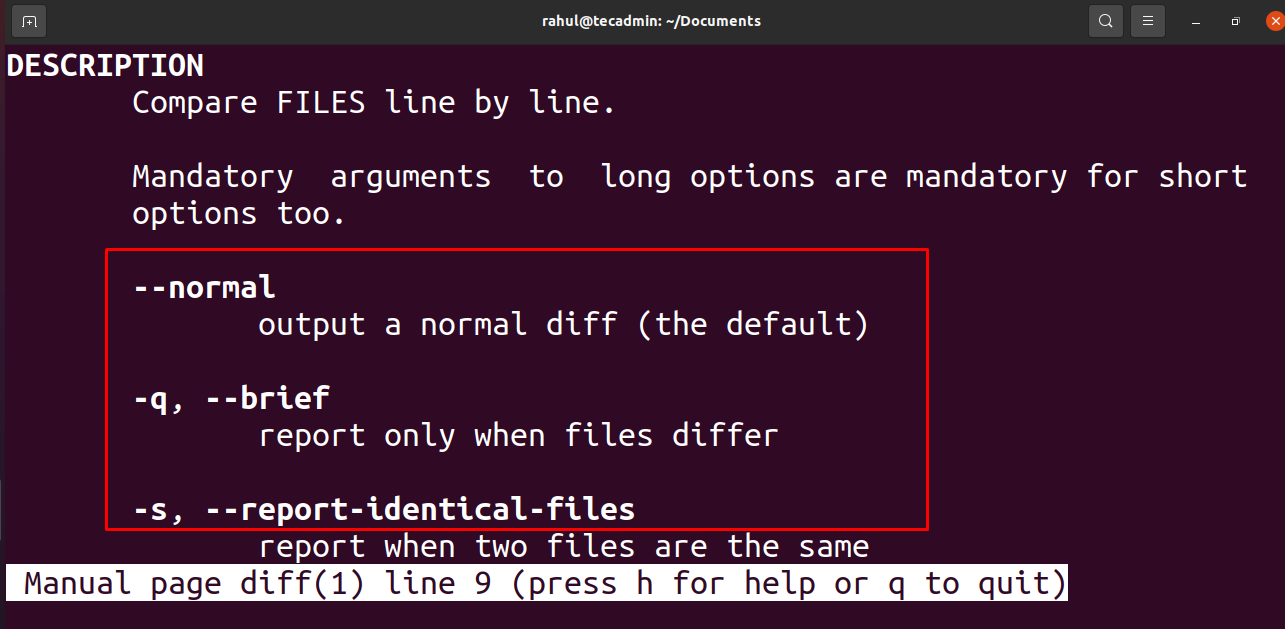
q | Gives output only if there is any differences |
We can see all the flags and their function by typing the following command in the terminal of Ubuntu.
man diff
What is colordiff command?
The working of the colordiff command is the same as of the diff command, but it displays results in a colorful way which helps the user to understand easily and it is an appealing readable file for the reader.
Let us consider the previous example.
colordiff test_file1 test_file2
The output is in a colorful way.
What is wdiff command
It compares files word by word. It tells us which words should be added and also where to be added to have both files matched. For understanding, consider the previous example again:
wdiff test_file1 test_file2
The output is:
We can see from the output that “from front bumper” should be deleted and “car should be repaired” added. But it doesn’t tell in which line. This is the difference between “wdiff” and “diff”.
Third-party tools can be used for comparison purposes of two files in Linux. The widely used tool is vimdiff.
Compare Files with Vimdiff
We can also use the vim editor for comparing two files in Linux. For this purpose first we install the vim editor as:
sudo apt install vim
Now we compare the previous files by using vim editor.
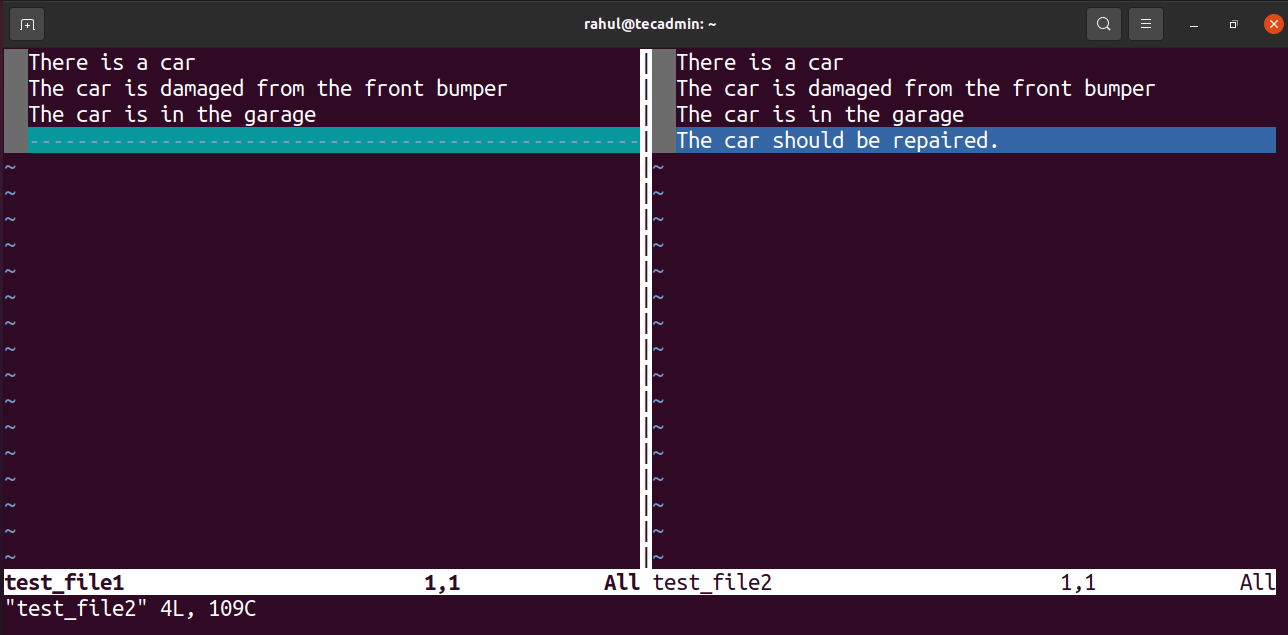
vimdiff test_file1 test_file2
Output is displayed as:
We see the output is in a table and highlighted by colors. The portion which should be added is highlighted in blue color and “—-“ in blue color shows where the content should be added.
Other than this, there are lots of third-party editors, which can be used for the comparison of two files in Linux for example, Kompare, Diff merge, diffuse- GUI tool, etc.
Conclusion
In this era, everyone wants ease in life therefore, instead of comparing files from word to word we would like to compare them with some tools so it can provide us accurate results in less time. In this article, we discussed how we can compare two files in Linux by using its built-in commands as well as the third party tools.


