In this tutorial, you will learn how to create a basic Flask app using Docker. You’ll set up your app with a Dockerfile and manage the images with an automated build process.
Along the way, you’ll also learn how to use multiple Python virtual environments and keep your source code organized. If you’re new to Python or Flask, check out our beginner guides to Python and Flask first. They cover the basics to help you follow along better. Let’s get started!
What is Flask?
Flask is a lightweight Python framework for building web applications. It is simple, flexible, and easy to use. You can extend it with many available extensions and plug-ins. Flask is suitable for creating small websites or large, complex applications.
Flask is used by companies like Pinterest, Twitter, Walmart, and Cisco. One common use of Flask is for creating REST APIs that interact with other systems. Applications built with Flask can be easily deployed to a server or a cloud service.
Create a Basic Flask Application
Before creating a Docker image for your application, you need to have a basic app that you can run locally or on a server.
In this section, you will create a simple Flask app and run it in a Docker container. You can use your preferred editor to create the app, or use the following command in your terminal to create a new app:
- Let’s begin with creating a new directory:
mkdir flask-app && cd flask-app - Next, create the Python virtual environment and then activate the environment.
python3 -m venv venvsource venv/bin/activate - Now install the Flask python module under the virtual environment.
pip install Flask - The below command will create the requirements.txt file with the installed packages under the current environment. This file is useful for installing module at deployments.
pip freeze > requirements.txt - Now, create a sample Flask application.. You can write your code in a .py file and run it with the python command.
vim app.pyAdd the below snippet.
# Import flask module from flask import Flask app = Flask(__name__) @app.route('/') def index(): return 'Hello to Flask!' # main driver function if __name__ == "__main__": app.run() - Your sample Flask application is ready. You can run this script with Python now.
flask run --host 0.0.0.0 --port 5000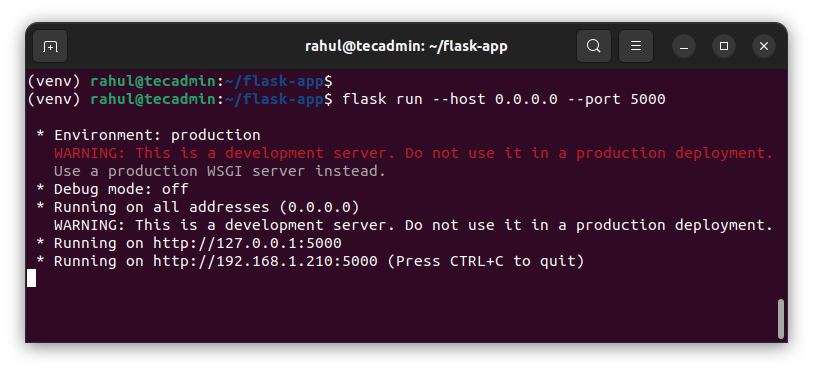
Running flask application at command line
Now that you have a basic app, you can run it in a Docker container by creating a file called Dockerfile in the same directory as your app.py file.
Create a Dockerfile for Your Flask Application
A Dockerfile is a file that contains instructions on how to build your image. It describes the entire process of building your image from the installation of your Python app to the creation of your container.
- Let’s create a file named Dockerfile under the project directory. This is the file docker reads instructions to build image.
vim DockerfileAdd the following code:
FROM python:3-alpine

# Create app directory
WORKDIR /app

# Install app dependencies
COPY requirements.txt ./

RUN pip install -r requirements.txt

# Bundle app source
COPY . .

EXPOSE 5000
CMD [ "flask", "run","--host","0.0.0.0","--port","5000"]
Save the file and close it.
- Next, create the Docker image by running the below-mentioned command. Here “flask-app” is the image name.
docker build -t flask-app . - This image will be created in local image registry. Then you can create a Docker container with the following command.
sudo docker run -it -p 5000:5000 -d flask-app - Now, verify that container is running on your system.
docker containers ls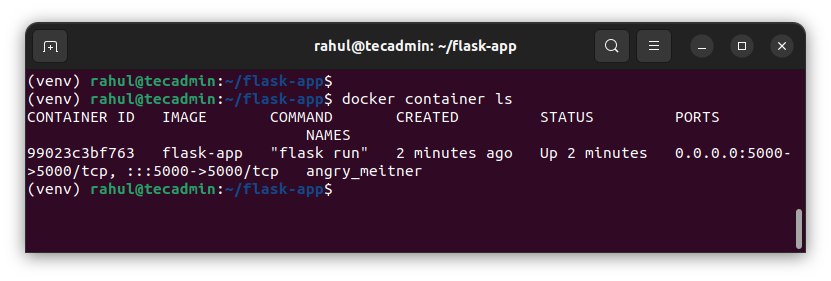
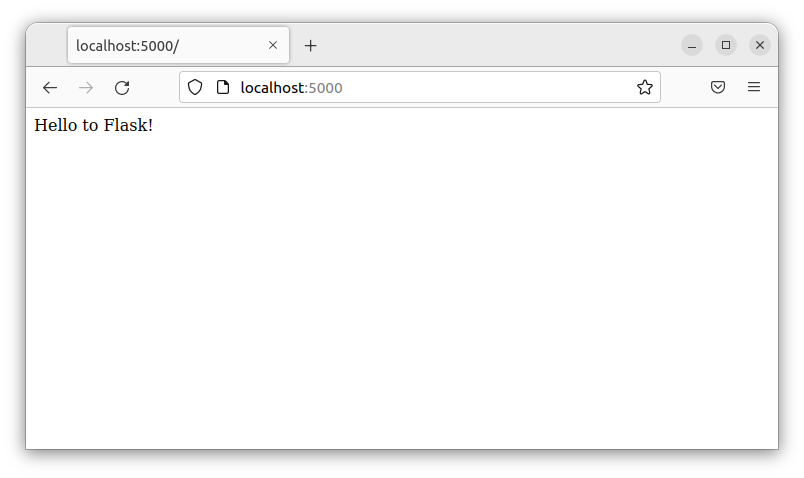
- Finally, open a browser and connect to localhost on port 5000 (or use your own defined port). You should see the flask application.
You can use a Dockerfile to automate the building and updating of your image. This is helpful if you’re working with a team and people are adding code to the same application.
Conclusion
That’s it! You have created a basic Flask app and run it using Docker. This setup helps you manage your application in a consistent environment, making deployment easier.


2 Comments
A very succint and well written article.
Although is this a typographical error ‘mkdir flask-app && flask-app ‘ ?
Should it have been ‘mkdir flask-app && cd flask-app ‘ ?
Without the ‘cd’ the ‘flask-app’ is interpreted as attempt to execute the command or script named ‘flask-app’
Thanks, I have fixed that typo