Nowadays technical support engineers prefer to use a bootable USB flash drive for the Linux installation in place of created bootable CD/DVD drive. The installation using a bootable flash USB drive is much faster than CD/DVD. This article will help you how to create a bootable USB drive of any Linux distribution using Ubuntu or LinuxMint operating system.
Step 1 – Install Unetbootin on Ubuntu
Unetbootin latest packages are available under ppa:gezakovacs/ppa repository. Use the following commands to add the repository and install Unetbootin.
$ sudo add-apt-repository ppa:gezakovacs/ppa
$ sudo apt-get update
$ sudo apt-get install unetbootin
Step 2 – DownLoad ISO (Optional)
Now download the ISO of your favorite Linux distribution from their official website. or Ignore this step as Unetbootin will do this for you automatically.
Step 3 – Create Bootable USB
In this step you have two options, the first is to select a distribution from options to which you need to create a bootable USB and the second is to select ISO from your local system drive.
Please select one of the below option
-
3.1 – Select Distribution: this will required internet connection on your system to download ISO directly.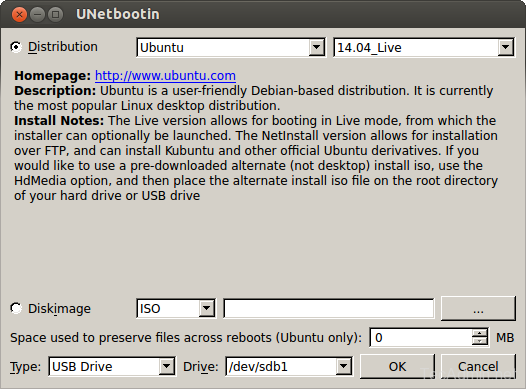
-
3.2 – Use Diskimage: In this option, you must have downloaded ISO to your local drive. Select ISO.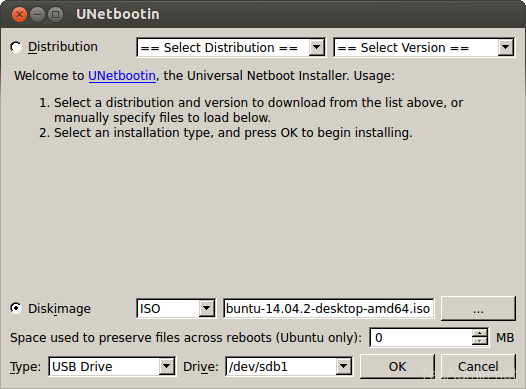
Attach a USB Flash drive to your system and select a USB drive under the Drive dropdown box.
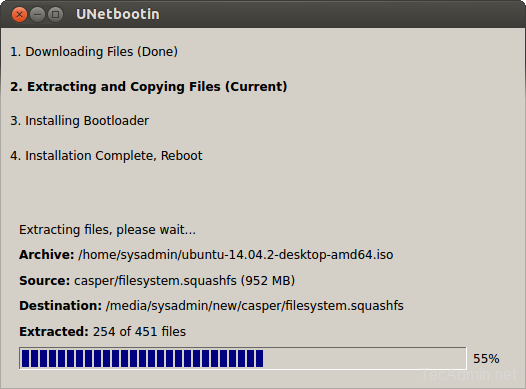
Now click OK. You will see progress like below. If you have selected distribution, then #1 download will take more time to download ISO, but if selected Diskimage from the local system then steps #1 will be simply done and step #2 will start.
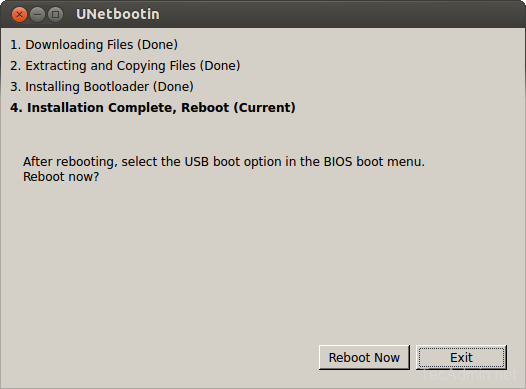
After completing the installation, you will get screen like below. Do not click reboot until you need it and simply click on Exit.
Step 4 – Boot System Using This USB
At this step your bootable USB flash drive is ready to boot systems. Attach USB to the new system you need to install Linux and boot it from a USB flash drive.
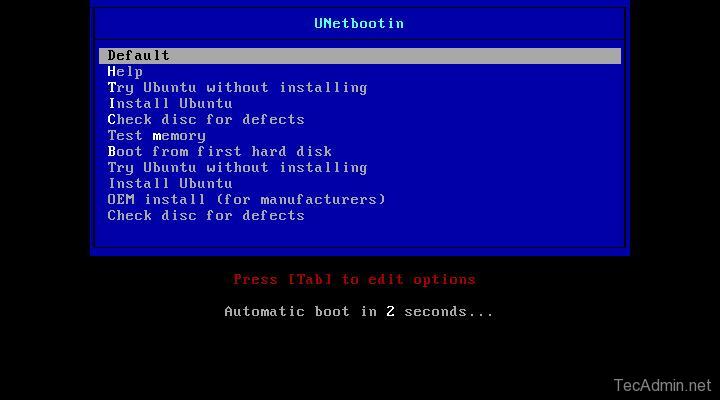
Default live-boot will take place and you will see a screen like the below. From where you can also install operating system permanently. Or you can select Install Ubuntu on the above screen to start the installation.
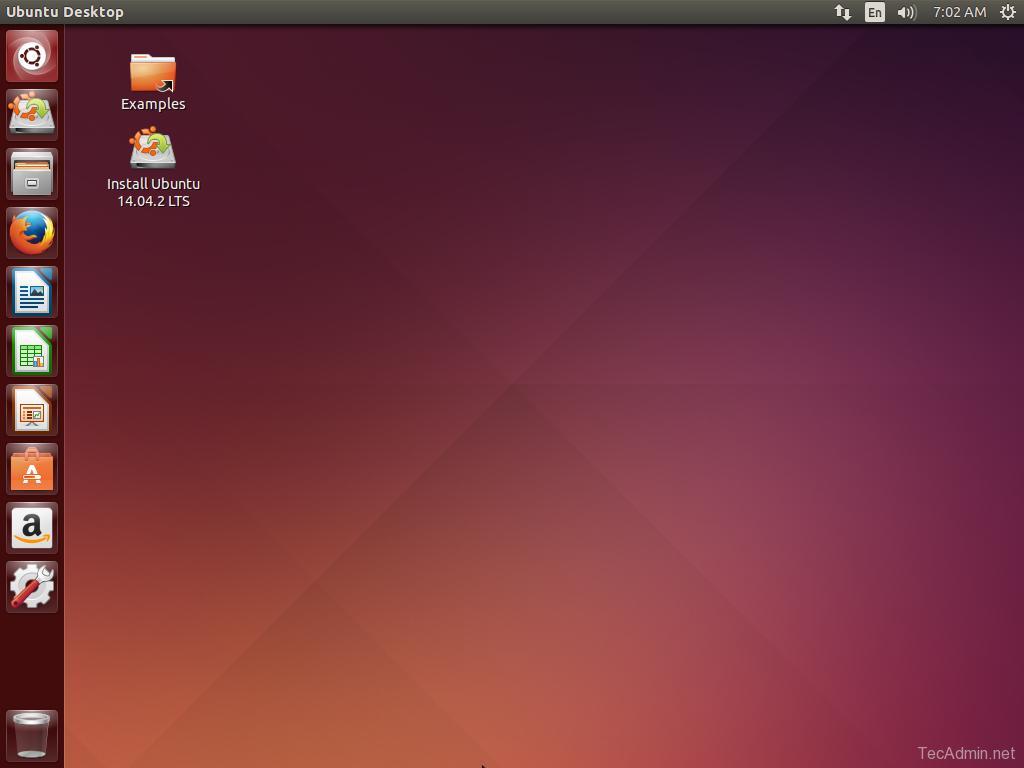
Complete the installation wizard to finish Ubuntu install on your system.

