Have you heard about the new and trending JavaScript library called React.js? It’s so cool that it has been extensively used by developers to create interactive User Interfaces and components in their applications. The React library is also a great choice when you want to build fast and scalable apps with a component-based approach. If you haven’t started using it yet, it’s time you start learning. In this blog post, we will show you how to set up a React development environment on your Mac computer. Read on!
Pre-Requisites
First, you need to make sure that you have the latest macOS installed on your computer. You can check the version of your macOS by clicking on the Apple menu in the top left corner of your computer screen and clicking on “About This Mac”. Make sure you have Node.js installed on your Mac computer. You can download Node.js for MacOS.
You also need to install an IDE (Integrated Development Environment) to write your React application. The most popular choices are WebStorm, Visual Studio Code, Atom, and IntelliJ. We will be using WebStorm for this tutorial. You will need to sign up for a free trial to start using this IDE.
Step 1: Installing Node.js and NPM
First, you need to install Node.js and NPM on your Mac computer. To do so, go to the terminal and type in the following command, and hit enter. You can find the terminal by searching for “terminal” in the MacOS search menu.
nvm install 16
Assuming you already have installed NVM on your macOS system.
Step 2: Install create-react-app Module with NPM
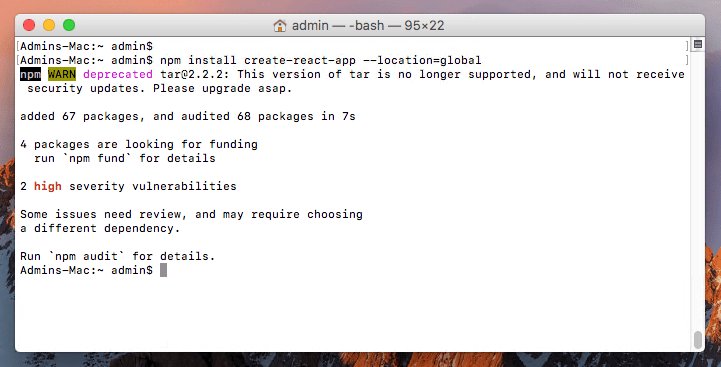
Once you have installed Node.js and NPM, you can go ahead and install the React CLI by typing the following command in the terminal. You can also install it from the NPM website by clicking on the “install” button.
npm install create-react-app --location=global
Step 3: Creating React Application on macOS
If you want to create your React application from scratch, follow the steps below. First, change the current directory path to your computer’s root directory by typing the following command.
You can change the directory path to any other folder as well. But make sure that you choose a path that is not present in any git repository. If the folder path is present in any git repository, you will get a message saying that the path is in the .gitignore file and cannot be selected.
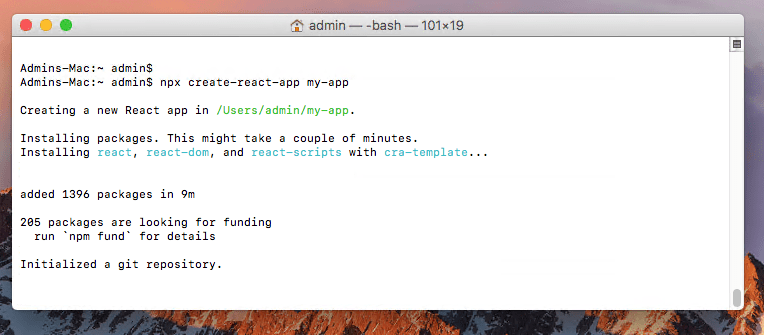
Now, create a new React app by typing the following command.
npx create-react-app my-app
Afterward, you can navigate into the project on the command line and start it with npm:
cd my-appnpm start
Wait for the application to start.
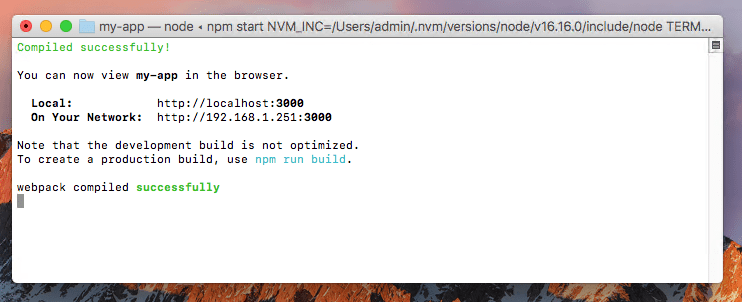
The default application will listen on localhost:3000. You can access this in a web browser.
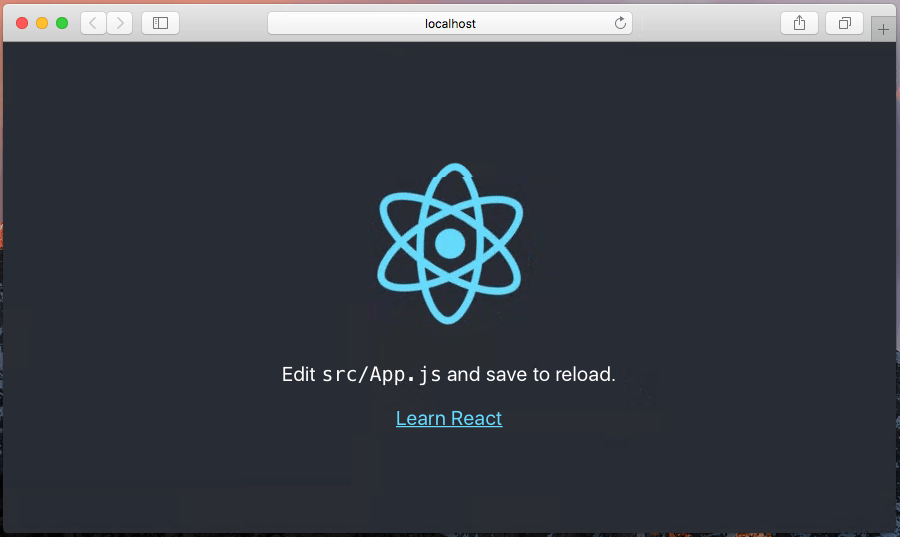
Safari is the default browser for the macOS machine, But I recommend you to use Chrome as well. Google chrome provides the developer environment and a chrome extension for React Developer Tools.
Step 4: Build React Application
Once the React application is ready for production, you can go ahead and build it. Type the following command to build your application.
npm run build
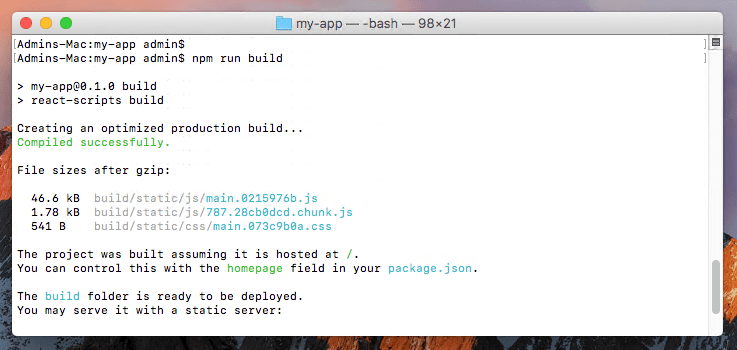
The above command builds your React application and creates a folder called “build” in the current directory. The build folder contains the JavaScript code and other resources required by your application.

You can upload files from the build folder to the document root of your production site.
Conclusion
Now that you know how to set up a React development environment on your Mac computer, you can go ahead and start learning the basics of React. We recommend that you start with the React tutorial to get a good understanding of how React works. You can also go through the official React documentation to learn more about the library. Once you are done with the initial learning, you can start building more complex React applications. Now that you know how to set up a React development environment on your Mac computer, you can go ahead and start learning the basics of React.

