
The complexities of managing a server can be daunting, especially if you are new to the field. Thankfully, there are numerous server management tools available today, and Cockpit is one such tool that has quickly become popular among administrators.
Cockpit is a powerful, open-source, server management tool that offers a user-friendly web-based interface. This allows you to administer your GNU/Linux servers with ease. With Cockpit, you can start containers, administer storage, configure networks, and inspect logs among many other tasks. One of the best things about Cockpit is its ability to manage multiple servers from a single interface.
This article presents a step-by-step guide to installing Cockpit on an Ubuntu server.
Step 1: Update Your System
Before you begin installing Cockpit, ensure your Ubuntu system is up to date. Open your terminal and run the following command:
sudo apt update && sudo apt upgrade
This command updates the package list and upgrades your existing software packages to the latest versions.
Step 2: Install Cockpit
Once your system is up-to-date, you can proceed to install Cockpit. Enter the following command:
sudo apt install cockpit
This command will install the Cockpit package on your system.
Step 3: Enable Cockpit
Once the installation process completes, Cockpit service should be up and running automatically. To ensure Cockpit starts on boot, run the following command:
sudo systemctl enable --now cockpit.socket
You can also check if the service is running by typing:
sudo systemctl status cockpit
If Cockpit is running properly, you’ll see an active (running) status.
Step 4: Adjust Firewall Settings
If you have UFW (Uncomplicated Firewall) activated, you need to adjust your firewall settings to allow Cockpit. Run the following command to enable Cockpit on UFW:
sudo ufw allow Cockpit
Step 5: Accessing Cockpit Web Interface
Now that Cockpit is installed and running, you can access its web interface by opening your web browser and navigating to the following address:
- https://your_server_ip:9090
Replace ‘your_server_ip’ with your actual server IP address. Note the ‘s’ in ‘https’; Cockpit uses a secure connection and you must specify this in the address.
You will be greeted by a login screen. Use your server credentials to log in.

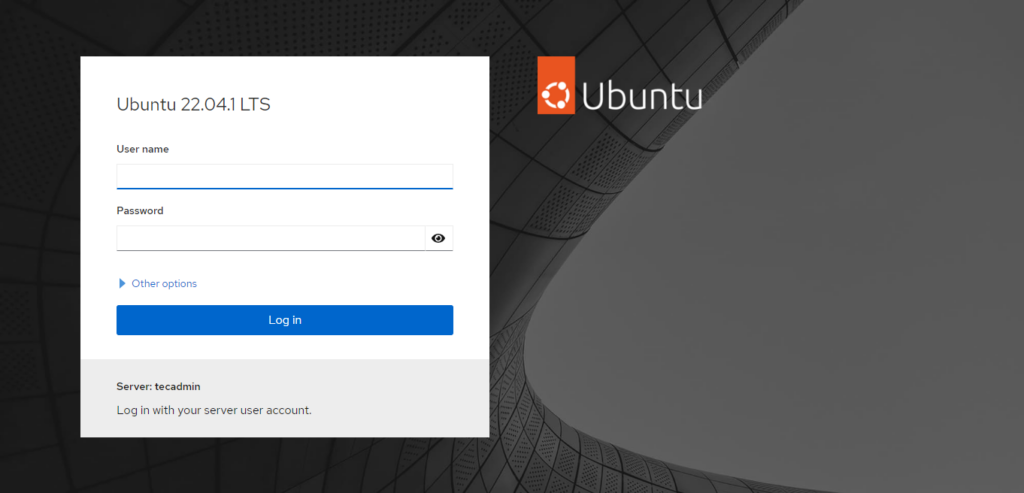
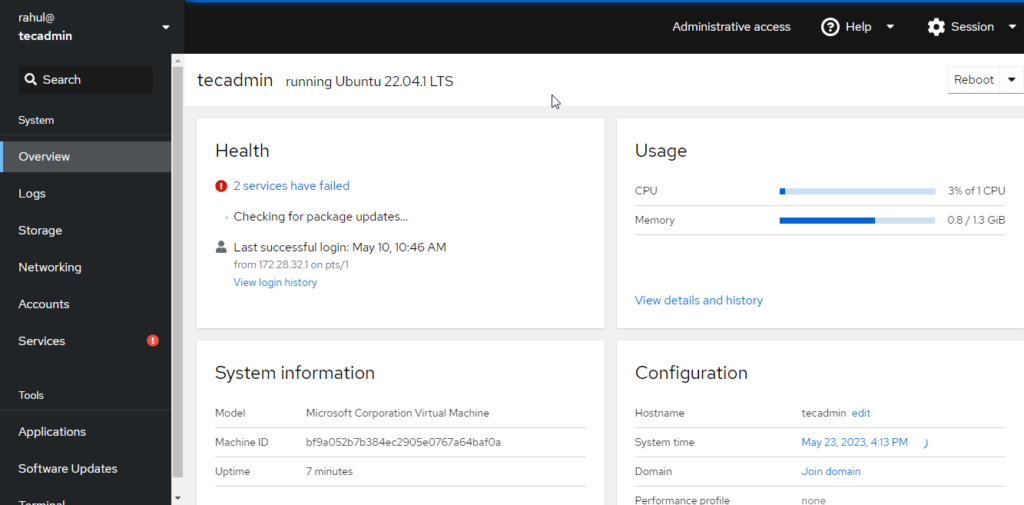
Enter the Ubuntu system login credentials. After successful authentication, you will redirect to the dashboard.

Conclusion
Congratulations! You have successfully installed Cockpit on your Ubuntu server. With Cockpit, you can effectively manage your server through a friendly web-based interface, monitor system resources, administer users, configure networks, manage storage, and more. It simplifies many of the tasks related to server management and can be a powerful tool in your system administration arsenal.
Remember to regularly update your Cockpit installation along with your system packages to ensure optimal performance and security. Happy server managing!