
Understanding unstructured data and analyzing massive amounts of data is a different ball game today. And so, businesses have resorted to Apache Hadoop and other related technologies to manage their unstructured data more efficiently. Not just businesses but also individuals are using Apache Hadoop for various purposes, such as analyzing large datasets or creating a website that can process user queries. However, installing Apache Hadoop on Ubuntu may seem like a difficult task for users new to the world of Linux servers. Fortunately, you don’t need to be an experienced system administrator to install Apache Hadoop on Ubuntu.
The following step-by-step installation guide will get you through the entire process from downloading the software to configuring the server with ease. In this article, we will explain how to install Apache Hadoop on Ubuntu 22.04 LTS system. This can be also used for other Ubuntu versions.
Step 1: Install Java Development Kit
Java is a necessary component of Apache Hadoop, so you need to download and install a Java Development Kit on all the nodes in your network where Hadoop will be installed. You can either download the JRE or JDK. If you’re only looking to run Hadoop, then JRE is sufficient, but if you want to create applications that run on Hadoop, then you’ll need to install the JDK. The latest version of Java that Hadoop supports is Java 8 and 11. You can verify this on Apache’s website and download the relevant version of Java depending on your OS.
- The default Ubuntu repositories contain Java 8 and Java 11 both. Use the following command to install it.
sudo apt update && sudo apt install openjdk-11-jdk - Once you have successfully installed it, check the current Java version:
java -version
Check java version - You can find the location of the JAVA_HOME directory by running the following command. That will be required latest in this article.
dirname $(dirname $(readlink -f $(which java)))
Check JAVA_HOME location


Step 2: Create User for Hadoop
All the Hadoop components will run as the user that you create for Apache Hadoop, and the user will also be used for logging in to Hadoop’s web interface. You can create a new user account with the “sudo” command or you can create a user account with “root” permissions. The user account with root permissions is more secure but might not be as convenient for users who are not familiar with the command line.
- Run the following command to create a new user with the name “hadoop”:
sudo adduser hadoop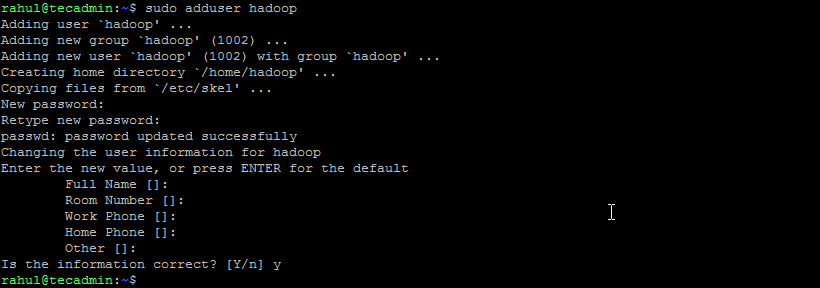
Create hadoop user - Switch to the newly created hadoop user:
su - hadoop - Now configure password-less SSH access for the newly created hadoop user. Generate an SSH keypair first:
ssh-keygen -t rsa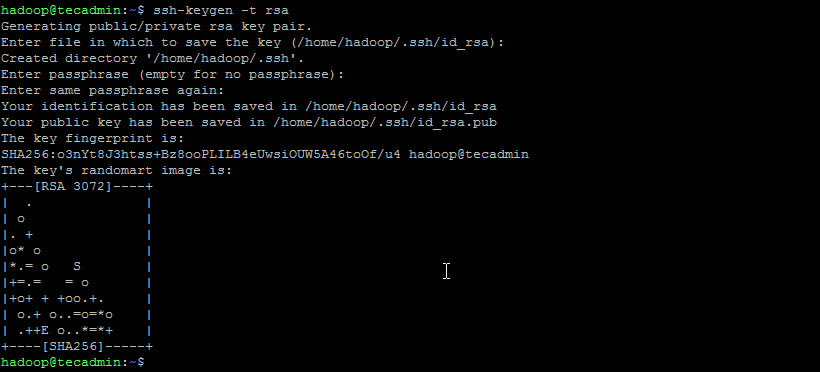
Generate SSH Key pair - Copy the generated public key to the authorized key file and set the proper permissions:
cat ~/.ssh/id_rsa.pub >> ~/.ssh/authorized_keyschmod 640 ~/.ssh/authorized_keys - Now try to SSH to the localhost.
ssh localhostYou will be asked to authenticate hosts by adding RSA keys to known hosts. Type yes and hit Enter to authenticate the localhost:

Connect ssh to localhost


Step 3: Install Hadoop on Ubuntu
Once you’ve installed Java, you can download Apache Hadoop and all its related components, including Hive, Pig, Sqoop, etc. You can find the latest version on the official Hadoop’s download page. Make sure to download the binary archive (not the source).
- Use the following command to download Hadoop 3.3.4:
wget https://dlcdn.apache.org/hadoop/common/hadoop-3.3.4/hadoop-3.3.4.tar.gz - Once you’ve downloaded the file, you can unzip it to a folder on your hard drive.
tar xzf hadoop-3.3.4.tar.gz - Rename the extracted folder to remove version information. This is an optional step, but if you don’t want to rename, then adjust the remaining configuration paths.
mv hadoop-3.3.4 hadoop - Next, you will need to configure Hadoop and Java Environment Variables on your system. Open the ~/.bashrc file in your favorite text editor:
nano ~/.bashrcAppend the below lines to the file. You can find the JAVA_HOME location by running
dirname $(dirname $(readlink -f $(which java)))command on the terminal.12345678910export JAVA_HOME=/usr/lib/jvm/java-11-openjdk-amd64export HADOOP_HOME=/home/hadoop/hadoopexport HADOOP_INSTALL=$HADOOP_HOMEexport HADOOP_MAPRED_HOME=$HADOOP_HOMEexport HADOOP_COMMON_HOME=$HADOOP_HOMEexport HADOOP_HDFS_HOME=$HADOOP_HOMEexport HADOOP_YARN_HOME=$HADOOP_HOMEexport HADOOP_COMMON_LIB_NATIVE_DIR=$HADOOP_HOME/lib/nativeexport PATH=$PATH:$HADOOP_HOME/sbin:$HADOOP_HOME/binexport HADOOP_OPTS="-Djava.library.path=$HADOOP_HOME/lib/native"Save the file and close it.
- Load the above configuration in the current environment.
source ~/.bashrc - You also need to configure JAVA_HOME in hadoop-env.sh file. Edit the Hadoop environment variable file in the text editor:
nano $HADOOP_HOME/etc/hadoop/hadoop-env.shSearch for the “export JAVA_HOME” and configure it with the value found in step 1. See the below screenshot:

Set JAVA_HOME Save the file and close it.

Step 4: Configuring Hadoop
Next is to configure Hadoop configuration files available under etc directory.
- First, you will need to create the namenode and datanode directories inside the Hadoop user home directory. Run the following command to create both directories:
mkdir -p ~/hadoopdata/hdfs/{namenode,datanode} - Next, edit the core-site.xml file and update with your system hostname:
nano $HADOOP_HOME/etc/hadoop/core-site.xmlChange the following name as per your system hostname:
123456<configuration><property><name>fs.defaultFS</name><value>hdfs://localhost:9000</value></property></configuration>Save and close the file.
- Then, edit the hdfs-site.xml file:
nano $HADOOP_HOME/etc/hadoop/hdfs-site.xmlChange the NameNode and DataNode directory paths as shown below:
12345678910111213141516<configuration><property><name>dfs.replication</name><value>1</value></property><property><name>dfs.name.dir</name><value>file:///home/hadoop/hadoopdata/hdfs/namenode</value></property><property><name>dfs.data.dir</name><value>file:///home/hadoop/hadoopdata/hdfs/datanode</value></property></configuration>Save and close the file.
- Then, edit the mapred-site.xml file:
nano $HADOOP_HOME/etc/hadoop/mapred-site.xmlMake the following changes:
123456<configuration><property><name>mapreduce.framework.name</name><value>yarn</value></property></configuration>Save and close the file.
- Then, edit the yarn-site.xml file:
nano $HADOOP_HOME/etc/hadoop/yarn-site.xmlMake the following changes:
123456<configuration><property><name>yarn.nodemanager.aux-services</name><value>mapreduce_shuffle</value></property></configuration>Save the file and close it.
Step 5: Start Hadoop Cluster
Before starting the Hadoop cluster. You will need to format the Namenode as a hadoop user.
- Run the following command to format the Hadoop Namenode:
hdfs namenode -formatOnce the namenode directory is successfully formatted with hdfs file system, you will see the message “Storage directory /home/hadoop/hadoopdata/hdfs/namenode has been successfully formatted“.
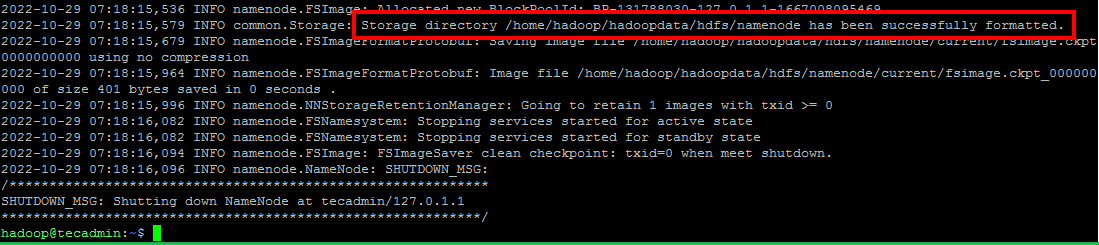
Format namenode - Then start the Hadoop cluster with the following command.
start-all.sh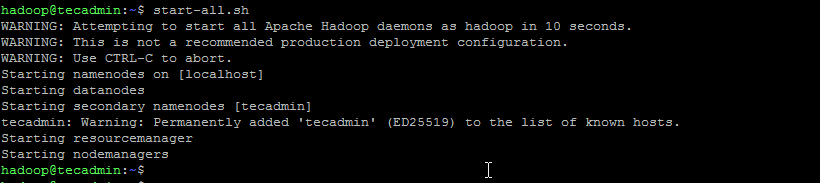
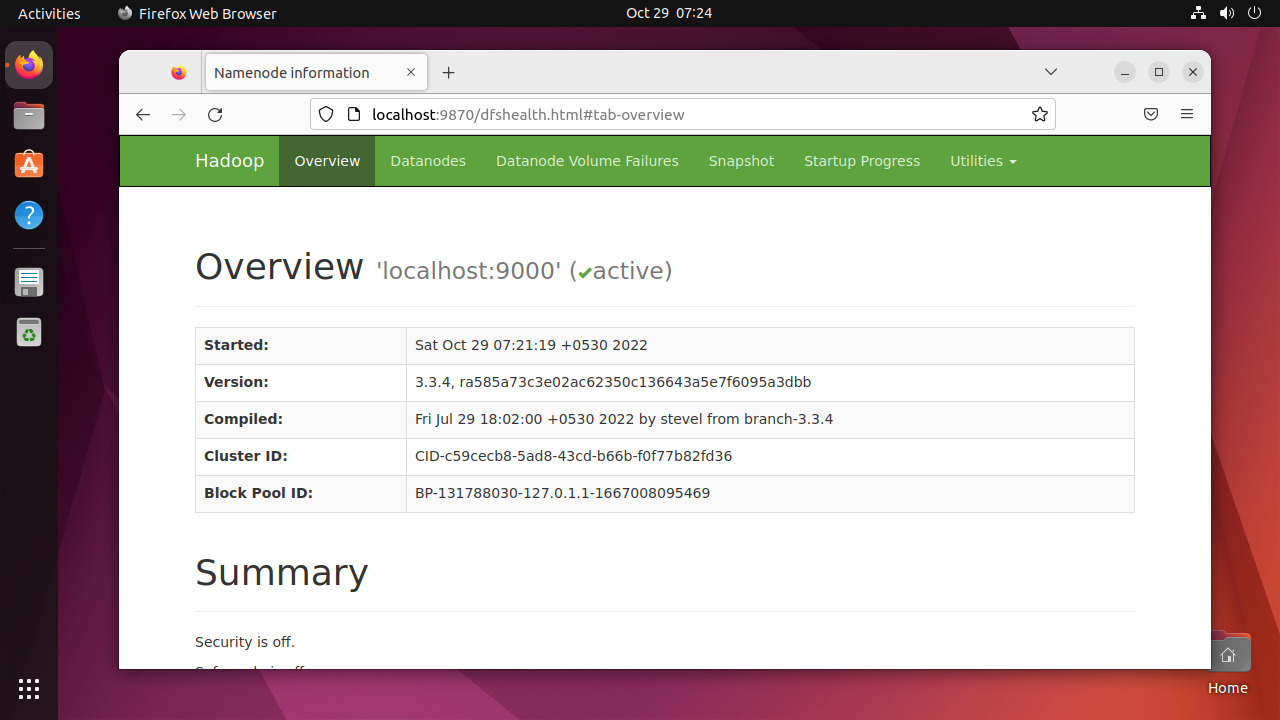
Start hadoop services - Once all the services started, you can access the Hadoop at: http://localhost:9870
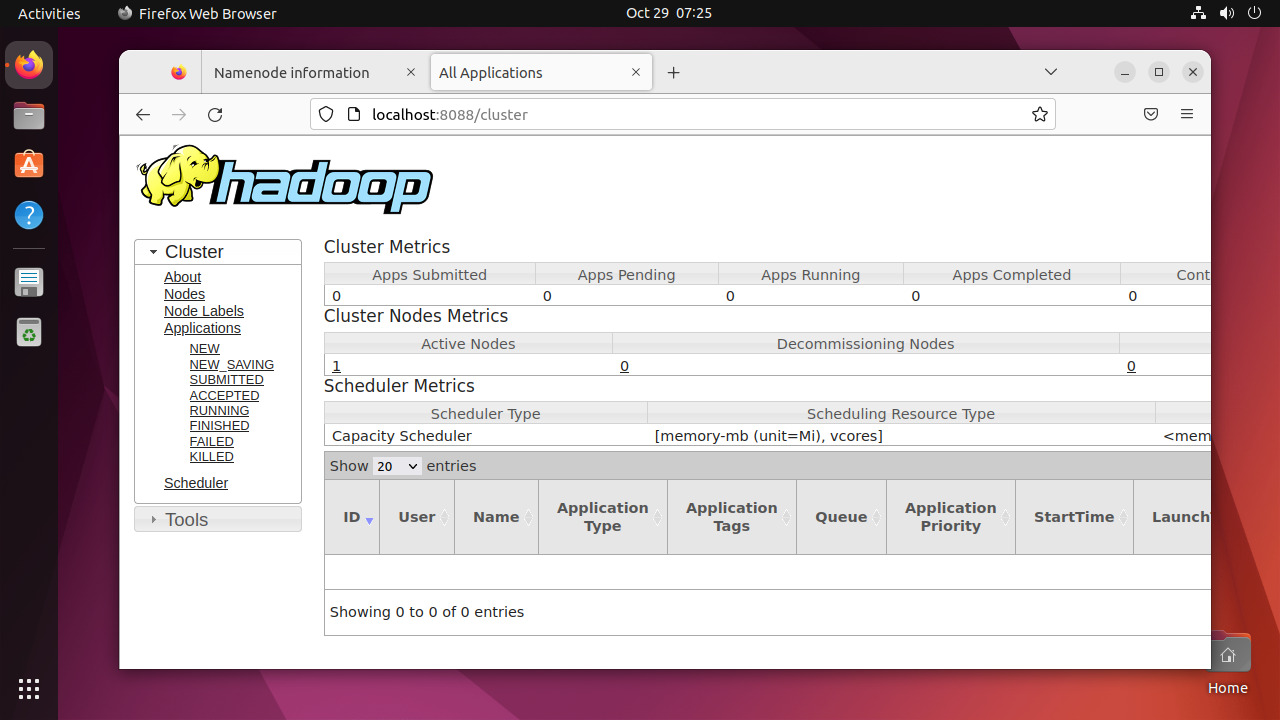
- And the Hadoop application page is available at http://localhost:8088


Conclusion
Installing Apache Hadoop on Ubuntu can be a tricky task for newbies, especially if they only follow the instructions in the documentation. Thankfully, this article provides a step-by-step guide that will help you install Apache Hadoop on Ubuntu with ease. All you have to do is follow the instructions listed in this article, and you can be sure that your Hadoop installation will be up and running in no time.


1 Comment
Thanks
you need to add
sudo apt-get install ssh
before
ssh localhost