Apache Solr is an enterprise-grade search platform built on the robustness of Apache Lucene. It offers an array of functionalities such as distributed searching, index replication, and a host of others. In contrast to typical relational databases, Solr is designed with scalability in mind, allowing for efficient full-text searches even with vast amounts of data. For businesses or platforms that require efficient search capabilities, integrating Solr can be transformative. CentOS and RHEL (Red Hat Enterprise Linux), being popular choices for server environments, often need tools like Solr for enhanced search capabilities.
This guide is dedicated to those seeking a straightforward process to install Apache Solr on CentOS/RHEL 9/8. By the end of it, you’ll have a running Solr instance ready to cater to your search requirements.
Prerequisites
- A CentOS/RHEL 9/8 server instance.
- Root or sudo access to the system.
Step 1: Install Java
Apache Solr 9.0 required Java 11 or greater version to run. Make sure your system fulfills the Java requirements on your system. If not run the following command to install Java.
sudo dnf install java-11-openjdk
Then check installed Java version:
java -version

openjdk version "11.0.4" 2019-07-16 LTS
OpenJDK Runtime Environment 18.9 (build 11.0.4+11-LTS)
OpenJDK 64-Bit Server VM 18.9 (build 11.0.4+11-LTS, mixed mode, sharing)
Step 2: Install Apache Solr
Now download the required Solr version from its official site or mirrors. You may also use the below command to download Apache Solr from its official website. After that extract the installer script.
wget https://dlcdn.apache.org/solr/solr/9.4.1/solr-9.4.1.tgz
In case the download fails with 404 error. Visit the official Solr download page to download the latest available version.
tar xzf solr-9.4.1.tgz solr-9.4.1/bin/install_solr_service.sh --strip-components=2
Then execute the installer script with bash shell followed with downloaded Archive file. The command will be like below:
sudo bash ./install_solr_service.sh solr-9.4.1.tgz
This will create an account named solr on your system and finish the installation process. After that start the service default Solr port 8983.
Step 3: Managing Apache Solr Service
Apache Solr service is managed under the systemd daemon. Use the following commands to Start, Stop and check the status of the Solr service.
sudo systemctl stop solrsudo systemctl start solrsudo systemctl status solr
Step 4: Create a New Collection
A collection is a group of cores that together form a single logical index. A collection has a different set of configuration files and schema definitions than other collections. You can create a collection by running the following command:
sudo su - solr -c "/usr/local/solr/bin/solr create -c mycol1 -n data_driven_schema_configs"
Sample output:
Output:Created new core 'mycol1'
Step 5: Access Solr Admin Panel
By default, the Solr server runs on port 8983. Access Solr dashboard in your web browser using server ip address or hostname with 8983 port.
http://demo.tecadmin.net:8983/
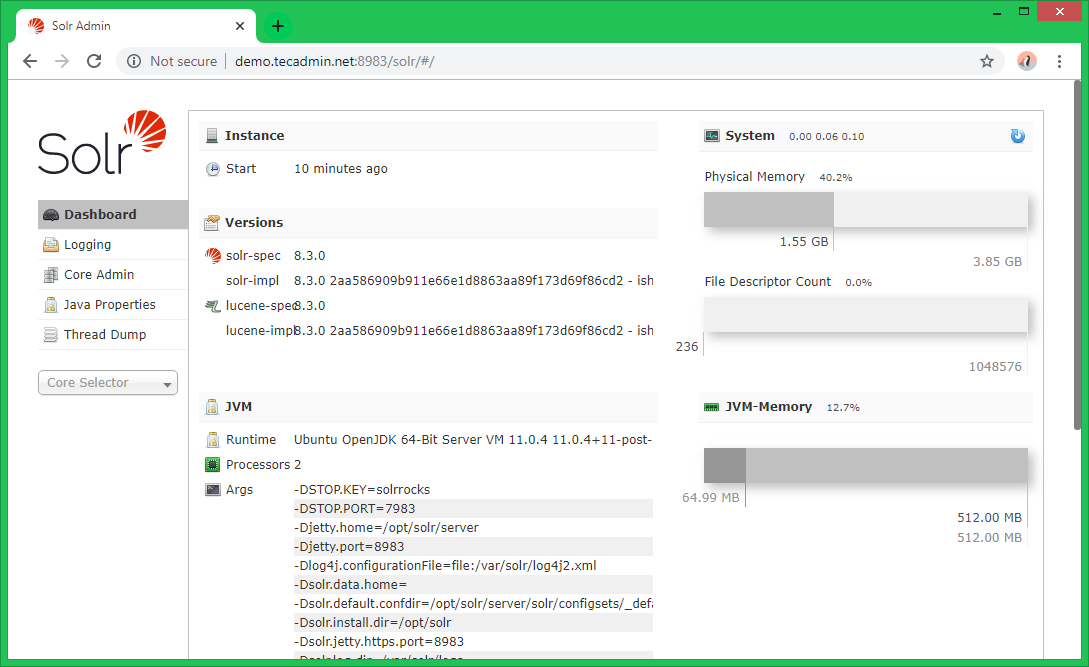
Here you can view statics of created collection in previous steps named “mycol1”. Click on “Core Selector” on the left sidebar and select created collection.

Conclusion
Having walked through the process, we’ve established a functional Apache Solr installation on CentOS/RHEL 9/8. With the proper configuration and setup, Solr can drastically improve the search capabilities of applications, making data retrieval fast and relevant. The journey doesn’t stop here, though. The real power of Solr is harnessed when you tailor its functionalities to your specific needs. As you move forward, consider diving deeper into Solr’s documentation and community forums. It will aid in understanding advanced configurations, optimizations, and ways to make the most of your new search platform. Happy searching!

