The Certbot is a command-line utility for getting free SSL certificates from the Let’s Encrypt certificate authority. It allows you to request a new SSL certificate, do the authorization and configure your web server for SSL settings. You can also obtain SSL certificates for other services like Mail servers, proxy, and VPN servers.
This tutorial helps you to install the Let’s Encrypt client on CentOS 8 Linux system.
Prerequisites
Before installing Certbot on CentOS 8, You must fulfill:
- A CentOS 8 Linux system with sudo user access.
- Apache (HTTP) web server with virtual host configured with a domain.
- Domain or sub-domain must be pointed to web server IP address.
Step 1 – Enabling EPEL Repo
The EPEL repository contains updated certbot packages for the rpm-based systems. You’ll need to enable the EPEL (Extra Packages for Enterprise Linux) repository on your system using the following commands:
sudo dnf install https://dl.fedoraproject.org/pub/epel/epel-release-latest-8.noarch.rpmsudo dnf config-manager --set-enabled PowerTools
Step 2 – Installing Certbot
Certbot is available as an RPM package for the installation on CentOS 8 system. You can install it directory from the EPEL repository, which you already have enabled on your system.
Open a terminal and execute below command to install certbot:
sudo dnf install certbot python3-certbot-apache
sudo dnf install certbot python3-certbot-nginx
Step 3 – Request a New SSL Certificate
Now, You can request SSL certificates from Let’s encrypt based on the webserver.
- Apache (HTTPD) – The systems running Apache web server, execute the following command. This will list all the domains/sub-domains configured on your web server. Select appropriate numbers to request certificate.
sudo certbot --apache - Nginx – The systems running with Nginx web server, use below command to request for the SSL certificates.
sudo certbot --nginx - Get Certificate Only – If you are feeling insecure with the default SSL configuration, you can get the certificate only from the Let’s Encrypt and then create a virtual host manually.
sudo certbot certonly --apachesudo certbot certonly --nginx
In all of the above cases, the domain must be pointed to your server from DNS. Also, ensure that /.well-known/acme-challenge are served by the webserver.
Step 4 – Test SSL Setup
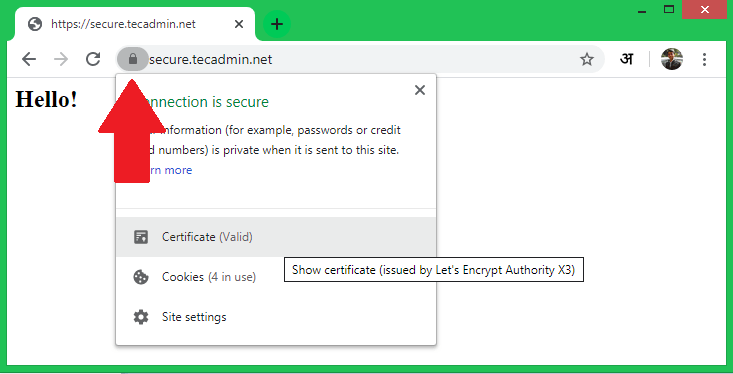
Once the SSL certificate is installed on the web server, visit https://your-domain.com/ in a web browser and look for the SSL lock icon in the URL bar. You can also do a security scan for the SSL setup on https://www.ssllabs.com/ssltest/.
Step 5 – Renew Existing SSL Certificate
All the certificates issued by Let’s Encrypt are valid for 3 months only. It allows you to renew a certificate before 30 days or less of expiry. The Certbot utility allows you to renew SSL with a single command line. You can also schedule this in a cronjob.
Run the below command to renew all the certificates on that system.
sudo certbot renew
You can also do a dry run without the actual renewal of the certificate. With this, you can verify if SSL renewal will work if scheduled with a cronjob.
sudo certbot renew --dry-run
Conclusion
In this tutorial, you have learned to install certbot on CentOS 8 Linux system. Also helped you to create new certificates for your web servers.


2 Comments
I am having an issue. I use webmin to install a virtual server and at the point of ssl it stopped and gave error Undefined subroutine &virtual_server::can_domain_dnsssec called at /usr/libexec/webmin/virtual-server/edit_spf.cgi.
The site is running but no lock on it so it gives error on browser. Please can you help? Or any article I can read on your site?
Nice Article !!!!!