Apache is one of the most popular open-source web servers available today, offering a robust set of features and high performance. In this article, we’ll show you how to install Apache on RHEL & CentOS Stream 9 and then secure it for production use.
Prerequisites
Before getting started, you’ll need to have access to a server running RHEL & CentOS Stream 9. You should also have root or sudo privileges so that you can install packages and make changes to the system. Additionally, you’ll need to have a basic understanding of Linux commands and how to use a text editor such as nano or vim.
Step 1: Installing Apache
To install Apache, you’ll first need to add the EPEL repository to your system. This can be done with the following command:
sudo dnf install epel-release
Next, you can install Apache using the following command:
sudo dnf install httpd
Once the installation is complete, you can start Apache with the following command:
sudo systemctl start httpd
To ensure that Apache starts automatically at boot time, run the following command:
sudo systemctl enable httpd
Step 2: Testing the Installation
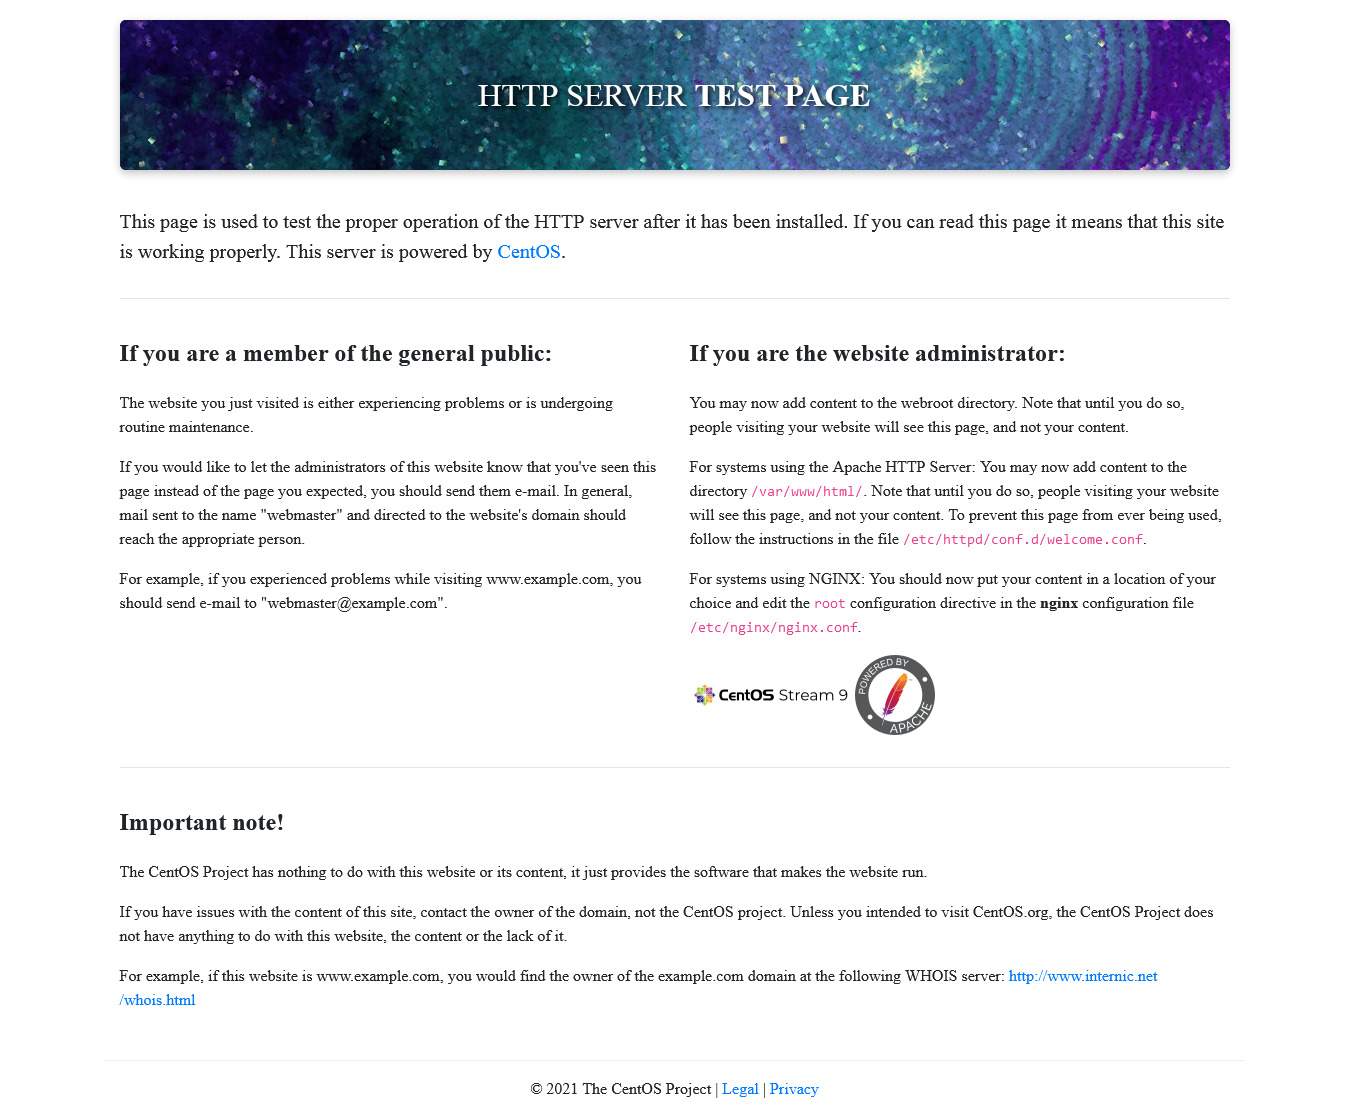
To test the installation, open a web browser and navigate to `http://your-server-ip`. You should see a page that says “Welcome to your Apache Web Server”. This confirms that Apache is up and running on your system.
Step 3: Securing Apache
Now that Apache is installed, it’s time to secure it for production use. Here are some key steps to follow:
- Update Apache to the latest version
It’s important to keep your Apache installation up to date in order to take advantage of security fixes and other improvements. You can update Apache using the following command:
sudo dnf update httpd - Disable directory listing
By default, Apache will display a directory listing if no index file is present in a directory. This can be a security risk, so it’s best to disable directory listing. You can do this by adding the following lines to the Apache configuration file located at /etc/httpd/conf/httpd.conf:
123<Directory /var/www/html>Options -Indexes</Directory> - Configure a firewall
A firewall can help protect your server from unauthorized access by blocking incoming traffic on certain ports. On RHEL & CentOS Stream 9 , you can use the built-in firewall service, firewalld, to control incoming traffic. To allow traffic to Apache, run the following command:
sudo firewall-cmd --permanent --add-service=httpsudo firewall-cmd --reload - Enable SSL/TLS encryption
In order to encrypt data transmitted between the server and clients, you should enable SSL/TLS encryption. This can be done by obtaining an SSL certificate and configuring Apache to use it. A self-signed certificate can be created using the following command:
sudo openssl req -x509 -nodes -days 365 -newkey rsa:2048 -keyout /etc/ssl/private/apache.key -out /etc/ssl/certs/apache.crtNext, you need to configure Apache to use the certificate. This can be done by adding the following lines to the Apache configuration file located at /etc/httpd/conf/httpd.conf:
1234567891011121314<VirtualHost _default_:443>DocumentRoot "/var/www/html"ServerName your-server-nameSSLEngine onSSLCertificateFile /etc/ssl/certs/apache.crtSSLCertificateKeyFile /etc/ssl/private/apache.key<Directory "/var/www/html">Options Indexes FollowSymLinksAllowOverride NoneRequire all granted</Directory></VirtualHost>Restart Apache after making these changes using the following command:
sudo systemctl restart httpd - Limit access to sensitive files
It’s important to limit access to sensitive files such as configuration files and logs. You can do this by adding the following lines to the Apache configuration file located at /etc/httpd/conf/httpd.conf:
123<FilesMatch "\.(log|cfg)$">Require all denied</FilesMatch>
Conclusion
By following the steps outlined in this article, you have successfully installed and secured Apache on RHEL & CentOS Stream 9. These are just some of the basic steps to secure your Apache installation, and you should always stay up-to-date on security best practices and developments in the field to ensure that your server remains secure. Additionally, it’s important to regularly monitor your Apache logs and keep an eye out for any signs of malicious activity or security incidents. With the right precautions in place, you can ensure that your Apache server is running smoothly and securely.

