
IIS is formerly known as Internet Information Server. It is created by Microsoft for Windows operating systems. IIS supports HTTP, HTTPS, FTP, FTPS, SMTP and NNTP protocols. Microsoft also provides a graphical user interface for IIS called IIS Manager. It is useful for managing websites and other applications on Internet Information Server.
Useful tutorials:
- How to Setup Let’s Encrypt SSL in IIS
- How to Redirect HTTP to HTTPS in IIS
- How to Setup Reverse Proxy in IIS
Install IIS on Windows
Use the following step-by-step tutorial to install IIS on Windows 8 & Windows 10 operating systems.
Step 1- First of all open control panel on your system. To open the control panel either use the start menu or you’re can also type “control” on the run window.
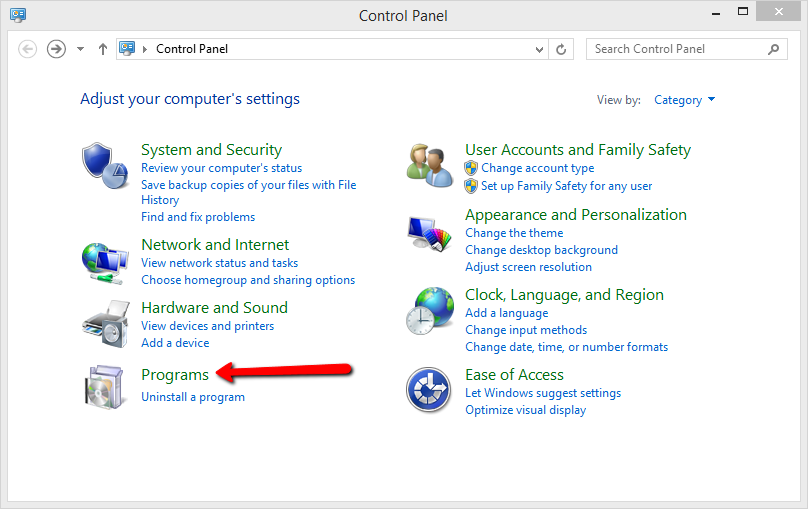
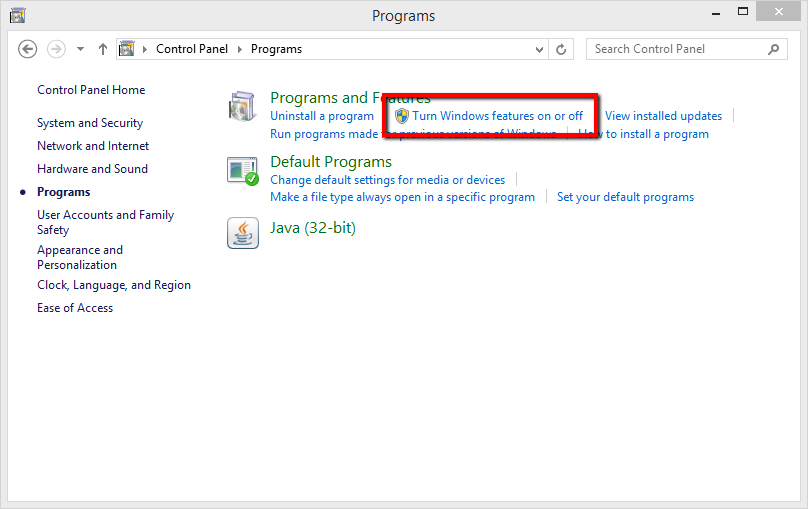
Step 2- Turn windows features on or off under the Programs and Features section.
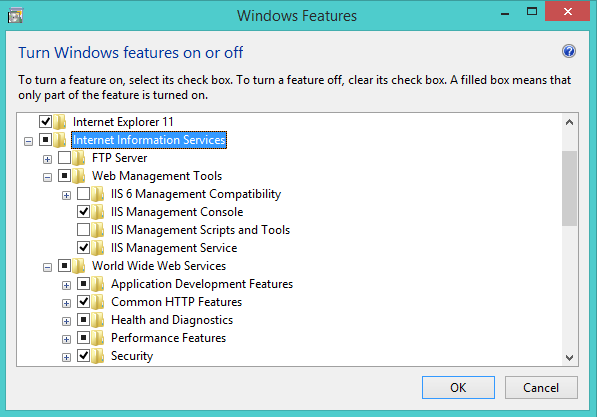
Step 3- You will get a list of Windows features. Expand the “Internet Information Service” option. Select all required features to add to your IIS server. Now click OK.
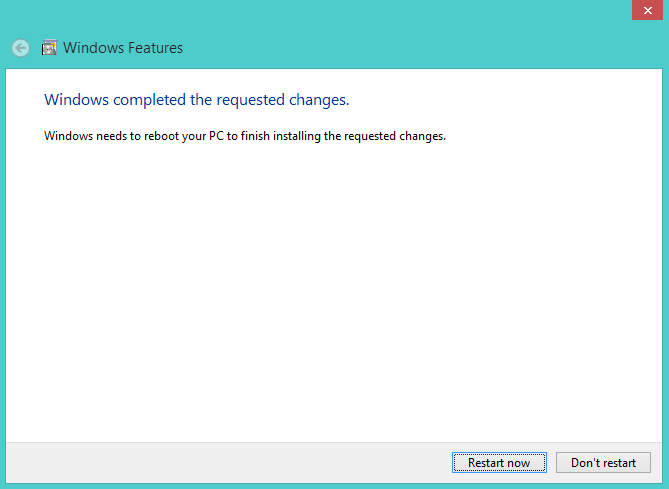
The installation process begins now. It will take few minutes to complete. After completing the installation process reboot your system by clicking on Restart now button.
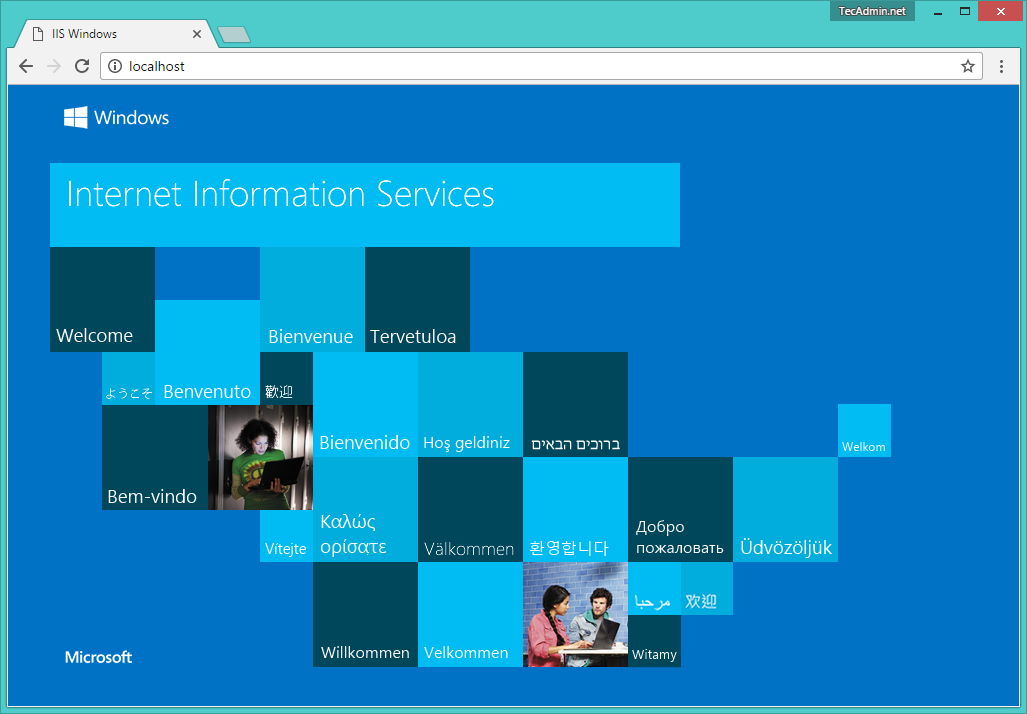
Step 4-As a result, you have successfully completed the installation process. Visit localhost on a web browser. You will see the default IIS page on your screen as below, maybe the screen looks to change in your case as per the version of IIS. You can change the default page under directory C:\inetpub\wwwroot\.
Now access to Internet Information Services(IIS) Manager by typing “inetmgr” in the run window or search in the start menu to open IIS manager on your system and start added new sites.
2 Comments
Thanx for complete information.
thanks for the complete tutorial 😀