To begin your journey to develop mobile and desktop applications with web technologies is made seamless with the Ionic Framework. This powerful, open-source UI toolkit is designed to aid developers in crafting high-quality applications using familiar web technologies such as HTML, CSS, and JavaScript. For those utilizing Ubuntu 22.04, setting up Ionic is a straightforward endeavor.
This guide helps you through the installation process of the Ionic Framework on Ubuntu 22.04, detailing the steps to install Node.js, npm (Node Package Manager), and the Ionic CLI (Command Line Interface), laying down the foundation for your application development journey.
Step 1: Installing Node.js & NPM
Node.js is a fundamental necessity for operating Ionic applications. To install the necessary version of Node.js, you can utilize the NVM (Node Version Manager) command-line tool. Begin by accessing your Ubuntu system, and then proceed with the following steps:
- Use the following command to install NVM:
curl https://raw.githubusercontent.com/creationix/nvm/master/install.sh | bash - Now activate the NVM environment on your system.
source ~/.bashrc - Install the latest Node.js version on your system:
nvm install 20
Step 2: Install Ionic on Ubuntu
Following that, it’s essential to install the Ionic node module on your system. Ionic offers a command line utility that facilitates the creation of packages, as well as building and launching applications.
npm install cordova --location=global
Next, run the following command to install the Ionic framework on your system.
npm install @ionic/cli --location=global
After completing the installation of the Ionic framework, use the following command to check the installed version.
ionic -v

6.20.1
Step 3: Create Ionic Application
Now, You can create a new Ionic application on your Ubuntu system using the starter templates.
- Use the following command to view available starter templates
ionic start --list - Select a template as per your requirements and create a new Ionic application. You can also choose a blank template to start:
ionic start myApp my-first-appHere myApp is the name of the new application and my-first-app is the starter template name.
OutputYour Ionic app is ready! Follow these next steps: - Go to your cloned project: cd ./myApp - Run ionic serve within the app directory to see your app in the browser - Run ionic capacitor add to add a native iOS or Android project using Capacitor - Generate your app icon and splash screens using cordova-res --skip-config --copy - Explore the Ionic docs for components, tutorials, and more: https://ion.link/docs - Building an enterprise app? Ionic has Enterprise Support and Features: https://ion.link/enterprise-edition - Now, run the below command to serve the Ionic application.
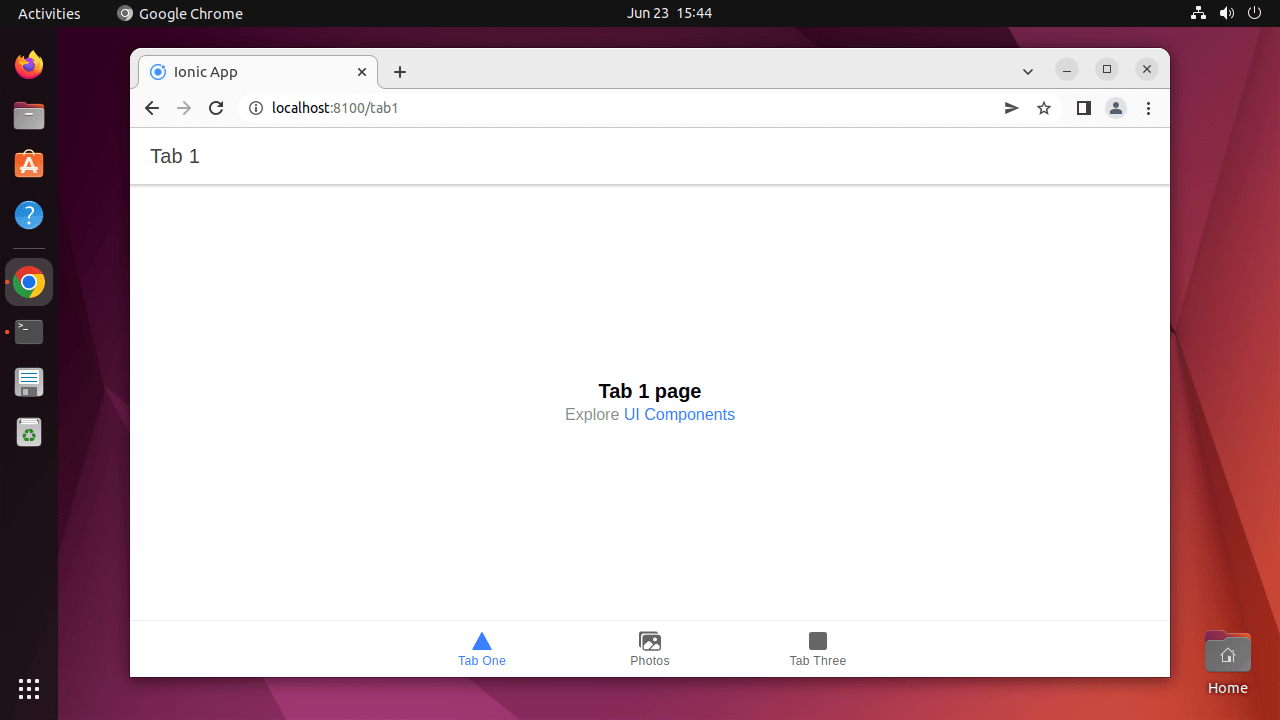
cd ionic-appionic serveThis will start the Ionic application on port 8100. You can access your ionic application in a web browser using the localhost or system IP address.

Running Ionic Application on Ubuntu - You can also define the host and port while running the Ionic application as below:
ionic serve --host 0.0.0.0 --port 3005
For more details visit http://ionicframework.com/docs/guide/installation.html
Conclusion
Congratulations! You’ve now equipped your Ubuntu 22.04 system with the Ionic Framework and kickstarted a new project. This marks the beginning of an exciting phase where you can dive into application development, leveraging Ionic’s extensive capabilities to build and refine your mobile and desktop applications. As you progress, remember that the Ionic documentation is a treasure trove of knowledge, offering insights and guidance on leveraging the full potential of Ionic for your projects. Whether you’re exploring new features, troubleshooting, or looking to deploy your applications across multiple platforms, the resources at your disposal will support you every step of the way in your development adventure.
