Have you ever wondered how websites like WordPress, Drupal, and other content management systems even exist? How can software developers build and maintain such websites without being technical experts in website hosting technologies? The answer is LAMP. LAMP is an acronym for Linux, Apache, MySQL, and PHP. This article describes in detail how to set up LAMP on the Ubuntu server. If you are a website developer or intend to become one, then you’ll find this guide useful.
You will learn how to install the LAMP stack on your Ubuntu VPS server and begin developing dynamic websites that can be hosted on a stable, fast, and secure server environment. Let’s get started…
Prerequisities
Assuming that you have a running Ubuntu 22.04 Linux system with sudo (or root) privileged access.
Open a terminal, update the package manager cache and upgrade currently installed packages with the following command:
sudo apt update && sudo apt upgrade
Let’s begin the LAMP (Linux, Apache, MySQL, and PHP) stack installation on Ubuntu 22.04 Jammy Jellyfish Linux system.
Step 1: Install PHP (Programming Languege)
First, you need to decide on the PHP version to install on your system. You can also install multiple PHP versions on a single system. Currently the repository contains PHP 5.6, PHP 7.1, 7.2, 7.3, 7.4 and PHP 8.0, 8.1. The below instruction will install PHP 8.1. Please change the version as per your requirements.
The ondrej/php PPA contains all PHP version’s for Ubuntu systems. So add this repository in your system with command below:
sudo add-apt-repository ppa:ondrej/php
Now update the apt cache and install PHP 8.1.
sudo apt updatesudo apt install php8.1
This will install PHP on your Ubuntu system along with some useful PHP extensions.
Step 2: Install Apache (Web Server)
Generally, the PHP installation also installs Apache and its module on your system. Still, you can run the following commands to confirm the installations.
sudo apt install apache2 libapache2-mod-php8.1 -y
This will install Apache and start the service.
Now, you need to allow web server ports in the firewall. To allow ports 80 and 443 in the UFW firewall, execute the following commands.
sudo ufw allow 80/tcpsudo ufw allow 443/tcp
Open a web browser on your system and type the server’s IP in the address bar. You will get the default Apache server page
Step 3: Install MySQL (Database Server)
The default Ubuntu repositories contain MySQL 8.0. Which can be directly installed using the package manager. To install the available MySQL server version, execute the following command.
sudo apt-get install mysql-server
Once the installation is finished, you can secure the MySQL server by executing the following command.
sudo mysql_secure_installation
This will ask for a few questions to secure the MySQL server.
- Press ‘y’ to enable validate password plugin. This will allow you to set a strict password policy for user accounts.
VALIDATE PASSWORD COMPONENT can be used to test passwords
and improve security. It checks the strength of password
and allows the users to set only those passwords which are
secure enough. Would you like to setup VALIDATE PASSWORD component?

Press y|Y for Yes, any other key for No: y
- Chose the password complexity level. Read the all 3 options and choose one:
LOW    Length >= 8
MEDIUM Length >= 8, numeric, mixed case, and special characters
STRONG Length >= 8, numeric, mixed case, special characters and dictionary file

Please enter 0 = LOW, 1 = MEDIUM and 2 = STRONG: 1
- Enter a new password and re-enter it. Make sure it matches the complexity level as described above.
New password: *************
Re-enter new password: *************
- Press ‘y’ to continue with provided password.
Do you wish to continue with the password provided?(Press y|Y for Yes, any other key for No) : y
- Remove default anonymous users from MySQL server:
Remove anonymous users? (Press y|Y for Yes, any other key for No) : y
- Disable root login from remote systems
Disallow root login remotely? (Press y|Y for Yes, any other key for No) : y
- Remove test database form MySQL created by default during installation.
Remove test database and access to it? (Press y|Y for Yes, any other key for No) : y
- Reload all privileges to apply the above changes immediately.
Reload privilege tables now? (Press y|Y for Yes, any other key for No) : y
You have secured the MySQL server in the LAMP stack on Ubuntu 22.04 Linux system.
Remember that the above password set for the root accounts is used for remote users only. To log in from the same system, just type mysql on terminal.
sudo mysql
Welcome to the MySQL monitor.  Commands end with ; or \g.
Your MySQL connection id is 14
Server version: 8.0.28-0ubuntu4 (Ubuntu)

Copyright (c) 2000, 2022, Oracle and/or its affiliates.

Oracle is a registered trademark of Oracle Corporation and/or its
affiliates. Other names may be trademarks of their respective
owners.

Type 'help;' or '\h' for help. Type '\c' to clear the current input statement.

mysql>
Step 4: Installing Other Required Packages
You may also need to install modules like MySQL and other extensions for PHP based on the application requirements. Use the following command to find our available PHP extensions.
sudo apt search php8.1-*
The above command will list all available PHP7 modules for installation, Let’s begin the installation of modules.
sudo apt install php8.1-mysql php8.1-curl php8.1-xml
Step 5: Test LAMP Setup
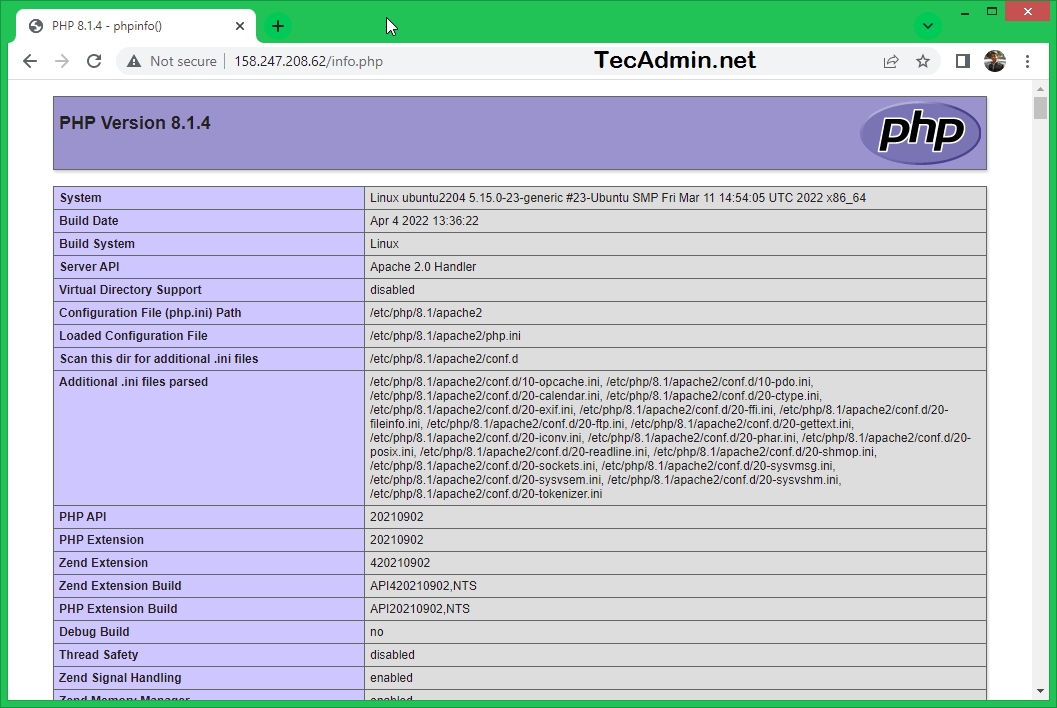
You have successfully completed the installation of Apache, MySQL, and PHP on the Ubuntu 22.04 Linux system. To verify the PHP integration with Apache, create a PHP script (example: info.php) on the website document root and write the below content.
1 2 3 | <?php phpinfo(); ?> |
Now access this file in the web browser. It will so all the details about versions and installation.
http://server-ip-address/info.php
Conclusion
This tutorial helped you to set up the LAMP stack on Ubuntu 22.04 LTS system. Now, you can host PHP-based web applications on your server.


32 Comments
Failed to start The Apache HTTP Server.
Job for apache2.service failed because the control process exited with error code.
See “systemctl status apache2.service” and “journalctl -xeu apache2.service” for details.
Kindly, paste the output of “systemctl status apache2.service”.
To install the latest version of PHP, use “php-fpm” instead of “php7.0-fpm”.
Thanx a lot it helped me to set up my site at AWS…
Reading state information… Done
E: Unable to locate package php7.0
E: Couldn’t find any package by regex ‘php7.0’
got this error,
gracias amigo
How can i solve this problem ?
The following packages have unmet dependencies:
mysql-server-5.6 : Depends: mysql-common (>= 5.6.22-1~) but 5.5.54-0ubuntu0.14.04.1 is to be installed
E: Unable to correct problems, you have held broken packages.
I followed the instructions, and while running info.php (with the phpinfo command) from the shell gave a version number of 7.0.11, accessing this file from the browser displayed php 5.x.
You need to disable the module php5 and enable php7 for apache, with the following commands:
$ sudo a2dismod php5
$ sudo service apache2 restart
$ sudo service a2enmod php7.0
$ sudo service apache2 restart
After running these commands, apache uses php7, as shown by accesing test.php from the browser.
I try to insttall php7 using above mentioned command and i automatically end up installing apache2 from offical ubuntu repo.
Should i install apache2 before php?
Correct me if I’m wrong on this but shouldn’t the prompt be # and not $?
`#` is an indication that the user is “root”, otherwise it will display `$`. That’s also the reason why this tutorial is using `sudo` because the commands needs admin privileges.
How to install phpmyadmin?
apt-get install phpmyadmin
Thank You Very Much 😀
thank you for your wonderful tutorial but im getting problem when im trying to visit my phpmyadmin, can you tell me about it since on less version u just need to include. “Include /etc/phpmyadmin/apache.conf” inside the “sudo nano /etc/apache2/apache2.conf”
you can download the file from phpmyadmin.net and uncompress that.
Can’t install phpmyadmin 🙁
Please help.
“Depends: libapache2-mod-php5 but it is not going to be installed”
sudo apt-get -f install
Mysql not working for me, I am using ubuntu 14.04
getting following error while installing :
——————-
invoke-rc.d: initscript mysql, action “start” failed.
dpkg: error processing package mysql-server-5.6 (–configure):
subprocess installed post-installation script returned error exit status 1
Processing triggers for ureadahead (0.100.0-16) …
E: Sub-process /usr/bin/dpkg returned an error code (1)
——————-
same here
Install MariaDB instead
What is MariaDB ?
the non-oracle fork of MySQL.
Thanks for your tutorial but tell me it is possible to run in VMWare workstation.
Thank you! This is the first site that clued me in to the need to install libapache2-mod-php7.0… without that, Apache was either giving an error (because the old PHP5 mod was still enabled) or it was just displaying PHP files as plain text. Once I installed that, everything was finally working!
That doesn’t work for me, still plaintext. Can anyone help!?
Nice, thanks for this….
Awesome tutorial, thank you!
the connection with mysql is different in php 7.0
http://php.net/manual/es/pdo.construct.php
Thanks brother, good work.
Thanks brother…
Great tutorial, thank you very much! It worked right away!