The PHP Composer is a package management tool for installing and managing modules for a PHP application. After that you can easily use these modules to your project. It help user to install the required version of php modules under your application. It also maintains all the installed modules details with the version details. All the entries are keeps in a file name composer.json.
This tutorial will help you to install and Use PHP composer on Ubuntu 20.04 LTS systems.
Prerequisites
- Shell access to a running Ubuntu system
- PHP must be installed and configured, version 5.3 or higher.
1. Installing PHP
Composer requried PHP to be installed on your system. If you don’t have PHP installed execute below commands to update apt cache and then install php on your system.
sudo apt updatesudo apt install php php-gd php-xml php-cli php-zip
You also need to install some additional packages on your system. Execute below commands on shell.
sudo apt install unzip curl
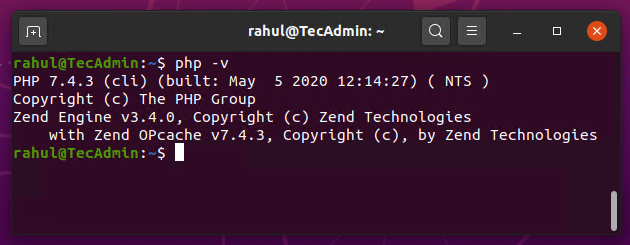
Once you installed all the required packages, verify the active php command line version by executing:
php -v
2. Install PHP Composer
Your are ready for installing PHP Composer on Ubuntu 20.04. Now, download the composer executable file on your system using the following command.
curl -sS https://getcomposer.org/installer | php
Now use the following commands to make composer available globally for all users in your system, which can be used for all PHP applications on that system.
sudo mv composer.phar /usr/local/bin/composerchmod +x /usr/local/bin/composer
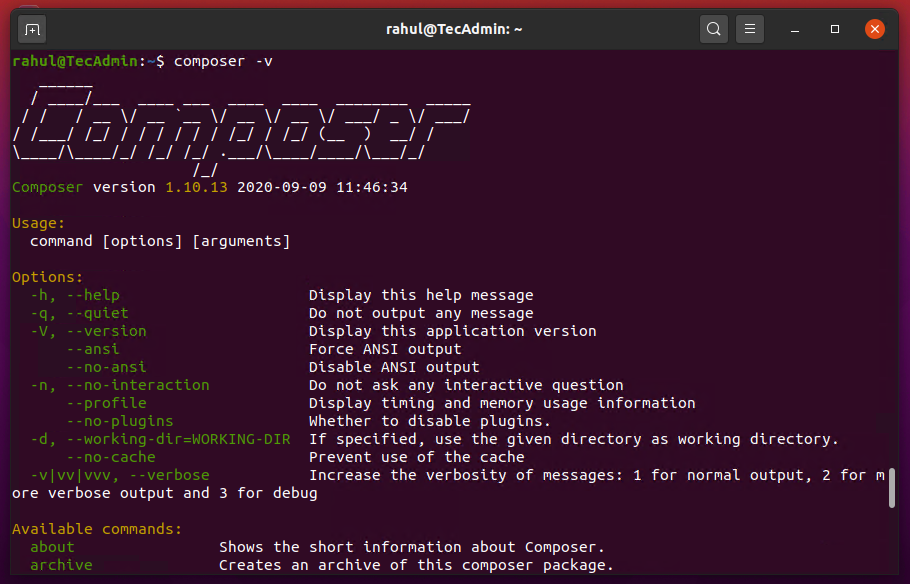
After installation of the composer on your system. Type composer at the command prompt. This will provide you composer version details along with options available with composer command.
composer -v
3. Using Composer
You can download the latest version of the composer by executing the same commands used for installation. The composer also has capabilities to update itself. Use the following command to update the composer itself.
For Existing Project:
Switch to the application root directory and run below command. It will read composer.json and install dependencies for the application.
composer install
Creating New Project:
To create a new project, switch to the project directory and install required modules as below command.
mkdir myapp && cd myappcomposer require psr/log
The above command will install psr/log module under the vendor directory. It also create an entry in composer.json and update composer.lock as well.
4. Upgrading Composer
Composer is capable to upgrade itself, So you can run a self-update to upgrade composer to latest version. Otherwise, You can download the latest version of the composer by executing the same commands used for installation.
sudo composer self-update
Conclusion
In this tutorial, you have learned to install php composer on a Ubuntu system. Also get a basic overview of composer uses over command line.


