Zend Framework 2 is an open source object oriented software framework, used for faster development. Zend also provides MVC architecture and code re-usability feature. This tutorial will help you to How to Install PHP Zend Framework on Redhat based system. I am using CentOS 6.7 while writing this tutorial.
1. Install HTTPD & PHP
First make sure that you have installed HTTPD and PHP on your system. If not have already installed use following command to install it. Zend Framework 2 required PHP >=5.3 to work properly.
# yum install httpd php php-cli php-common
2. Install PHP Composer
After installing Apache web server and PHP on your system, you need to install PHP Composer on your system. Use the following set of commands to install it.
# curl -sS https://getcomposer.org/installer | php
# mv composer.phar /usr/local/bin/composer
# chmod +x /usr/local/bin/composer
3. Install PHP Zend Framework 2
There are many ways available to install Zend Framework 2 on your system but I select following way. which looks easier to me.
# cd /var/www
# git clone git://github.com/zendframework/ZendSkeletonApplication.git
# cd ZendSkeletonApplication
# composer install
4. Start Web Server
Following command will start a PHP-CLI web server. This is useful for temporarily testing and helpful for development purpose.
$ php -S 0.0.0.0:8080 -t public/ public/index.php
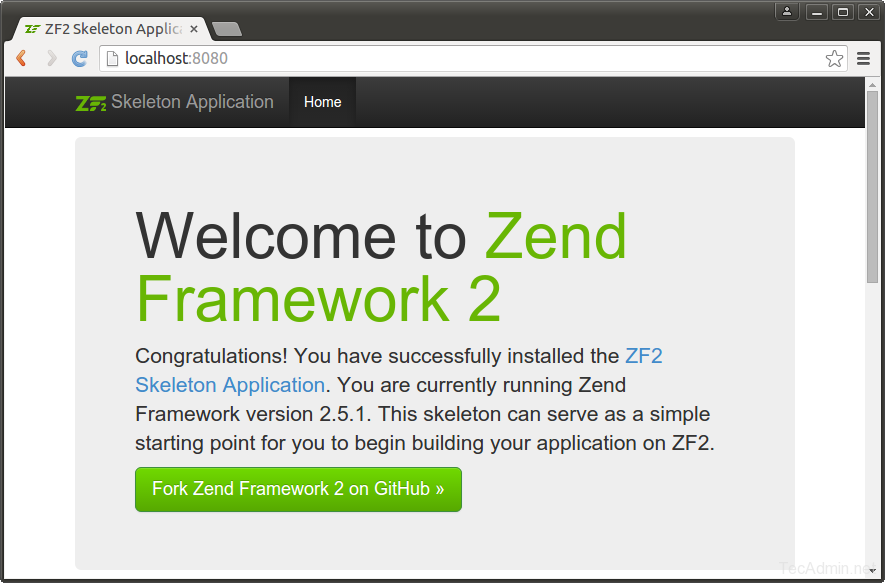
Now access http://localhost:8080 in web browser.
5. Configure Apache Server
Let’s configure Zend Framework 2 as web application with Apache. Edit Apache configuration file
# vim /etc/httpd/conf/httpd.conf
and add the following content at end of file. Make the necessary changes as per your setup and Apache version.
<VirtualHost *:80>
   ServerName zend2.example.com
   DocumentRoot /var/www/ZendSkeletonApplication/public

   <Directory /var/www/ZendSkeletonApplication/public>
       AllowOverride All
#      Require all granted   # For Apache version >=2.4
       Order allow,deny      # For Apache version < 2.4
       Allow from all        # For Apache version < 2.4
   </Directory>
</VirtualHost>
Now restart Apache server using following command.
# service httpd restart
All done! Enjoy working with Zend Framework 2.

2 Comments
I enjoy readіng thгough a post thаt will makе people think.
Also, many thankѕ foг аllοwing mme to cοmment!
Greate steps, thanks