Roundcube is a web-based email client; an email client is a computer program that allows the user to read, write and manage their email. It runs on IMAP (Internet Message Access Protocol) which is a standard email protocol that allows the user to access email from anywhere, anytime. It stores emails on the server and enables the user to manage them as if they are stored on the user’s system. This helps the user in the organization and classification of different emails(This helps the user to organize and classify different emails into different folders).
In this how-to guide, we will discuss how to set up RoundCube on Ubuntu 20.04. But first, let us discuss the prerequisites required for installing Roundcube on Ubuntu 20.04.
Prerequisites
We need to install MariaDB, PHP, and Apache before we install and set up Roundcube. So let’s begin with MariaDB server installation:
Step 1 – Installing MariaDB
Roundcube requires a database to store all the data of the user. This data includes emails, contact lists, and preferences.
MariaDB is a community-based open-source fork of MySQL which is available in the official repository of Ubuntu 20.04. It can help the user in creating the database to store all the data of Roundcube. To install MariaDB just use the apt command:
sudo apt install mariadb-server
Once the process is completed, execute the following command to start MariaDB.
sudo systemctl start mariadb
To enable the database server to start at every reboot of your system run the below-given command:
sudo systemctl enable mariadb
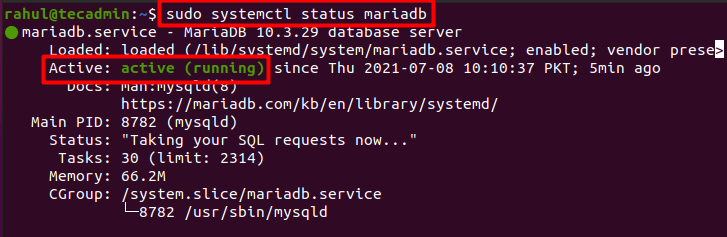
Also, check the status to confirm whether the MariaDB service is active:
sudo systemctl status mariadb
Step 2 – Create Database for Roundcube
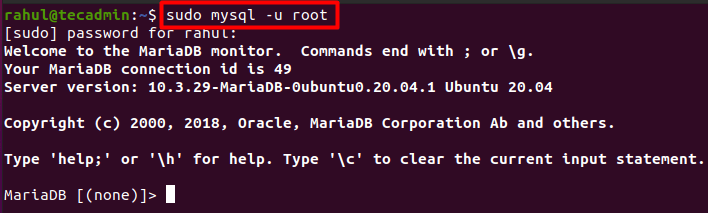
Now that MariaDB has been installed, next, we will create a database and a user for Roundcube. To do that first log in to the MariaDB shell as the root user:
sudo mysql -u root
Now run the following command to create the database. You can replace ‘roundcubedb’ with whatever you want to name your database:
> CREATE DATABASE roundcubedb DEFAULT CHARACTER SET utf8 COLLATE utf8_general_ci;
Now, execute the following command to create a new user on the database:
> CREATE USER dbuser@localhost IDENTIFIED BY 'testpassword';
You can use whatever name and password you like instead of ‘dbuser’ and ‘testpassword’ respectively.
Next, we will grant all the privileges to the new user:
> GRANT ALL PRIVILEGES ON roundcubedb.* TO dbuser@localhost;
Now for the changes to take effect use the following command:
> FLUSH PRIVILEGES;
Quit the shell by using one of the following commands:
> exit
Step 3 – Installing PHP for Roundcube
Roundcube also requires PHP and its extensions as a prerequisite. So now we will install PHP using the below-given command:
sudo apt install php7.4 php7.4-gd php7.4-common php7.4-json php-imagick php7.4-imap php7.4-xml php7.4-opcache php7.4-mbstring php7.4-curl php7.4-zip php7.4-bz2 php7.4-intl
After installing PHP, update the Timezone in `php.ini` as per yours:
sed -i -e “s/^;date\.timezone =.*$/date\.timezone = ‘America/New_York ’/” /etc/php7.4/apache2/php.ini
Replace `America/New_York` with the required timezone. Refer to http://php.net/manual/en/timezones.php to find your time zone.
Step 4 – Installing Apache Web Server
The last prerequisite we require before we start installing Roundcube is Apache.
Apache is a web server that will help us create a virtual host. You can use any major web server but for this demonstration, we will use Apache:
sudo apt install apache2 -y
I already have the latest version installed on my system.
Now use the “systemctl” command to start and enable APACHE to start at every reboot:
sudo systemctl start apache2sudo systemctl enable apache2
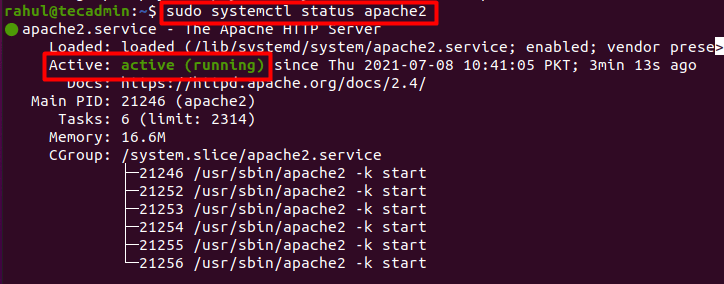
Also, check the status of the Apache service:
sudo systemctl status apache2
Now open the configuration file with the nano editor to create a virtual host directory:
sudo nano /etc/apache2/sites-available/webmail.example.com.conf
Copy the following text into the configuration file. Remember to replace “webmail.example.com” with your domain name:
1 2 3 4 5 6 7 8 9 10 11 12 13 14 15 16 17 18 | <VirtualHost *:80> ServerName webmail.example.com DocumentRoot /var/www/roundcube/ ErrorLog ${APACHE_LOG_DIR}/roundcube_error.log CustomLog ${APACHE_LOG_DIR}/roundcube_access.log combined <Directory /> Options FollowSymLinks AllowOverride All </Directory> <Directory /var/www/roundcube/> Options FollowSymLinks MultiViews AllowOverride All Order allow,deny allow from all </Directory> </VirtualHost> |
After saving and exiting from the file use the following command to enable the virtual host:
sudo a2ensite webmail.example.com
As instructed by the a2ensite command now run the command given below to activate the new configuration:
sudo systemctl reload apache2
Step 5 – Installing Roundcube on Ubuntu
Now that we are done with all the prerequisites required for Roundcube, we will go ahead and install the latest version of Roundcube.
At the time of writing this post, the latest version of Roundcube is 1.4.11. You can visit the download section of Rouncube’s official website and get the link to the latest version of Roundcube from there. It is recommended to get the link to the complete, stable version:
wget https://github.com/roundcube/roundcubemail/releases/download/1.4.11/roundcubemail-1.4.11-complete.tar.gz
Now extract the downloaded tarball:
tar xvf roundcubemail-1.4.11-complete.tar.gz
And move it to webroot /var/www/roundcube by using the command:
sudo mv roundcubemail-1.4.11 /var/www/roundcube
Make “www-data” the owner of the content directories so it can write data into these directories:
sudo chown www-data:www-data -R /var/www/roundcube
Now initiate the database by executing the following command:
mysql -u dbuser -p roundcubedb < /var/www/roundcube/SQL/mysql.initial.sql
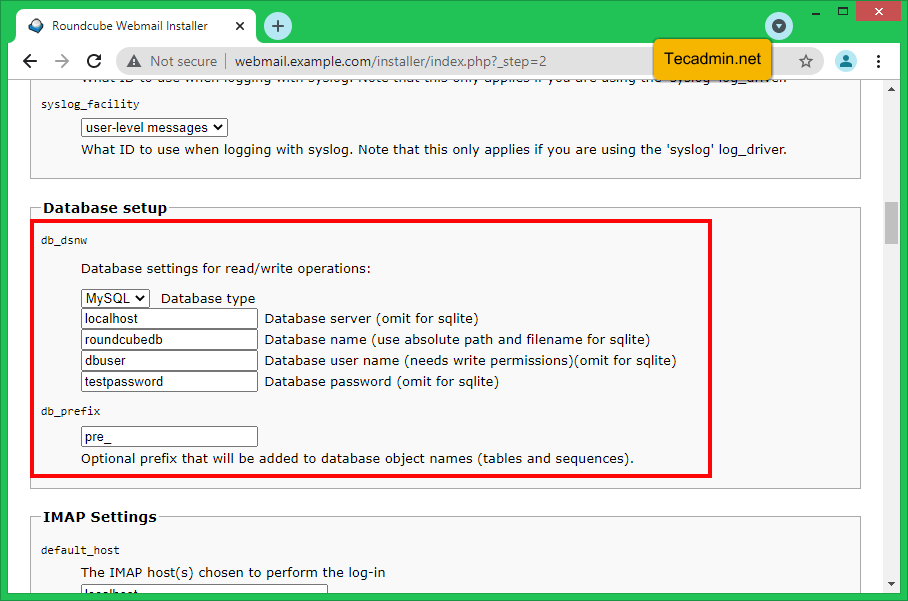
Now, open the webmail.example.com/installer on any computer over the same network or you can use localhost/installer in the web browser of the same computer where Roundcube is installed, and configure Roundcube according to your needs.
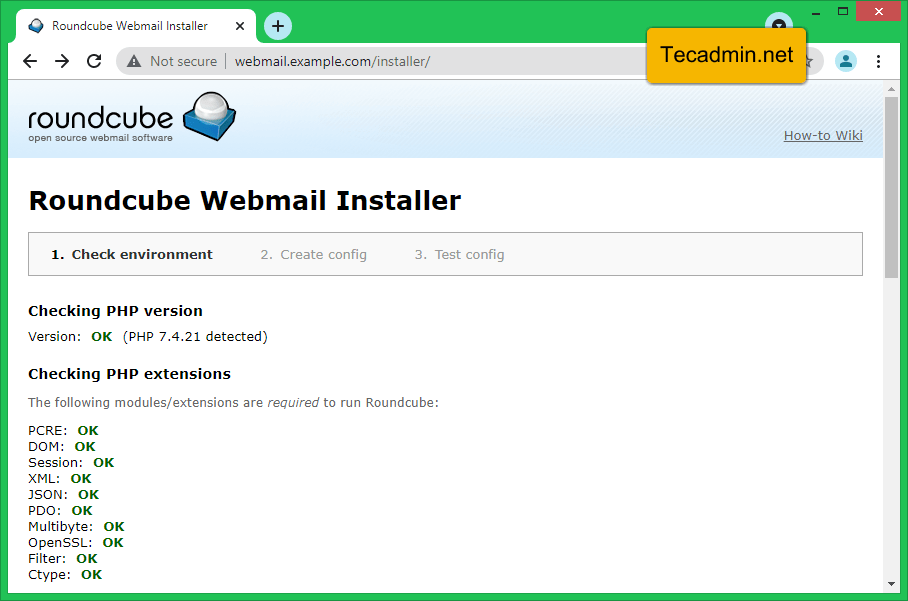
Make sure all the recommended PHP extensions are installed. Then go to the bottom of the page, click NEXT.
Here you can customize your Roundcube installation and click CREATE CONFIG at bottom of the page.
You will see a message on the page as "The config file was saved successfully into /var/www/roundcube/config directory of your Roundcube installation."
The webmail is ready to be used now. Next, remove the installer before advancing any further.
sudo rm -rf /var/www/roundcube/installer
Access the Roundcube login page at webmail.example.com.
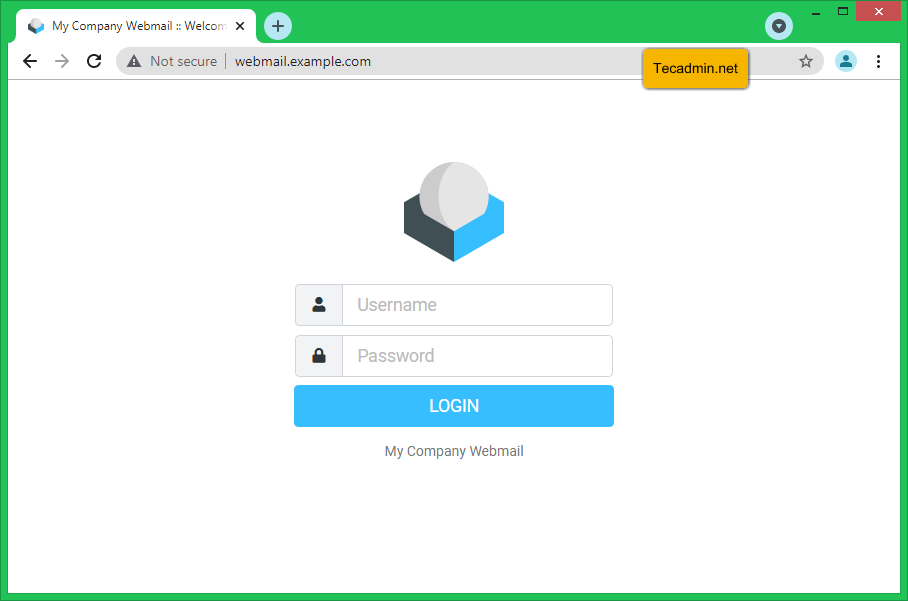
You have successfully installed and configured Roundcube webmail on your Ubuntu 20.04.
Conclusion
Roundcube is a very sophisticated webmail client that makes it easier for users to manage their emails. It offers cutting-edge email management features such as Plug-ins API, template system for custom skins, import/export functions, canned response templates, and IDNA and SMTPUTF8 support.
In this write-up, we focused on how to set up Roundcube on Ubuntu 20.04. If you like desktop clients like Outlook or Gmail then Roundcube is the right option for you.
6 Comments
Really useful article
i thing you have forget to add php mysql extension at php installation
You are correct!!!!
Also, he didn’t mention setting the Date / Time zone in the PHP.ini file, which will give an error as “NOT OK”
In my case, since I am from New York, I ran this command:
sed -i -e “s/^;date\.timezone =.*$/date\.timezone = ‘America/New_York’/” /etc/php7.4/apache2/php.ini
Refer to the http://php.net/manual/en/timezones.php to find your timezone.
sudo apt install php7.4-mysql
sudo systemctl reload apache2
Then you can continue with the wizard and create the DB connection
Thanks, Alfa, I have updated the tutorial to set timezone.
I have a problem…
mysql -u dbuser -p roundcubedb < /var/www/roundcube/SQL/mysql.initial.sql
ERROR 1045 (28000): Access denied for user 'dbuser'@'localhost' (using password: YES)
literally C&P word for word, no erros at all during install but when going to the localhost/installer its not found.