Sublime is a powerful text editor that supports multiple programming languages. It is a popular text editor among developers.
In this tutorial, you will find 2 methods of installing Sublime text editor on the Ubuntu 20.04 systems. The first method uses Snapd package manager and another method uses official PPA for the package installation. It’s your choice to select a method of Sublime installation on the Ubuntu 20.04 LTS system.
You may also like => Installing Visual Studio Code on Ubuntu 20.04
Method 1 – Install Sublime with Snapd on Ubuntu 20.04
The Sublime text snappy package is available for Ubuntu 20.04 system. Snapd is also the default available for this operating system.
To install Sublime-text latest version, type:
sudo snap install sublime-text --classic
This will take a few moments and sublime is ready to use on your system.
Method 2 – Install Sublime with PPA on Ubuntu 20.04
You can also use the sublime official Apt repository for the installation of Sublime on Ubuntu 20.04 systems. First, import gpg key to your system by running command:
wget -qO - https://download.sublimetext.com/sublimehq-pub.gpg | sudo apt-key add -
Next, add the Sublime text Apt PPA to your Ubuntu system by executing the following command:
echo "deb https://download.sublimetext.com/ apt/stable/" | sudo tee /etc/apt/sources.list.d/sublime-text.list
Your system is prepared for the Sublime installation from the official PPA. Now use the following commands to install Sublime text’s latest version on your Ubuntu system.
sudo apt updatesudo apt install sublime-text
Once the above command is finished. Sublime will be installed on your system.
Access Sublime Editor on Ubuntu
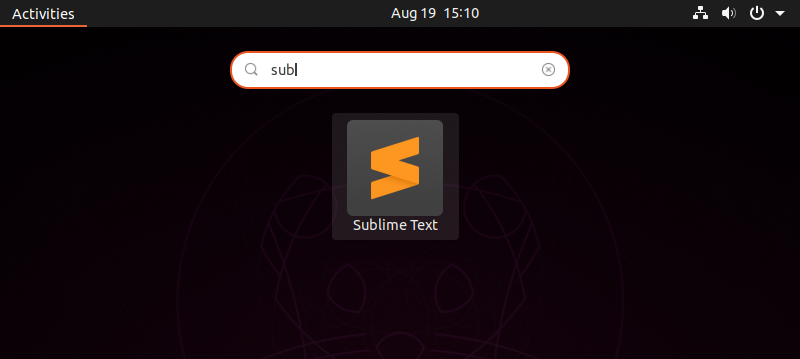
You can search for “sublime” under all applications on your system. You will see the sublime icon there like below.
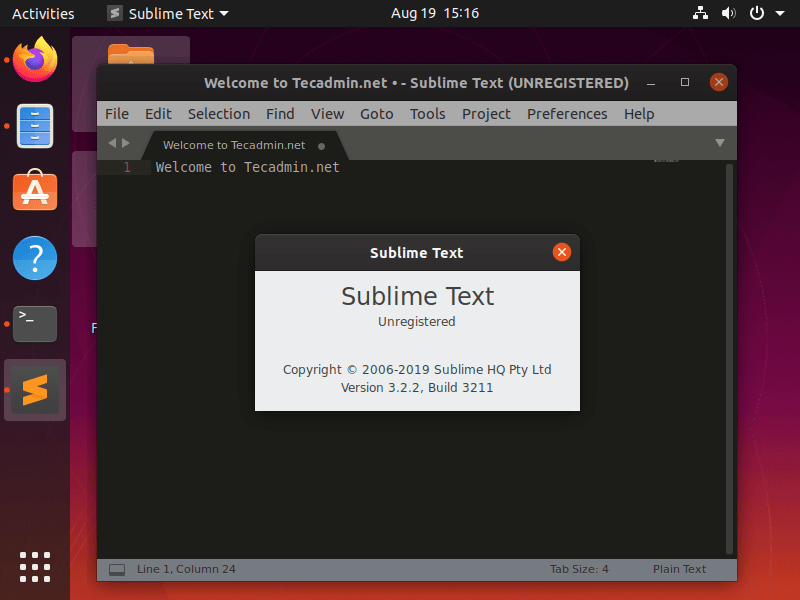
Click on the Sublime icon to launch the application.
Conclusion
In this tutorial, you have learned about two methods of Sublime installation on the Ubuntu 20.04 system.


