TeamViewer is a powerful remote desktop and file sharing application works with most of the operating systems and mobile devices. In order to commercial use of TeamViewer, you have to purchase license. You can use it free for personal use only.
A Debian package is build by the its development team and available for the installation on Ubuntu and Debian systems. You can download it from TeamViewer website freely.
This tutorial described you to how to install TeamViewer on Ubuntu 20.04 LTS (Focal Fossa) Linux system.
Install TeamViewer on Ubuntu 20.04
First of all, download the latest aavailable version of TeamViewer Deabian packages from its official download page. At the writing time of this tutorial, TeamViwer 15 is the latest available version to download and install on Ubuntu systems.
- Downloading the TeamViewer Debian Package – Download the latest verson of TeamViewer Debian package. It is available at TeamViewer for Linux download page. You can also download it via the Linux command line.
wget https://download.teamviewer.com/download/linux/teamviewer_amd64.deb - Installing teamViewer – Use default Debian package installer (dpkg) to install Team packages. In case dpkg failed with missing dependencies, use apt-get to complete TeamViewer installation on Ubuntu system including all the required dependencies.
sudo dpkg -i teamviewer_amd64.debsudo apt -f install
That’s it. You have successfully installed TeamViewer on Ubuntu system.
Launch TeamViewer Application
TeamViewer application have been successfully installed on your Ubuntu system. Next search “TeamViewer” under the utilities application search. There you will find the application launcher as shows in below screenshot:
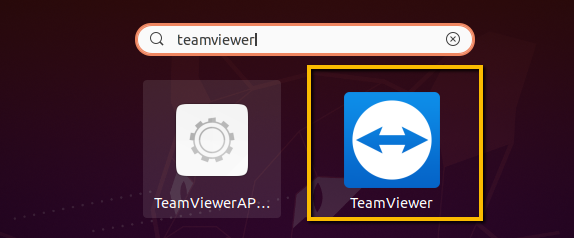
Click the TeamViewer launcher icon to start application. With the first time startup, click “Accept License Agreement” button to start application.
Using TeamViewer
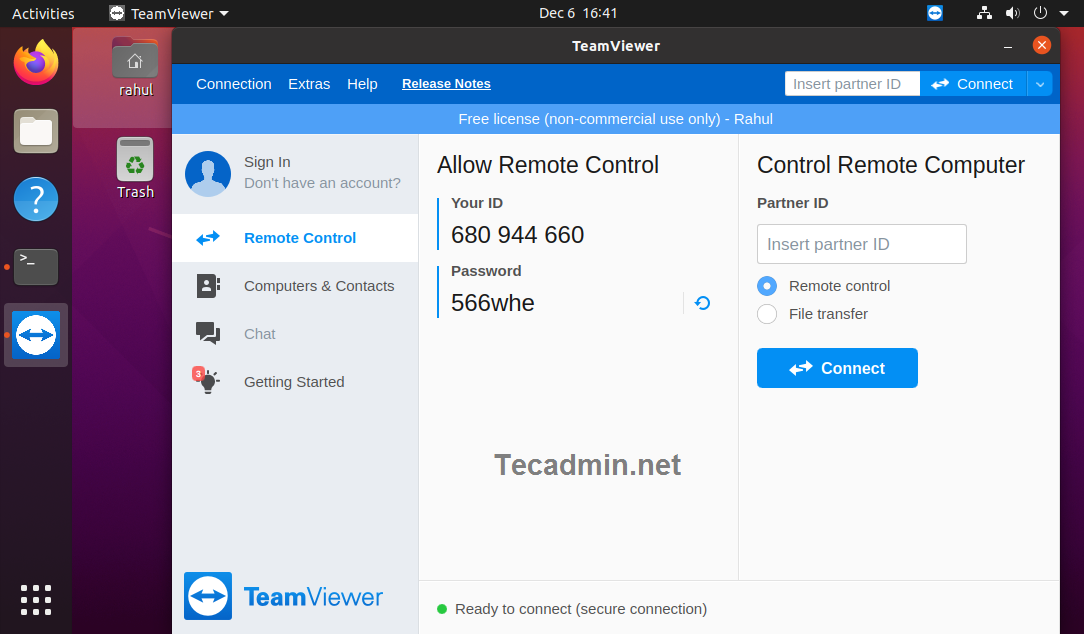
Once the application started, You will see the TeamViewer id of your application with random password. You can change this password anytime or set a custom password.
Use this ID to connect your system from remote systems running with the same version of Teamviewer application. You can also other systems with this application by entering their TeamViewer ID in “partner ID” input box.
Conclusion
This tutorial helped you to install TeamViewer on Ubuntu systems. Also provides you little description to connect partner systems.

