
In the realm of network management and monitoring, Zabbix stands out as a premier open-source solution. It offers a comprehensive suite of features for monitoring network services, servers, and other network hardware. This guide will help you with installing Zabbix Server on CentOS/RHEL 9, a popular choice for enterprise-grade server environments, using a MySQL database backend. Zabbix’s compatibility with CentOS/RHEL 9 ensures stability and performance, making it an excellent choice for robust network monitoring.
The tutorial includes steps for setting up a LAMP (Linux, Apache, MySQL, PHP) stack, configuring the Zabbix server, and finalizing the setup through its web interface.
Prerequisites
- A CentOS/RHEL 9 System: This guide assumes a clean installation of CentOS/RHEL 9.
- Root or Sudo Privileges: Essential for installing packages and making system changes.
- Familiarity with Terminal Commands: Basic knowledge of Linux command line operations is beneficial.
- Internet Connectivity: Required for downloading packages and updates.
Step 1: Preparing the System
- Update System Packages: Keeping your system updated is crucial for security and compatibility.
sudo dnf update -ysudo dnf upgrade -y - Install Essential Tools: Tools like wget and vim will be useful during installation.
sudo dnf install wget vim -y
Step 2: Setting Up LAMP Stack
In this step we will install and configure LAMP stack on our system. That is required to run Zabbix server and frontend application on any system.
- Install Packages:
sudo dnf install httpd mariadb-server mariadb php php-cli php-common php-mysqlnd -y - Start and enable service:
sudo systemctl start httpd mariadbsudo systemctl enable httpd mariadb - Secure mysql installation:
sudo mysql_secure_installation
Step 3: Install Zabbix Server
Zabbix officially provides a RPM package to setup DNF repository for RHEL-based systems. In tis step we will configure the repository on our system and install required Zabbix server packages:
- Import Zabbix repository:
sudo rpm -Uvh https://repo.zabbix.com/zabbix/6.4/rhel/9/x86_64/zabbix-release-6.4-1.el9.noarch.rpm - Install Zabbix server with MySQL support:
sudo dnf install --disablerepo=epel zabbix-server-mysql zabbix-web-mysql  \
      zabbix-apache-conf zabbix-sql-scripts zabbix-selinux-policy zabbix-agent -y
Step 4: Create MySQL Database for Zabbix
Now create a MySQL database and user for Zabbix server.
- Log into MySQL:
mysql -u root -p - Create a Zabbix database and user:
mysql> CREATE DATABASE zabbix CHARACTER SET utf8mb4 COLLATE utf8mb4_bin; mysql> CREATE USER zabbix@localhost IDENTIFIED BY 'password'; mysql> GRANT ALL PRIVILEGES ON zabbix.* TO zabbix@localhost; mysql> SET GLOBAL log_bin_trust_function_creators = 1; mysql> EXIT; - Import initial schema and data. You will be prompted for the newly created password:
zcat /usr/share/zabbix-sql-scripts/mysql/server.sql.gz | mysql -uzabbixuser -p zabbixdb - Login again to MySQL console and revert log_bin_trust_function_creators setting:
mysql> SET global log_bin_trust_function_creators = 0;
mysql> EXIT;
Step 5: Configure Zabbix Server
- Edit the Zabbix server configuration file:
sudo nano /etc/zabbix/zabbix_server.conf - Set the database name, user, and password.
- Restart Apache and Zabbix server:
sudo systemctl restart httpd zabbix-server - Enable Zabbix server to start at boot:
sudo systemctl enable zabbix-server
Step 6: Access Zabbix Web Interface
If the system have firealld active, You need to open por 80. To open HTTP port, type:
sudo firewall-cmd --permanent --add-port=80/tcp
Then reload the changes with command:
sudo firewall-cmd --reload
Step 7: Access Zabbix Web Interface
Open your web browser and navigate to your server’s IP address or domain name followed by /zabbix. For example, http://your_server_ip/zabbix.

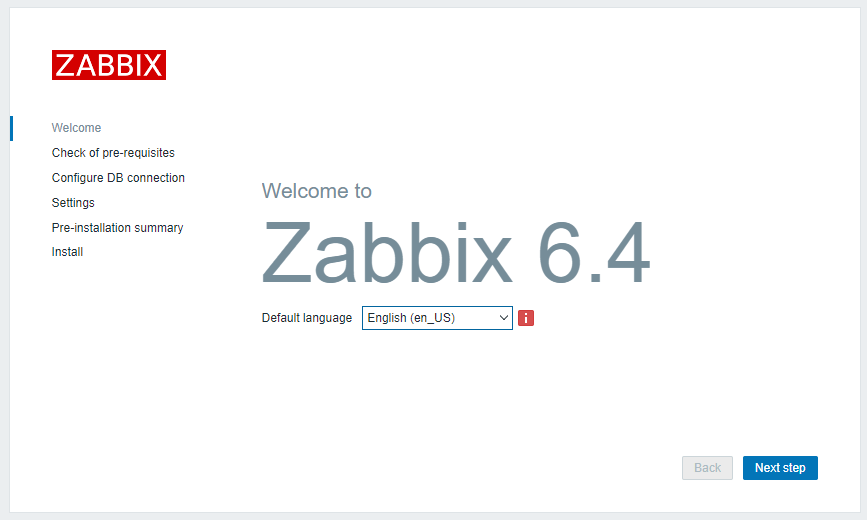
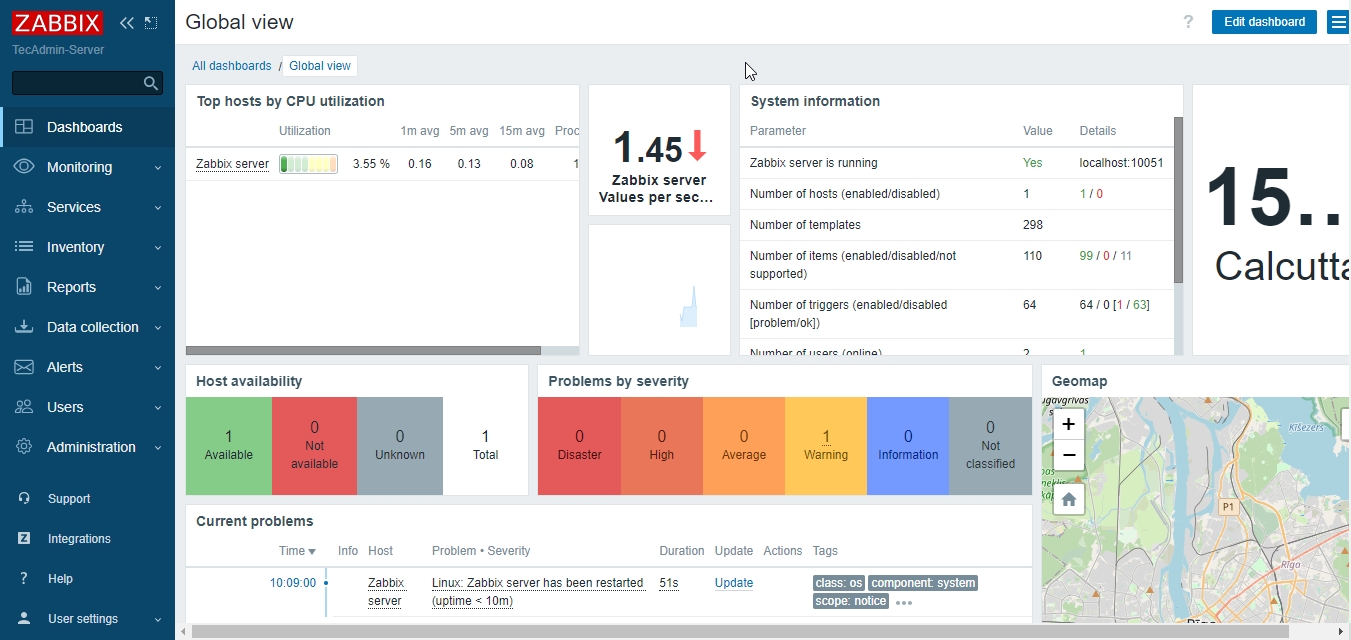
Follow the on-screen instructions to complete the Zabbix setup. Once completed the wizard, you will see the login page. Use the below login details:
Username: Admin
Password: zabbix

Conclusion
With Zabbix installed on your CentOS/RHEL 9 system, you are now equipped to monitor your network and server environments effectively. This guide has walked you through each step in detail, ensuring a thorough setup process. Regular maintenance, such as updating Zabbix and backing up your configuration, will ensure long-term stability and performance of your monitoring system.