
In this small how-to tutorial, we will discuss adding borders around the images in Google docs. Here we go with the step-by-step instructions to upload an image and set the border for an image and customize its, size, color, and style.
Add a New Images in Google Docs
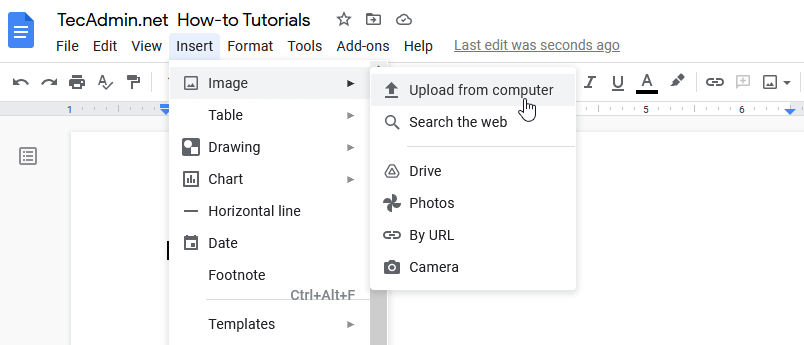
First of all, open the desired Google Docs page and insert the image first. You can insert a new image from multiple destinations.
To insert a new image follow instructions:
- Click “Insert” Menu.
- Then click “Image”
- Select a image source from given choices.
Set the Border Around Images in Google Docs
Assuming you have an existing image or added a new image in the Google docs. Now, select the image to set the border. Once the image is selected You will see three separate options to set the image border as showing below screenshot.
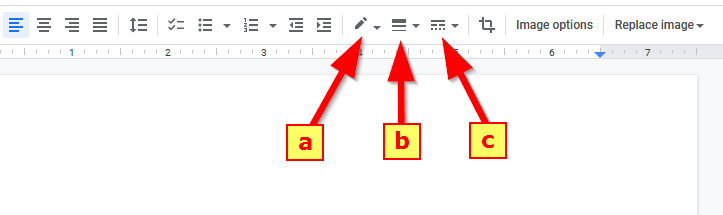
The three tools show in the above image are as follows:
(a) Border color
(b) Border size in pixel
(c) And Border type
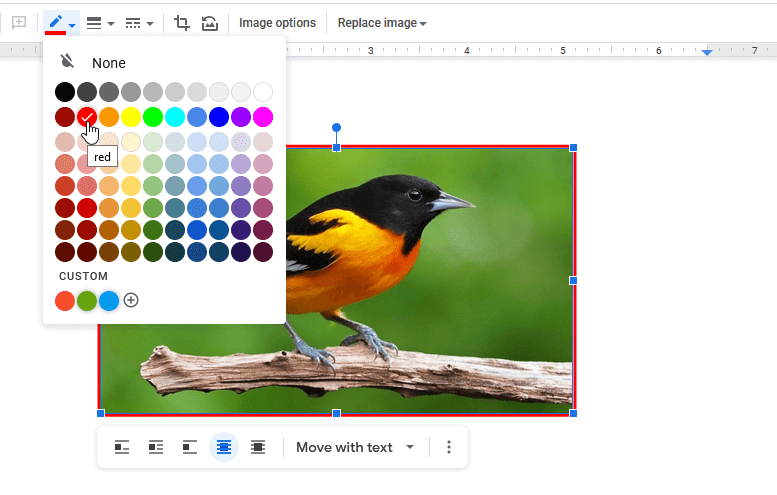
(A) Set Border Color
In the first option, Select the color of your choice. Once selected, you will see the border in your image. It also allows you to customize your color.
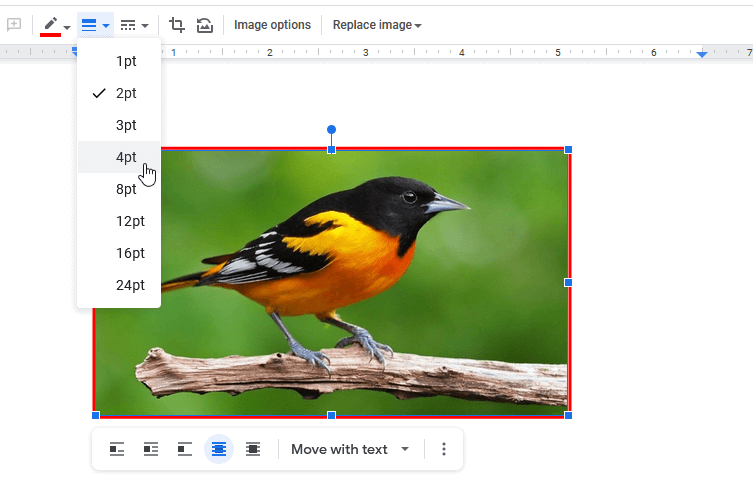
(B) Set Border Size
Next, select the size of the border from the drop-down list. Here you can select the size between 1pt to 24 pt. No custom option is available in size.
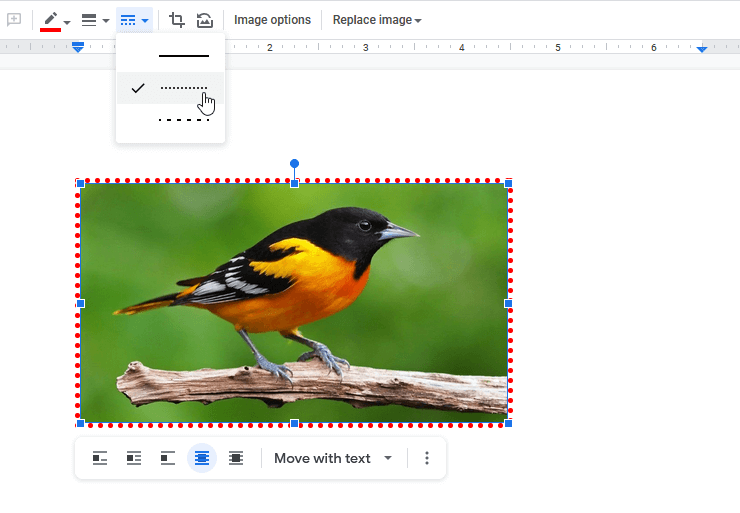
(C) Set Border Style
Finally, select the border style. You will see three border styles, one is solid and the other 2 are dotted. Choose one style of your choice to set in the image border.
Conclusion
In this tutorial, you have learned to set the border around the image in Google docs.