ERPNext is a popular open-source Enterprise Resource Planning (ERP) system that helps businesses manage operations like accounting, inventory, sales, and human resources in a unified platform. The latest release of version 15 offers enhanced features and improved performance.
This tutorial will help you build a powerful ERP system tailored to your business needs.
Step 1: Set Up the erpnext User
The very first task is to create a dedicated user for your ERP application. We never recommend running this as root.
sudo adduser erpnextsudo usermod -aG sudo erpnextsu - erpnext
Step 2: Install System Dependencies
ERPNext requires multiple dependencies to be installed on the system. Use the following commands to install required packages:
sudo apt updatesudo apt install -y python3-dev python3-pip python3-venv git mariadb-server redis-server wkhtmltopdf curl nginxsudo systemctl start mariadb redis-serversudo systemctl enable mariadb redis-server
The next step is to secure the MariaDB installation. Make sure to set up a password for the MariaDB root account.
sudo mysql_secure_installation
Install Supervisor via pip to avoid pkg_resources warnings:
sudo pip3 install supervisor --upgradesudo pip3 install setuptools==80.4.0
Create a basic Supervisor config:
sudo mkdir -p /etc/supervisor/conf.dsudo nano /etc/supervisor/supervisord.conf
Add the following configuration to the file:
[supervisord]
nodaemon=false
pidfile=/run/supervisord.pid
logfile=/var/log/supervisor/supervisord.log
loglevel=info

[unix_http_server]
file=/var/run/supervisor.sock

[supervisorctl]
serverurl=unix:///var/run/supervisor.sock

[rpcinterface:supervisor]
supervisor.rpcinterface_factory = supervisor.rpcinterface:make_main_rpcinterface

[include]
files = /etc/supervisor/conf.d/*.conf
Save and close the file.
Then start the supervisor process:
sudo /usr/local/bin/supervisord -c /etc/supervisor/supervisord.conf
Step 3: Install Frappe Bench
Frappe Bench is a command-line utility that helps you install, update, and manage multiple sites for Frappe applications on *nix systems for development and production use.
Use the following command to install the Bench CLI:
sudo pip3 install frappe-bench --upgrade
Initialize a new Bench directory:
cd /home/erpnextbench init frappe-bench --frappe-branch version-15cd frappe-bench
This creates:
frappe-bench/
├── apps/          # App repositories
├── sites/         # Site configs
├── config/        # Supervisor/Nginx configs
├── env/           # Python virtual env
├── logs/          # Logs
└── www/           # Public files
Step 4: Install ERPNext and Other Apps
bench get-app erpnext https://github.com/frappe/erpnext --branch version-15
Step 5: Create a New Site
Create a site named www.mydomain.com:
bench new-site www.mydomain.com
Enter the MySQL root password.
Set a strong Administrator password (used for web interface login).
Install apps on the site:
bench --site www.mydomain.com install-app erpnext
Step 6: Configure Supervisor
Explicitly set up Supervisor for the Bench environment:
bench setup supervisor --yes
This generates /home/erpnext/frappe-bench/config/supervisor.conf with groups like frappe-bench-web, frappe-bench-workers, and frappe-bench-redis.
It links the config to /etc/supervisor/conf.d/frappe.conf.
Reload Supervisor:
sudo supervisorctl rereadsudo supervisorctl update
Step 7: Configure for Development or Production
Development:
Add to /etc/hosts:
sudo nano /etc/hosts
Add:
127.0.0.1 www.mydomain.com
Start the development server:
bench start
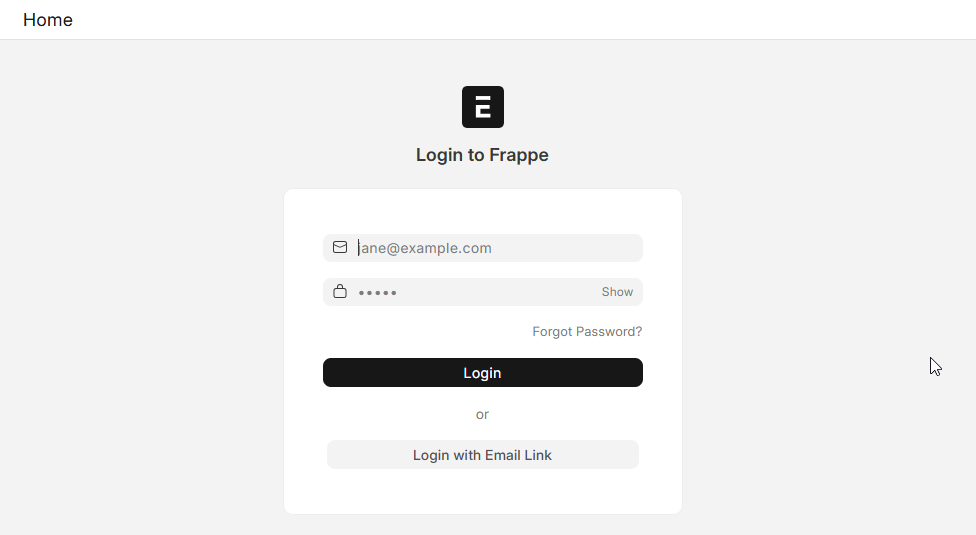
Now, you can access: http://www.mydomain.com:8000 and log in with Administrator and the password set.
Production: For the production envrionemnt, we need to configure Nginx and Supervisor to keep application running in background.
sudo bench setup production erpnext
This sets up Nginx and ensures Supervisor is linked correctly. Now reload services:
sudo supervisorctl rereadsudo supervisorctl updatesudo supervisorctl restart allsudo systemctl restart nginx
You can also configure Let’s Encrypt SSL certificate with the following command:
sudo bench setup lets-encrypt www.mydomain.com
Ensure DNS has an A record for www.mydomain.com pointing to your server’s IP.
Access: https://www.mydomain.com
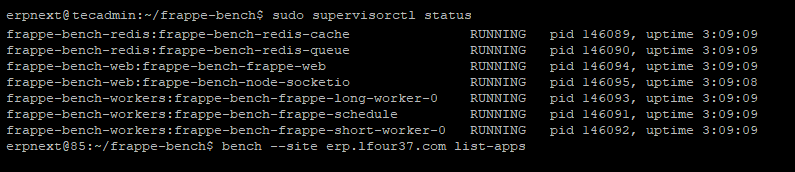
Verify Supervisor (production):
sudo supervisorctl status
Expect:
frappe-bench-web:frappe-bench-frappe-web     RUNNING   pid 1234, uptime 0:01:00
frappe-bench-web:frappe-bench-node-socketio  RUNNING   pid 1235, uptime 0:01:00
...
Step 8: Set Permissions
Finally make sure all the files have the correct permissions.
sudo chown -R erpnext:erpnext /home/erpnext/frappe-benchsudo chmod -R 755 /home/erpnext/frappe-bench
Conclusion
By following these steps, you’ve successfully installed and configured ERPNext Version 15 on your server, ready for either development testing or full production deployment. Remember to regularly update your installation using bench update to benefit from the latest improvements and security patches.

