
Apache CouchDB is a database management system that seamlessly takes the data to the edge and then back again. It’s known for its ease of replication and setup. If you want to install Apache CouchDB on your Ubuntu or Debian system, you’re at the right place. In this tutorial, we’ll guide you through the steps to install Apache CouchDB on your machine.
Note: The instructions given below are for CouchDB version 3.x, and the system we are using is Ubuntu 22.04 LTS and Debian 11. You may need to adapt slightly if you are using a different version of either.
Step 1: Update Your System
Before we get started, it’s essential to ensure your system is up-to-date. Open a Terminal and execute the following commands:
sudo apt-get updatesudo apt-get upgrade
These commands will update the list of packages and their versions, and then upgrade any out-of-date packages on your system.
Step 2: Enable CouchDB Repository
CouchDB is not available in the default Ubuntu or Debian repositories, so we have to add its repository manually.
First, we need to install some dependencies to add a new repository over HTTPS:
sudo apt install -y curl apt-transport-https gnupg
Now we add the CouchDB GPG key:
curl https://couchdb.apache.org/repo/keys.asc | gpg --dearmor | sudo tee /usr/share/keyrings/couchdb-archive-keyring.gpg >/dev/null 2>&1
After adding the GPG key, you need to add the CouchDB repository:
source /etc/os-releaseecho "deb [signed-by=/usr/share/keyrings/couchdb-archive-keyring.gpg] https://apache.jfrog.io/artifactory/couchdb-deb/ ${VERSION_CODENAME} main" \ | sudo tee /etc/apt/sources.list.d/couchdb.list >/dev/null
Now, update the system again:
sudo apt-get update
Step 3: Install CouchDB
After adding the repository, it’s time to install CouchDB:
sudo apt-get install -y couchdb
During the installation, you’ll be asked a series of questions. First, it will ask you to choose the type of CouchDB installation. You can select either “standalone” or “clustered”. For a basic, single-server setup, you’ll choose “standalone”.
Next, you’ll be asked to confirm the network interface for CouchDB to bind on. If you’re just using this server for development and not making it available to the network, enter 127.0.0.1. If you are making it available to the network, enter 0.0.0.0.
Then, you’ll need to set up the admin username and password. Make sure to pick a secure password.
Step 4: Verify the Installation
Once CouchDB is installed, you can check if it’s running with the following command:
curl http://127.0.0.1:5984/
If CouchDB is running correctly, you’ll see a response like this:
1 2 3 4 5 6 7 8 9 10 11 12 13 14 15 16 | { "couchdb" : "Welcome", "features" : [ "access-ready", "partitioned", "pluggable-storage-engines", "reshard", "scheduler" ], "git_sha" : "11a234070", "uuid" : "9e0bab0b342e078346207fe6a51a840f", "vendor" : { "name" : "The Apache Software Foundation" }, "version" : "3.3.2" } |
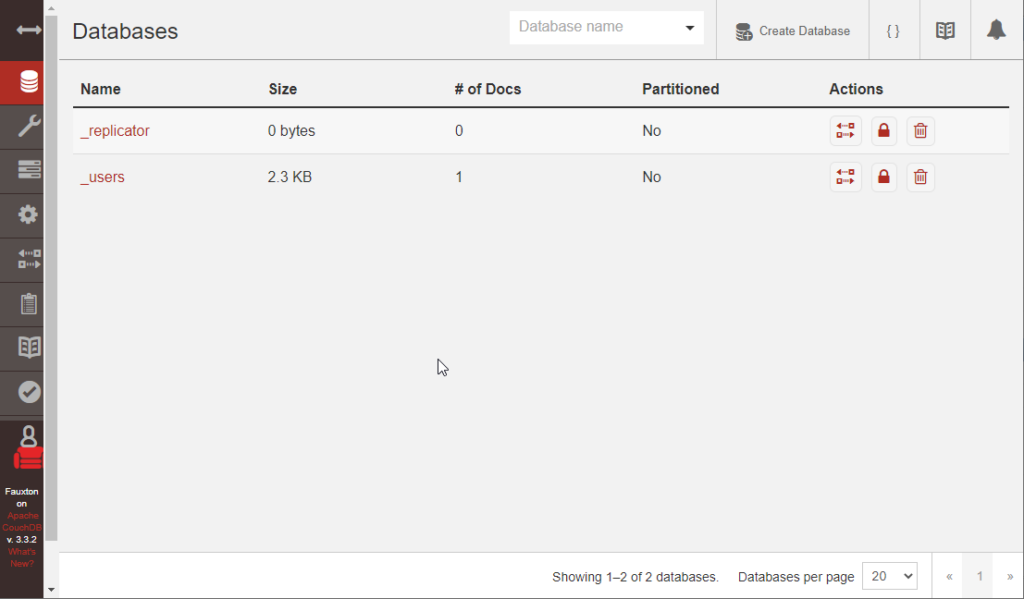
Step 5: CouchDB web Interface
You can access the CouchDB web interface by opening a web browser and visiting http://127.0.0.1:5984/_utils/.

To secure CouchDB, go to the Configuration section and change the require_valid_user option from false to true in the couch_httpd_auth section.
Conclusion
This guide provides an easy, step-by-step procedure for installing Apache CouchDB on Ubuntu and Debian. Once you’ve completed these steps, you should have a running instance of CouchDB that you can start using for your projects. Make sure to refer to the CouchDB documentation for more advanced configuration options and usage instructions.