The FastCGI Process Manager (FPM) is an alternative to the FastCGI configuration with multiple enhancements. This is useful for high load websites. This tutorial will help you with the installation and configuration of PHP-FPM with Apache on your Debian 10 (Buster) Linux system.
Prerequisites
You must have SSH access to the Debian 10 system with Sudo privileges.
Apache Installation
Apache packages are available under default Apt repositories on all Debian systems. You can update the Apt cache and install Apache web server packages using the following command:
sudo apt update
sudo apt install apache2
PHP Installation
For the PHP installation we recommend to use Ondřej Surý‘s PPA, which provides latest PHP versions for Debian systems. Add this PPA to your Debian system using the following commands:
wget -q https://packages.sury.org/php/apt.gpg -O- | sudo apt-key add -
sudo echo "deb https://packages.sury.org/php/ buster main" | tee /etc/apt/sources.list.d/php.list
After that, install the required PHP version. You can simply execute the following commands for the default PHP version installation with PHP-FPM packages.
apt update
sudo apt install php php-fpm
After installing the above packages php7.3-fpm service will automatically be started. You can make sure by typing below command on terminal.
sudo systemctl status php7.3-fpm

● php7.3-fpm.service - The PHP 7.3 FastCGI Process Manager
   Loaded: loaded (/lib/systemd/system/php7.3-fpm.service; enabled; vendor preset: enabled)
   Active: active (running) since Tue 2019-12-03 10:01:54 UTC; 24min ago
     Docs: man:php-fpm7.3(8)
 Main PID: 9883 (php-fpm7.3)
   Status: "Processes active: 0, idle: 2, Requests: 3, slow: 0, Traffic: 0req/sec"
    Tasks: 3 (limit: 3587)
   Memory: 14.2M
   CGroup: /system.slice/php7.3-fpm.service
           ├─9883 php-fpm: master process (/etc/php/7.3/fpm/php-fpm.conf)
           ├─9884 php-fpm: pool www
           └─9885 php-fpm: pool www

Dec 03 10:01:54 tecadmin-debian10 systemd[1]: Starting The PHP 7.3 FastCGI Process Manager...
Dec 03 10:01:54 tecadmin-debian10 systemd[1]: Started The PHP 7.3 FastCGI Process Manager.
Apache Configuration
Now enable few modules required for the configuration of multiple PHP versions with Apache. These modules are necessary to integrate PHP FPM and FastCGI with the Apache server.
sudo a2enmod alias proxy proxy_fcgi
Let’s configure the Apache VirtualHost to run with FPM/FastCGI. For this tutorial, we use default VirtualHost. Edit VirtualHost host configuration file in a text editor. You can create new VirtualHost as per your requirements, so make sure to enable any new VirtualHost.
sudo vim /etc/apache2/sites-available/000-default.conf
Update the configuration as followings.
1 2 3 4 5 6 7 8 9 10 11 12 13 14 15 16 17 18 19 | <VirtualHost *:80> ServerName example.com ServerAlias www.example.com DocumentRoot /var/www/html <Directory /var/www/html> Options -Indexes +FollowSymLinks +MultiViews AllowOverride All Require all granted </Directory> <FilesMatch \.php$> # 2.4.10+ can proxy to unix socket SetHandler "proxy:unix:/run/php/php7.3-fpm.sock|fcgi://localhost" </FilesMatch> ErrorLog ${APACHE_LOG_DIR}/error.log CustomLog ${APACHE_LOG_DIR}/access.log combined </VirtualHost> |
Save your changes to the configuration file and restart Apache to reload the changes.
sudo systemctl restart apache2.service
Test Setup
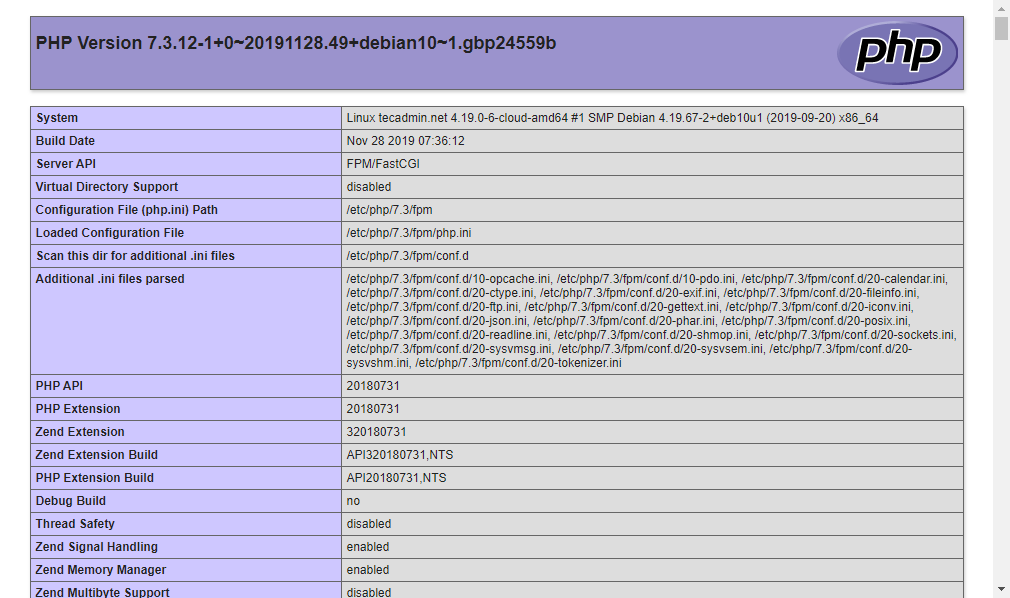
Create a PHP script with phpinfo() function and place it to your server document root. Use below command to do it.
echo "<?php phpinfo(); ?>" > /var/www/html/info.php
Now access the info.php using server IP address (for default VirtualHost) for your configured domain in Apache VirtualHost.
http://localhost/info.php
Conclusion
You have successfully configured an Apache with PHP-FPM on your Debian 10 (Buster) Linux. You can now host a website from your server.

3 Comments
worked perfecly for me on an arm64 graviton amazon server 🙂
This procedure worked for me on a local 386 Debian-10 a2 server. I suggest that you add an example html-php file requiring it be saved with extension *.php. I was incorrectly using file index.html which returns only html code but doesn’t call internal php code.
Thank you so much. Best Regart