Apache Solr is a powerful, open-source search platform built on Java. It’s widely used to index, search, and analyze vast amounts of textual content. Installing it on Linux Mint is straightforward, and in this guide, we’ll go through the steps to get it up and running on your Linux Mint 21, 20, or 19.
Prerequisites:
- Linux Mint 21/20/19 installed on your machine.
- You should have Java installed since Solr runs on the Java platform. We’ll cover this too.
Step 1: Install Java
Start by updating the package repository information:
sudo apt update && sudo apt upgrade -y
Solr requires Java to run. We’ll install OpenJDK in this step:
sudo apt install openjdk-11-jdk -y
After the installation, you can check the Java version with:
java -version
Step 2: Installing Solr on Linux Mint
At the time of writing (with a last update in Aug 2023), the latest version of Solr might have changed. However, you can always visit the official Solr website to find the latest version. Here, we’ll download Solr 9.4.1 as an example:
wget https://dlcdn.apache.org/solr/solr/9.4.1/solr-9.4.1.tgz
Then extract the install script from the downloaded archive on your system using below command. Now run the installer shell script with the bash shell.
tar xzf solr-9.4.1.tgz solr-9.4.1/bin/install_solr_service.sh --strip-components=2sudo bash ./install_solr_service.sh solr-9.4.1.tgz
Step 3: Manage Solr Service
Solr is configured as a service on your system. You can simply use the following commands to Start, Stop and check the status of the Solr service.
sudo service solr stopsudo service solr startsudo service solr status
Step 4: Create Solr Collection
After the successful installation of Solr on your system. Create the first collection in Apache Solr using the following command.
sudo su - solr -c "/opt/solr/bin/solr create -c mycol1 -n data_driven_schema_configs"
Sample output:
Output:Created new core 'mycol1'
Step 5: Access Solr Admin Panel
Default Solr runs on port 8983. You can access the Solr port in your web browser and you will get a Solr dashboard.
http://demo.tecadmin.net:8983/
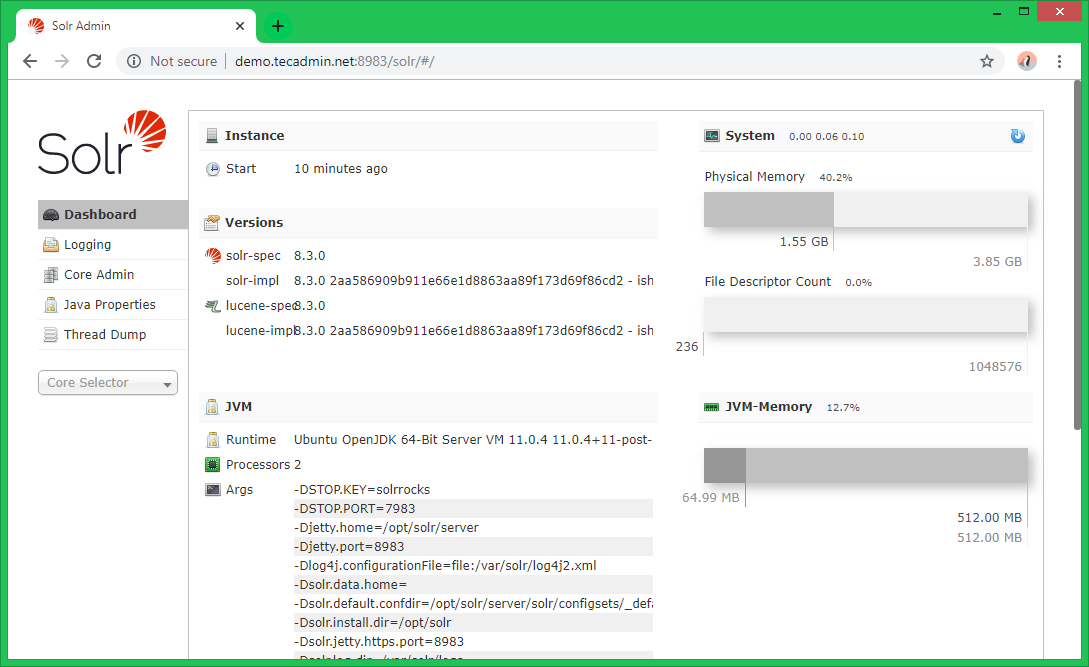
Here you can view statics of created collection in previous steps named “mycol1”. Click on “Core Selector” on the left sidebar and select created collection.

Conclusion
Apache Solr is now installed and running on your Linux Mint 21, 20, or 19. You can begin creating cores, indexing documents, and executing searches. For more advanced configurations or cluster setups, refer to the official Solr documentation and guides.

1 Comment
Hello Rahul,
I hope this email finds you well.
I need your help to configure authentication in solr 8.0. I tried change setting in file jetty but am still facing issue. It does not ask password.
Could you help me ?