
Apache Solr is a powerful, open-source search platform built on Apache Lucene. It is widely used for enterprise search and analytics purposes. Solr 9.4 comes with a host of features and improvements. This tutorial will guide you through the process of setting up Apache Solr 9.4 on a Ubuntu 22.04 system. Whether you are a developer, system administrator, or just a tech enthusiast, this guide will help you get Solr up and running smoothly.
Prerequisites
Before we start, ensure that you have:
- A machine running Ubuntu 20.04.
- Sudo privileges or access to the root user.
- An internet connection to download the necessary files.
Step 1: Installing Java
Since Apache Solr is a Java application, the first step involves installing Java.
- Update the Package Repository: Ensure your Ubuntu system is up-to-date with the command:
sudo apt update - Install Java: Install the default Java Development Kit (JDK) using:
sudo apt install default-jdk - Verify Installation: Confirm that Java has been installed correctly by checking the version:
java -version
Step 2: Downloading Apache Solr
After installing Java, the next step is to download the Solr 9.4 package.
- Navigate to the Solr Website: Visit the official Apache Solr website to find the download link for Solr 9.4.
- Download Solr: Use the wget command to download the Solr package:
wget https://dlcdn.apache.org/solr/solr/9.4.1/solr-9.4.1.tgz - Extract install script: Once the download is complete, extract the files using:
tar xzf solr-9.4.1.tgz solr-9.4.1/bin/install_solr_service.sh --strip-components=2
Step 3: Installing Solr on Ubuntu
With the Solr package downloaded, you can now proceed with the installation.
Execute the Installation Script: Run the script to install Solr:
sudo bash ./install_solr_service.sh solr-9.4.1.tgz
Step 4: Starting and Testing Solr
Once Solr is installed, it’s time to start the service and ensure everything is working correctly.
- Start the Solr Service: Use the following command to start Solr:
sudo service solr start - Check Solr Status: Verify that Solr is running properly:
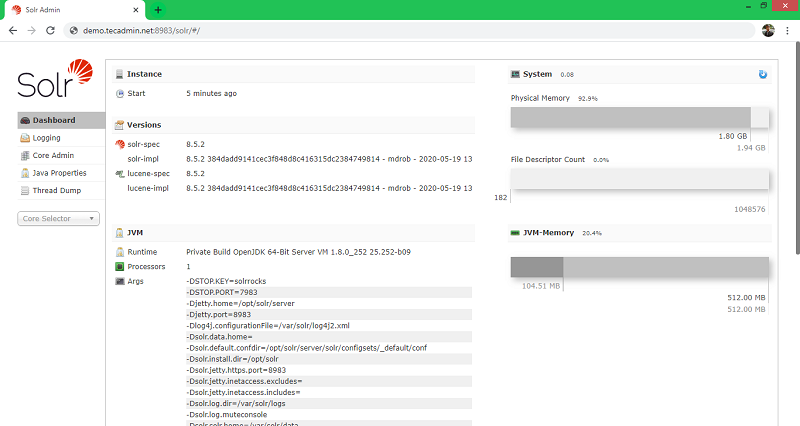
sudo service solr status - Access the Solr Dashboard: Open a web browser and navigate to http://your_server_ip:8983/solr to access the Solr admin panel.
Step 5: Configuring Solr
After verifying that Solr is up and running, you may need to create a new collection and configure other settings based on your requirements.
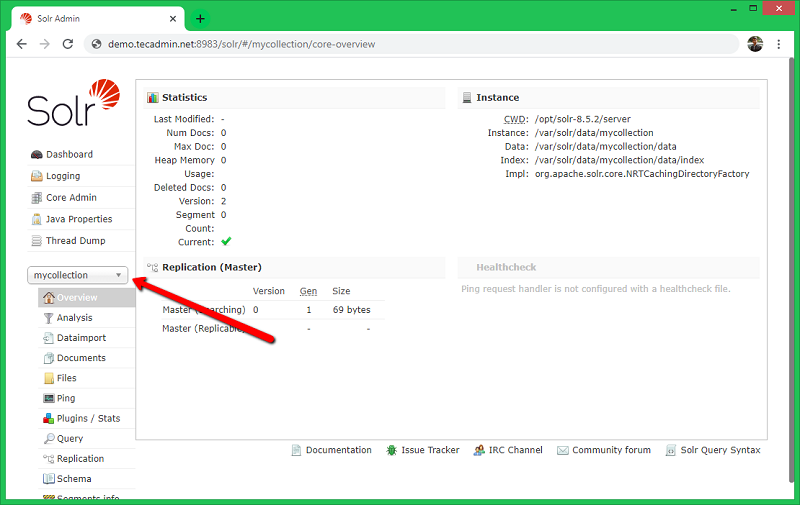
- Create a New Collection: Use the following command to create a new collection in Solr:
sudo su - solr -c "/opt/solr/bin/solr create -c mycollection -n data_driven_schema_configs" - Advanced Configurations: Depending on your use case, you might need to delve into more advanced configurations such as schema definitions, Solr cores, and security settings.
Conclusion
Congratulations! You have successfully set up Apache Solr 9.4 on Ubuntu 20.04. Solr is now ready for you to index your data and perform searches. The Solr admin panel provides an intuitive interface to manage your collections and configurations. As you become more familiar with Solr, you can explore its advanced features to fully leverage its powerful search capabilities in your projects.
Remember, this is just the beginning. Apache Solr is a complex and flexible search platform, and there’s much more to learn and explore. Happy indexing