CakePHP is an open-source web framework that makes it easy to build web applications with PHP. It is a popular choice for developers who want to quickly create robust, scalable, and maintainable applications. In this article, we will guide you through the process of setting up CakePHP on Fedora, a popular Linux distribution.
Prerequisites
Before we get started, you will need the following:
- A Fedora system with administrative privileges.
- Apache web server.
- PHP and related extensions installed on your system.
- MySQL or MariaDB database server.
Step 1: Installing Apache Web Server
The first step is to install the Apache web server. You can do this by running the following command in the terminal:
sudo dnf install httpd
Once the installation is complete, start the Apache service using the following command:
sudo systemctl start httpd
Step 2: Installing PHP and its Extensions
Next, you need to install PHP and the required extensions. To do this, run the following command in the terminal:
sudo dnf install php php-mysqlnd php-xml php-mbstring
After installing PHP and the required extensions, restart the Apache service using the following command:
sudo systemctl restart httpd
Step 3: Installing the MySQL/MariaDB Database Server
The next step is to install the MySQL or MariaDB database server. You can install either one of them, depending on your preference.
To install MySQL, run the following command:
sudo dnf install mysql-server
To install MariaDB, run the following command:
sudo dnf install mariadb-server
Once the installation is complete, start the database service using the following command:
sudo systemctl start mysqld
Step 4: Install PHP Composer
Now CakePHP is using composer for managing dependencies. So first we need to install Composer using the following command on the system. If already installed then just update to the latest version.
Install Composer:
curl -sS https://getcomposer.org/installer | phpmv composer.phar /usr/local/bin/composerchmod +x /usr/local/bin/composer
Update Composer:
composer self-update
Step 5: Create a CakePHP Application
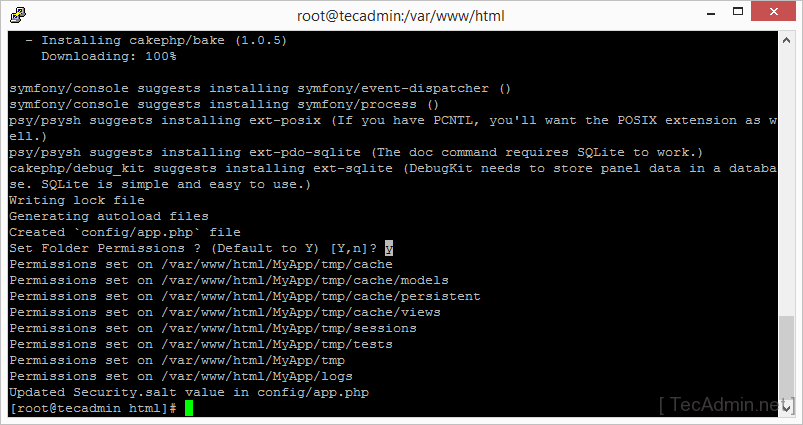
After installing the composer on your Fedora system. Let’s create a CakePHP application named “MyApp” using the composer command as below.
composer create-project --prefer-dist cakephp/app MyApp
Now set the proper permission for your project files. For the RedHat-based system, Apache default uses apache as the user. So change file ownership as per your setup.
chown -R apache:apache MyAppchmod -R 755 MyAppchmod -R 777 MyApp/tmp
Step 6: Configure Database for CakePHP
For this article, we are using MySQL as the database server. First, use the following commands to create a MySQL database and create.
1 2 3 4 | mysql> CREATE DATABASE CakePHPDB; mysql> GRANT ALL ON CakePHPDB.* to 'dbuser'@'localhost' IDENTIFIED BY '_password_'; mysql> FLUSH PRIVILEGES; mysql> quit |
Now edit config/app.php configuration file and search for your database setting. Make necessary changes as per below details
1 2 3 4 5 6 7 8 9 10 11 12 13 | 'Datasources' => [ 'default' => [ 'className' => 'Cake\Database\Connection', 'driver' => 'Cake\DatabaseDriver\Mysql', 'persistent' => false, 'host' => '<orange>localhost</orange>', //'port' => 'nonstandard_port_number', 'username' => '<orange>dbuser</orange>', 'password' => '<orange>_password_</orange>', 'database' => '<orange>CakePHPDB</orange>', 'encoding' => 'utf8', 'timezone' => 'UTC', 'cacheMetadata' => true, |
Here, you have two options to run your CakePHP application. For development, the system follows Step 7(A) and for Production, deployment follows step 7(B).
Step 7(A): Deploy CakePHP on Development System
First is to use its built-in web server preferred for development purpose installation. This will make your application available at http://host:port. From the app directory, execute:
bin/cake server
By default, without any arguments provided, this will serve your application on localhost at port 8765.
You can also specify your own host and port like below
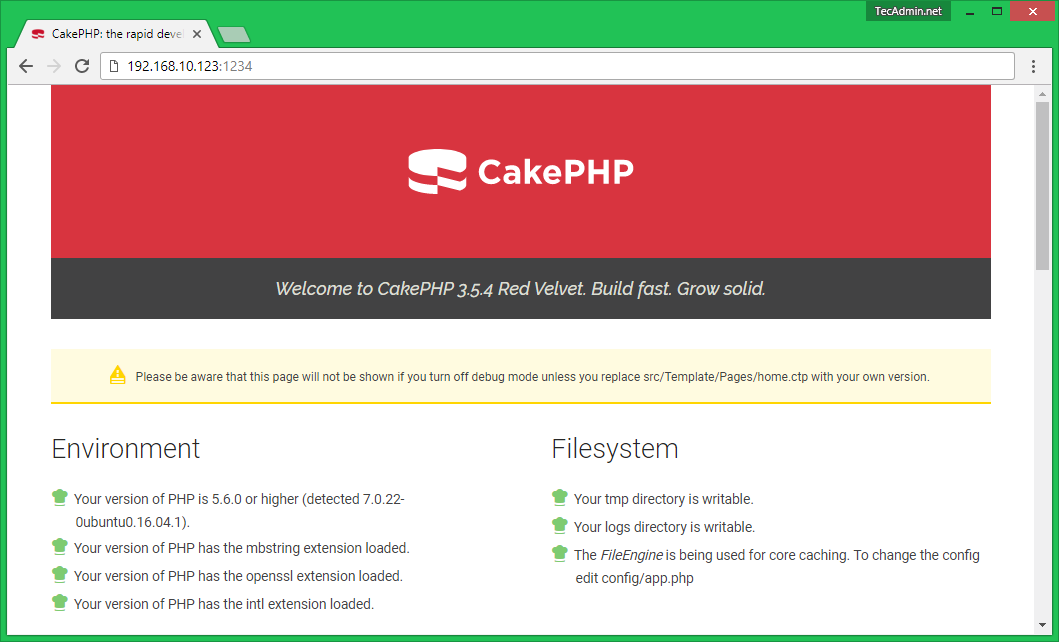
bin/cake server -H 192.168.10.123 -p 1234
This will serve your application at http://192.168.10.123:1234/
Step 7(B): Deploy CakePHP with Apache
The second is to deploy with external web servers like Apache it’s preferred for production use. Let’s create an Apache VirtualHost configuration file using the following content.
sudo vi /etc/httpd/conf.d/cakephp.conf
1 2 3 4 5 6 7 8 | <VirtualHost *:80> ServerAdmin webmaster@example.com ServerName cakephp.example.com DocumentRoot /var/www/html/MyApp/webroot <Directory /var/www/html/MyApp> Allowoverride All </Directory> <VirtualHost> |
Change the “ServerName” and document the root as per your setup. Then restart the Apache service
sudo systemctl restart httpd
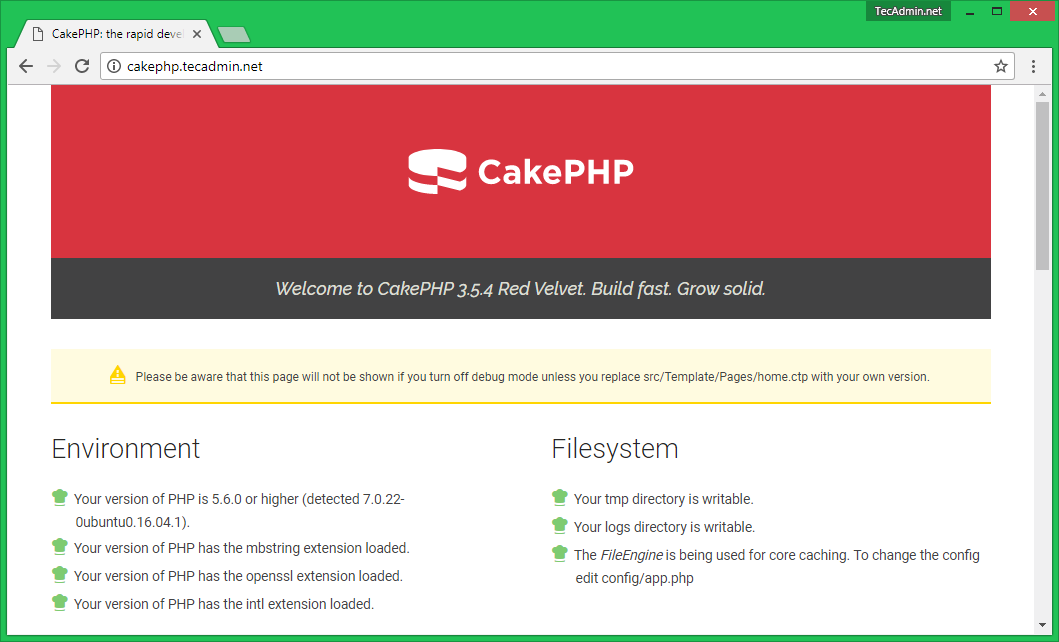
Now access your CakePHP application in a web browser.
http://cakephp.example.com
Congratulations! You have successfully set up CakePHP on Fedora. From here, you can start developing your web application.
Conclusion
In this article, we have shown you how to set up CakePHP on Fedora. The process is straightforward and easy to follow. With CakePHP, you can quickly build robust, scalable, and maintainable web applications. Whether you’re a beginner or an experienced developer, CakePHP is a great choice for your next project.


