CodeIgniter is a powerful PHP framework for rapid development. It is an opensource PHP framework build by developers for developers to create web applications faster. CodeIgniter 3 is the latest framework available and CodeIgniter 2 is a legacy PHP framework.
In this tutorial, we are going to install CodeIgniter 3 on our system. This tutorial will help you to install CodeIgniter on Ubuntu 18.04 Bionic LTS systems.
Step 1 – Prerequsities
Login to your Ubuntu system. CodeIgniter framework required PHP to be installed, MySQL as the database server and Apache/Nginx as the webserver. Use one the following tutorial to install LAMP server on your system
Step 2 – Download CodeIgniter
Download the latest version of CodeIgniter from its official GitHub release page. You can use following commands to download CodeIgniter 3.1.9 on your system.
cd /var/www
wget https://github.com/bcit-ci/CodeIgniter/archive/3.1.9.zip
Extract the archive on your local system and place directory for document root with proper naming.
unzip 3.1.9.zip
mv CodeIgniter-3.1.9 CodeIgniter
Step 3 – Create Database
Now, create a database for your CodeIgniter application in MySQL. I have MySQL 5.7 running on my machine. Connected to MySQL with root user then create database and user with the below queries.
1 2 3 4 | mysql> CREATE DATABASE codeigniter; mysql> GRANT ALL ON codeigniter.* to 'dbuser'@'localhost' IDENTIFIED BY '_password_'; mysql> FLUSH PRIVILEGES; mysql> quit |
Ater creating database, edit the CodeIgniter database configuration in text editor and update the database settings as per your environments.
vi application/config/database.php
$db['default'] = array(
        'dsn'   => '',
        'hostname' => 'localhost',
        'username' => 'root',
        'password' => '_password_',
        'database' => 'codeigniter',
        'dbdriver' => 'mysqli',
        'dbprefix' => 'tec_',
Step 4 – Setup CodeIgniter
Now you need to configure the base URL for your application. For this tutorial, I am using the www.example.com domain for configuration. You can choose the localhost or any valid domain name of your choice.
Edit config.php file in text editor:
vi application/config/config.php
and update base_url as following:
$config['base_url'] = 'http://www.example.com/';
Step 5 – Setup Apache for CodeIgniter
For this tutorial, I’m using Apache web server on my Ubuntu system. Create a new VirtualHost configuration file:
vi /etc/apache2/sites-available/codeigniter.conf
Add following content with proper server name, alias:
1 2 3 4 5 6 7 8 | <VirtualHost *:80> ServerName example.com ServerAlias www.example.com DocumentRoot /var/www/CodeIgniter <Directory /var/www/CodeIgniter> Allowoverride All </Directory> </VirtualHost> |
Save the Apache VirtualHost configuration file. Now use the a2enmod command to enable newly created CodeIgniter VirtualHost. Also, restart the Apache service to apply changes.
sudo a2ensite codeigniter
sudo systemctl restart apache2
Step 6 – Testing
All done. You can access your CodeIgnator application in your favorite web browser with the configured domain name.
http://www.example.com/
By default, you will the screen below.
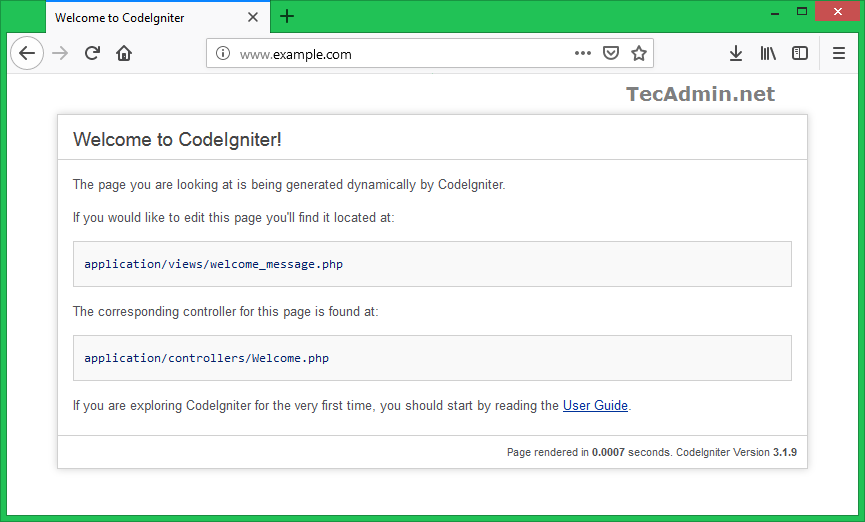
Let’s start developing with CodeIgniter.
3 Comments
I followed all directions up to running a2enmod, and I am told that Module codeigniter doesn’t exist.
The file codeigniter.conf is in available-sites, so I ran a2ensite instead. Am I on the right track?
Yes Darwin, I have also corrected the tutorial.
Dear Rahul,
THis page
helps me lot, but I need to configure a old codeigniter project into ubuntu 18.04 server…
please help me.
I’m awaiting for your kind reply.
Thank you.